Over the past few years, I have been putting together an armor based on what a Norman soldier would have worn at the Battle of Hastings in 1066. One of the essential parts of this project was creating a shield. This is how I, with the invaluable help of my father Anders, did it.
Step 1: Designing the shield
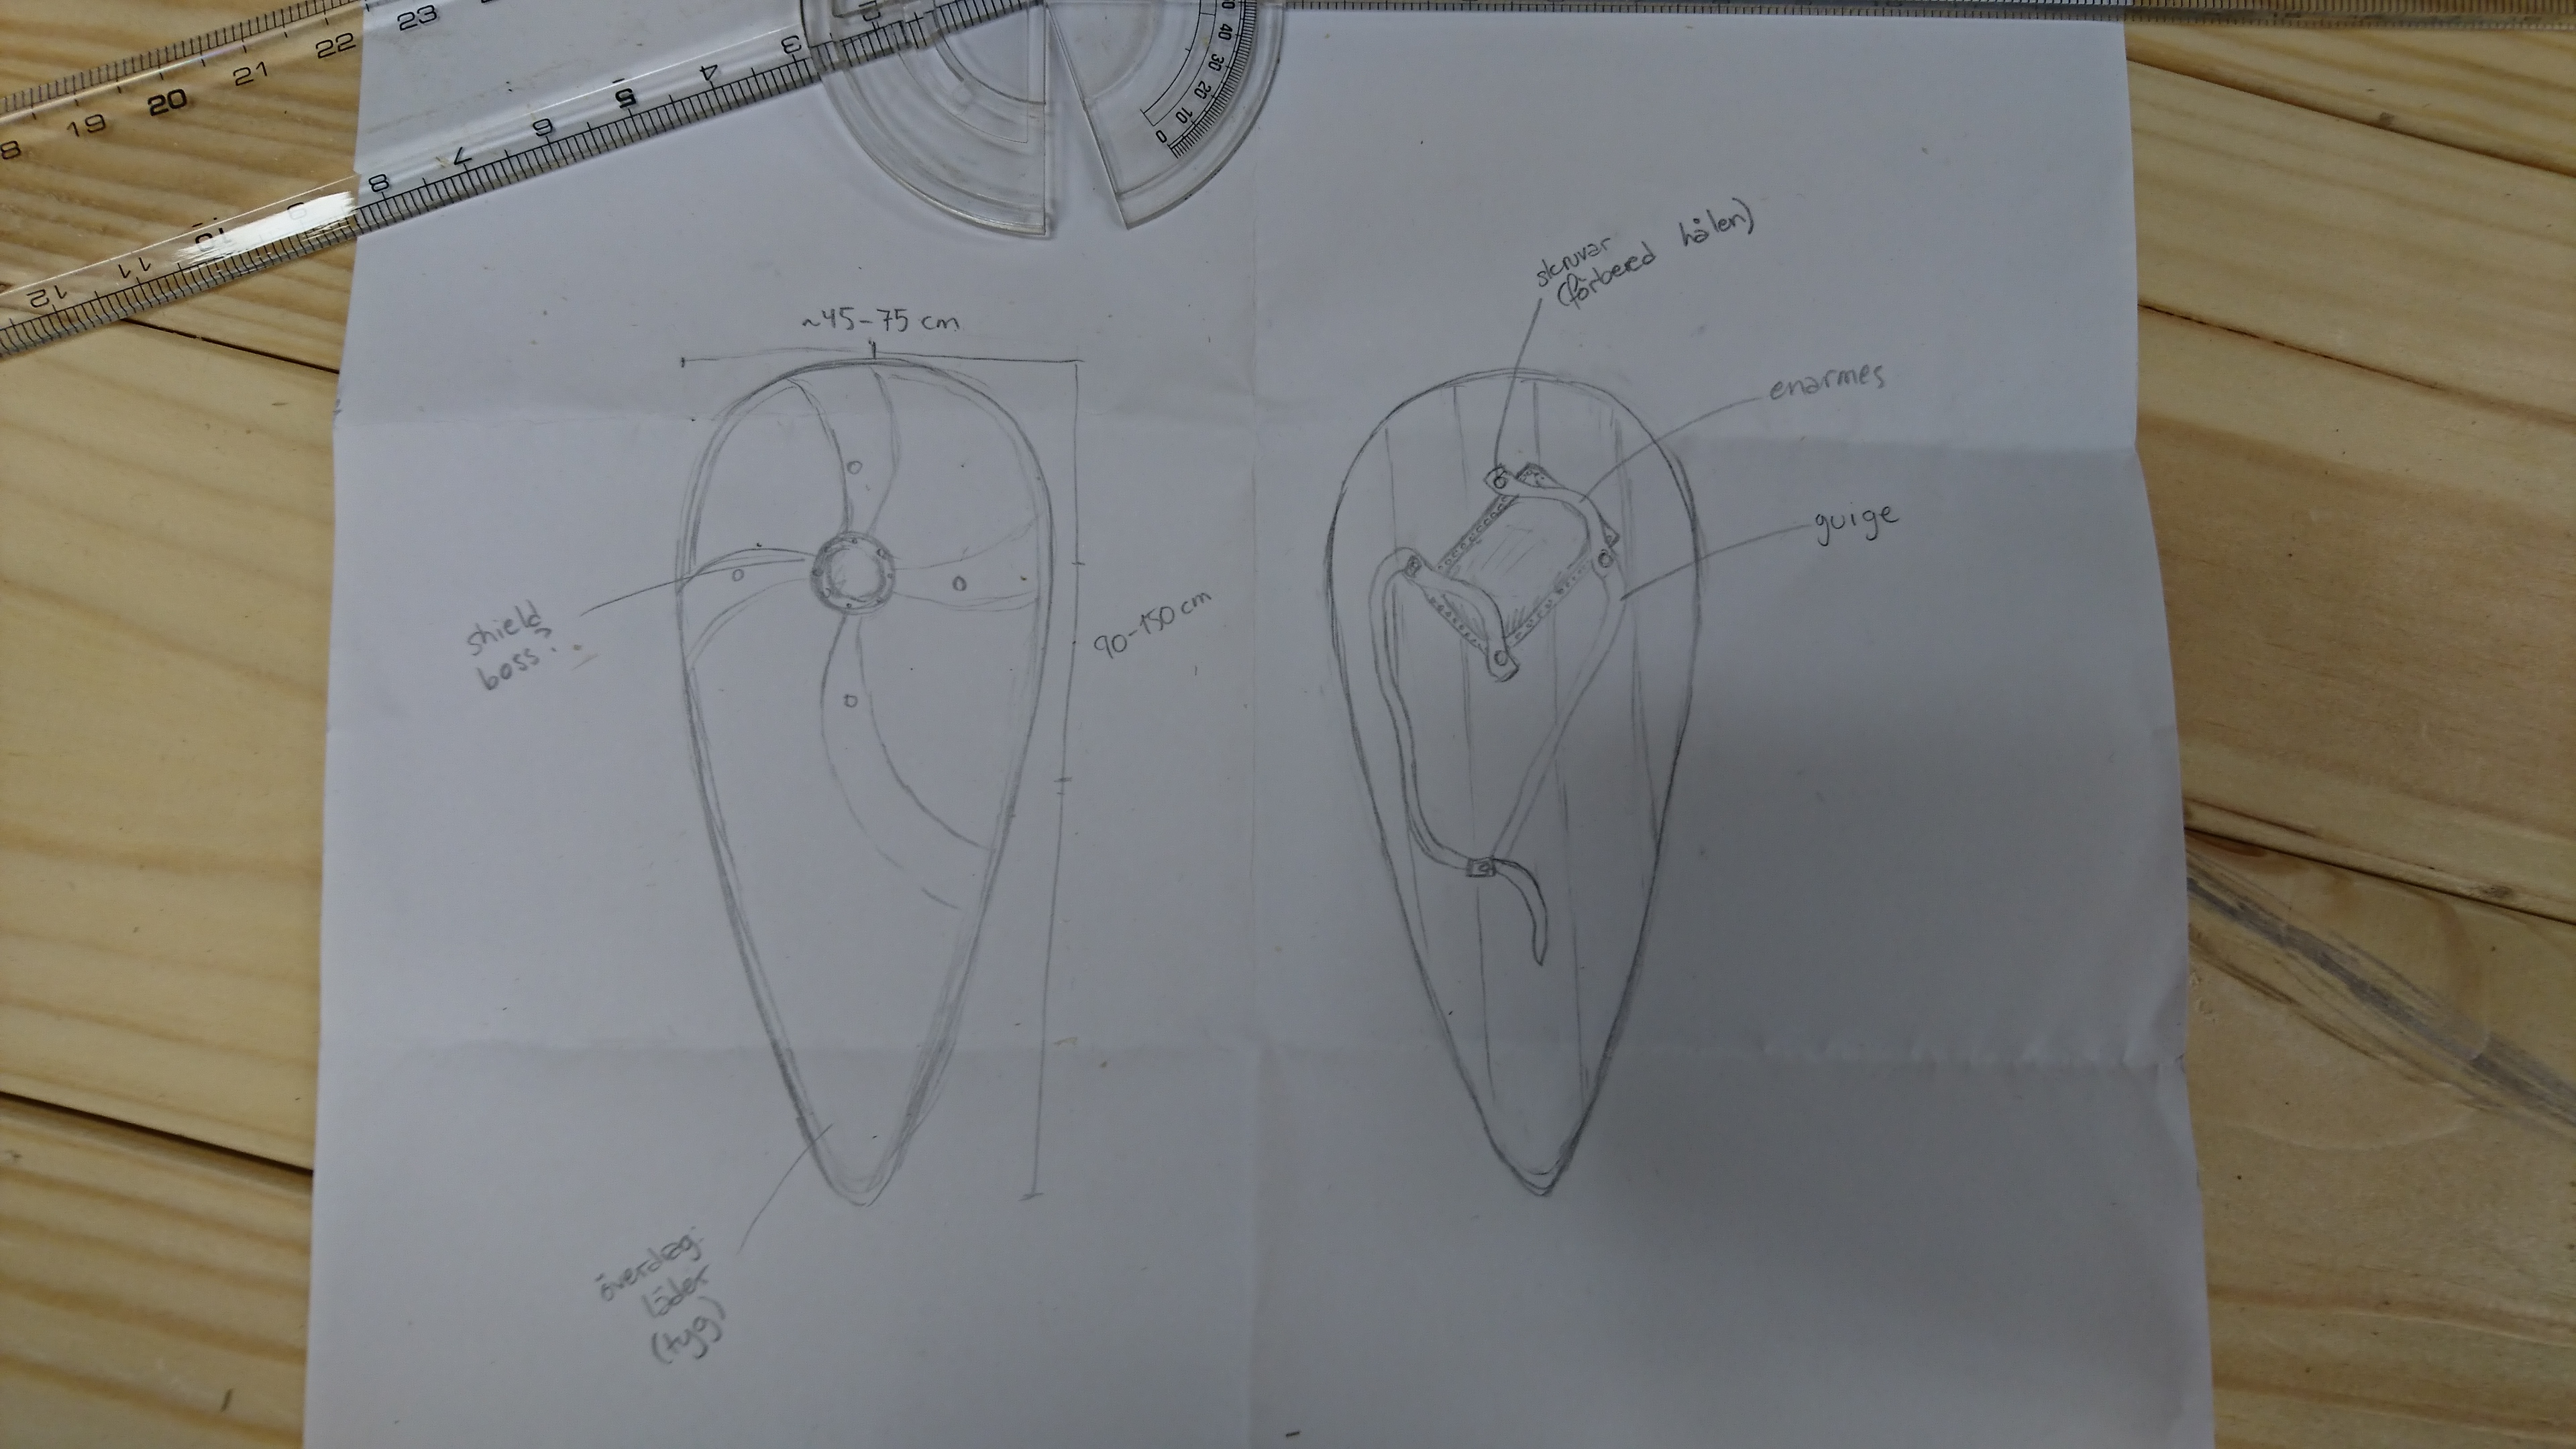
After looking at for example the Bayeux Tapestry, I decided that a kite shield would be the way to go. One source I found suggested that the shield should be ~90-150 cm tall. Since I am 165 cm tall myself, I decided that aiming for the lower part of that spectrum would be the way to go. With the upper part based on a circular shape, the thickest diameter of the shield would be half its total length. I also drew rough sketches for where I wanted to place the enarmes and the guige (the handles - more on that later).
Step 2: Choosing wood
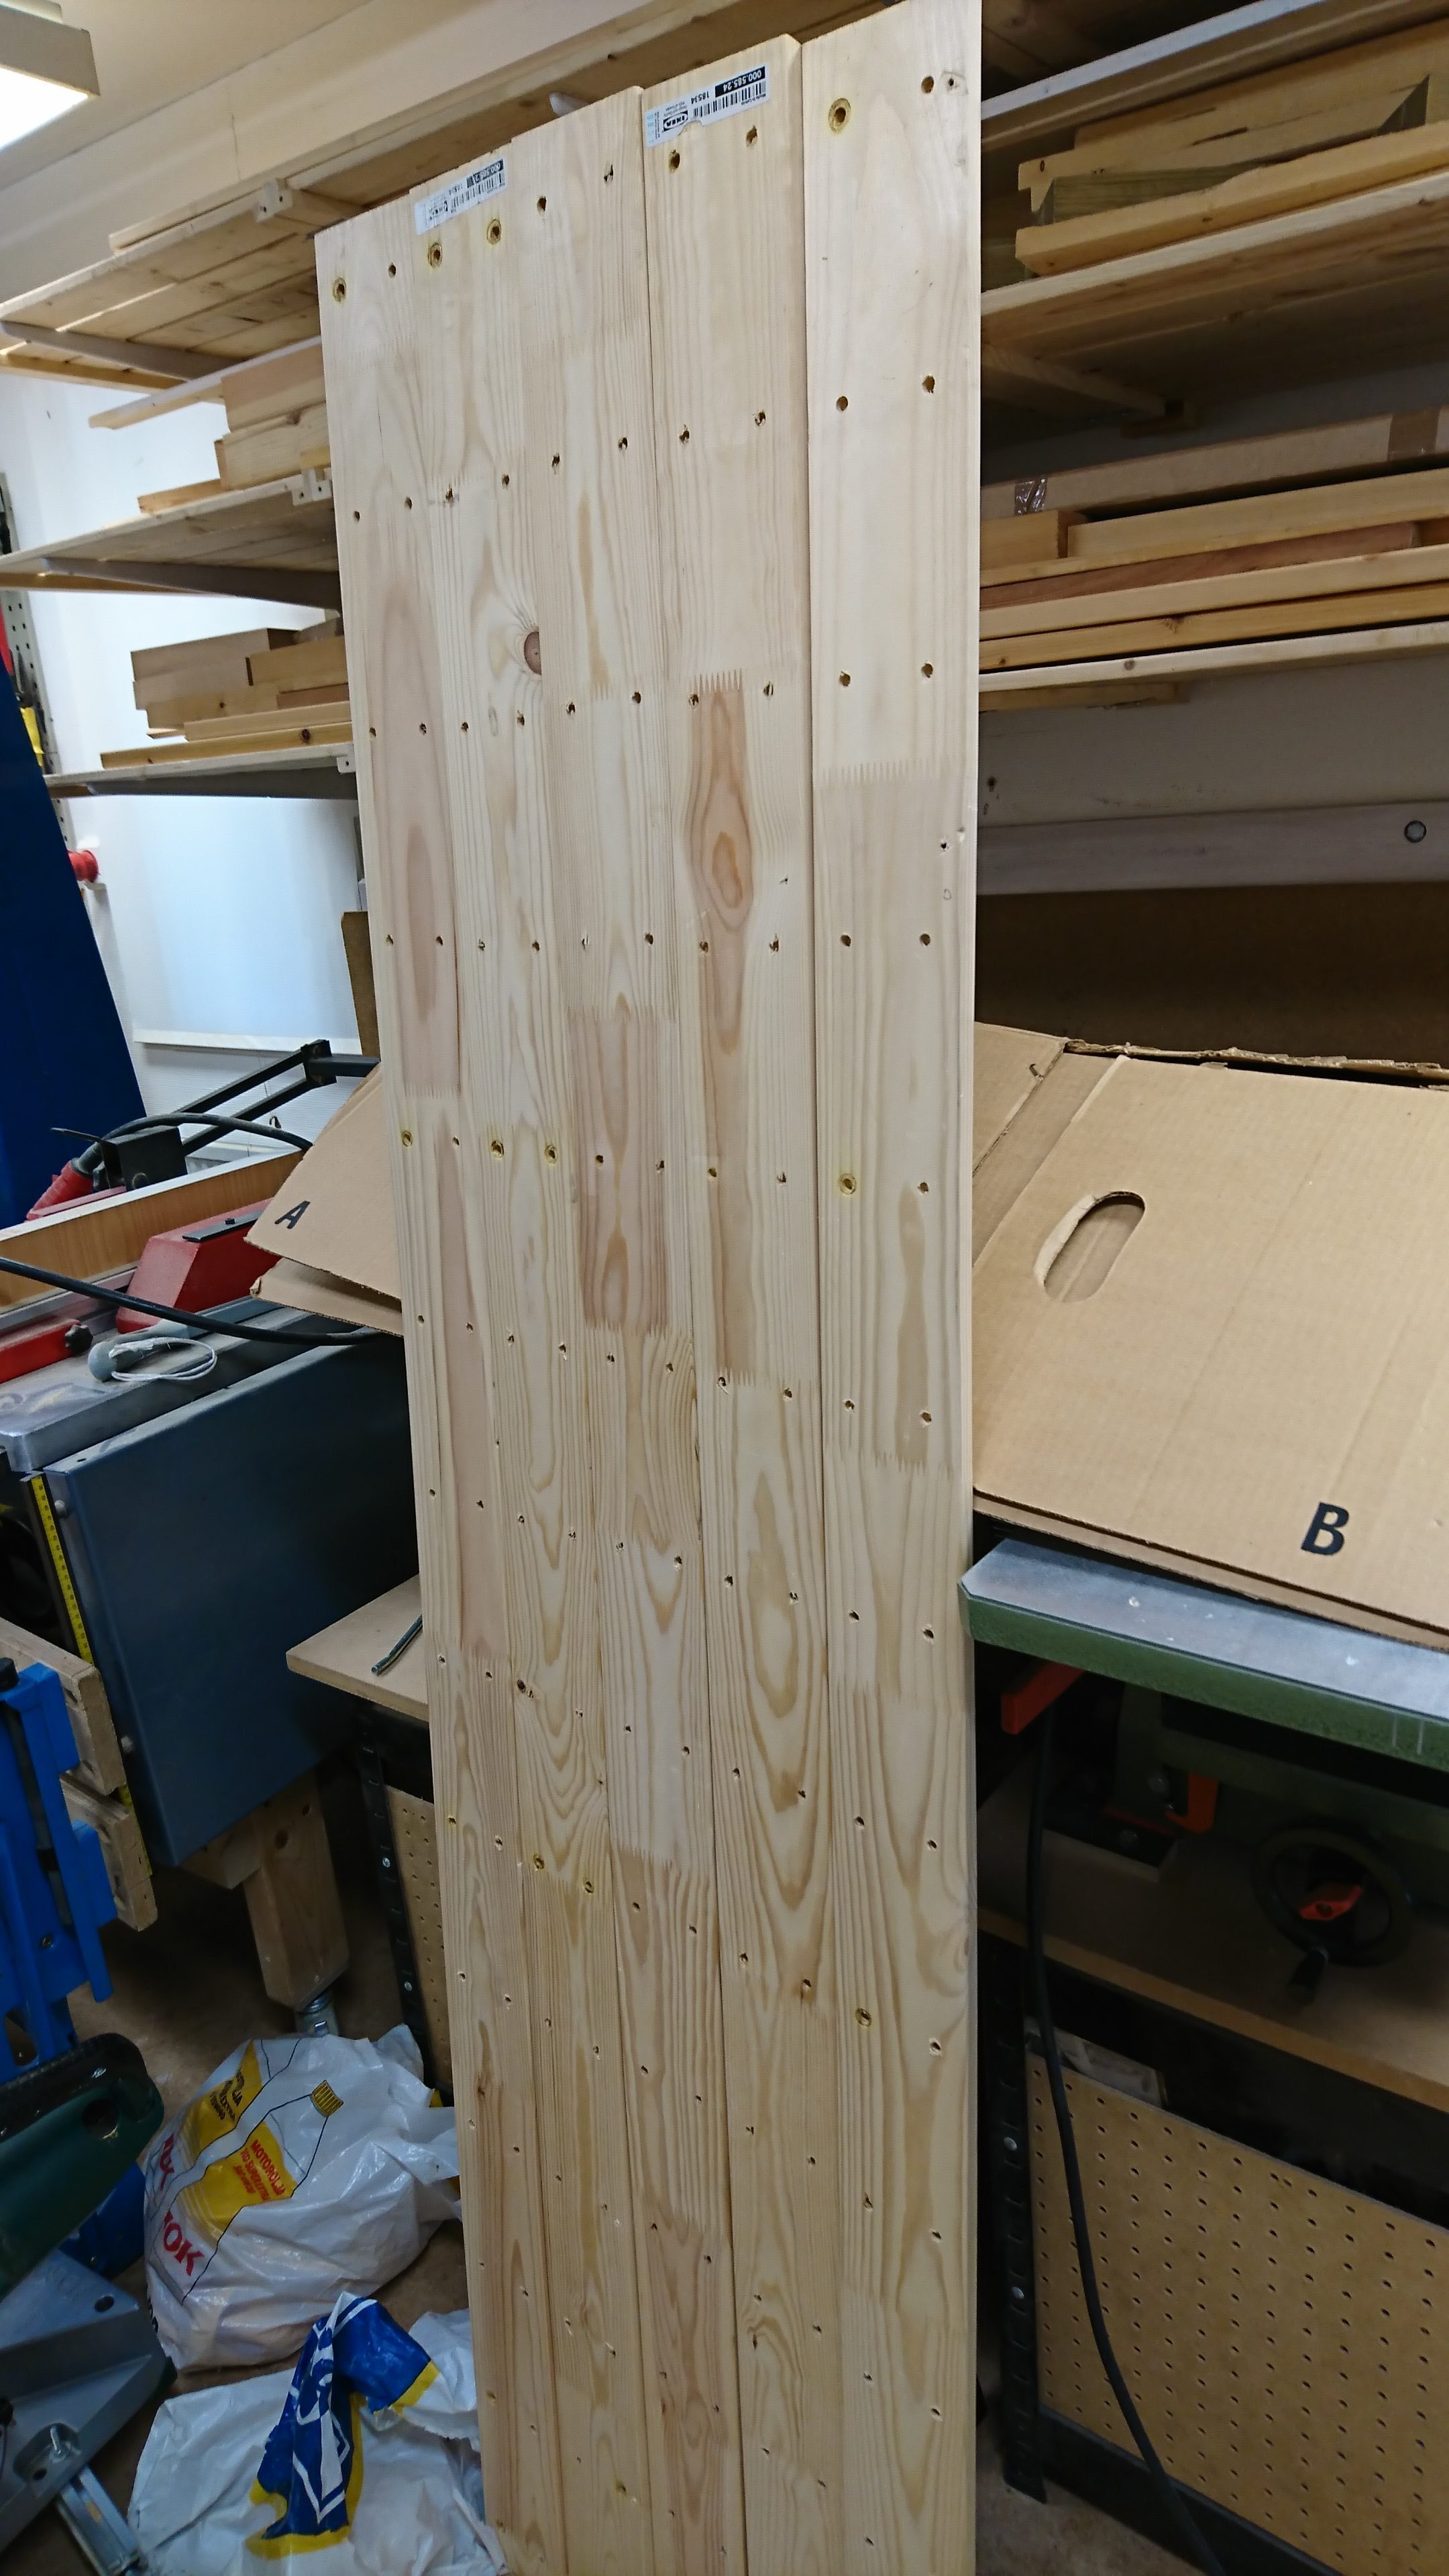
When choosing the wood, we were looking for something that was sturdy yet light, so that I would be able to carry the shield for long periods of time. I decided that I wanted solid wood rather than plywood. From what I gather, they might have had something similar to the latter back in those days - but I still wanted the genuine feeling of solid wooden planks.
Luckily, my father had saved the sides from a number of IKEA shelves that weren't used for anything, and they made for pretty good material. They're not optimal, considering all the holes in them, and I would suggest that you pick more suitable boards if you want to make your own shield. However, we concluded that they would not compromise the shield's durability, and that they could be easily filled with wooden pegs.
Step 3: Drawing the shape
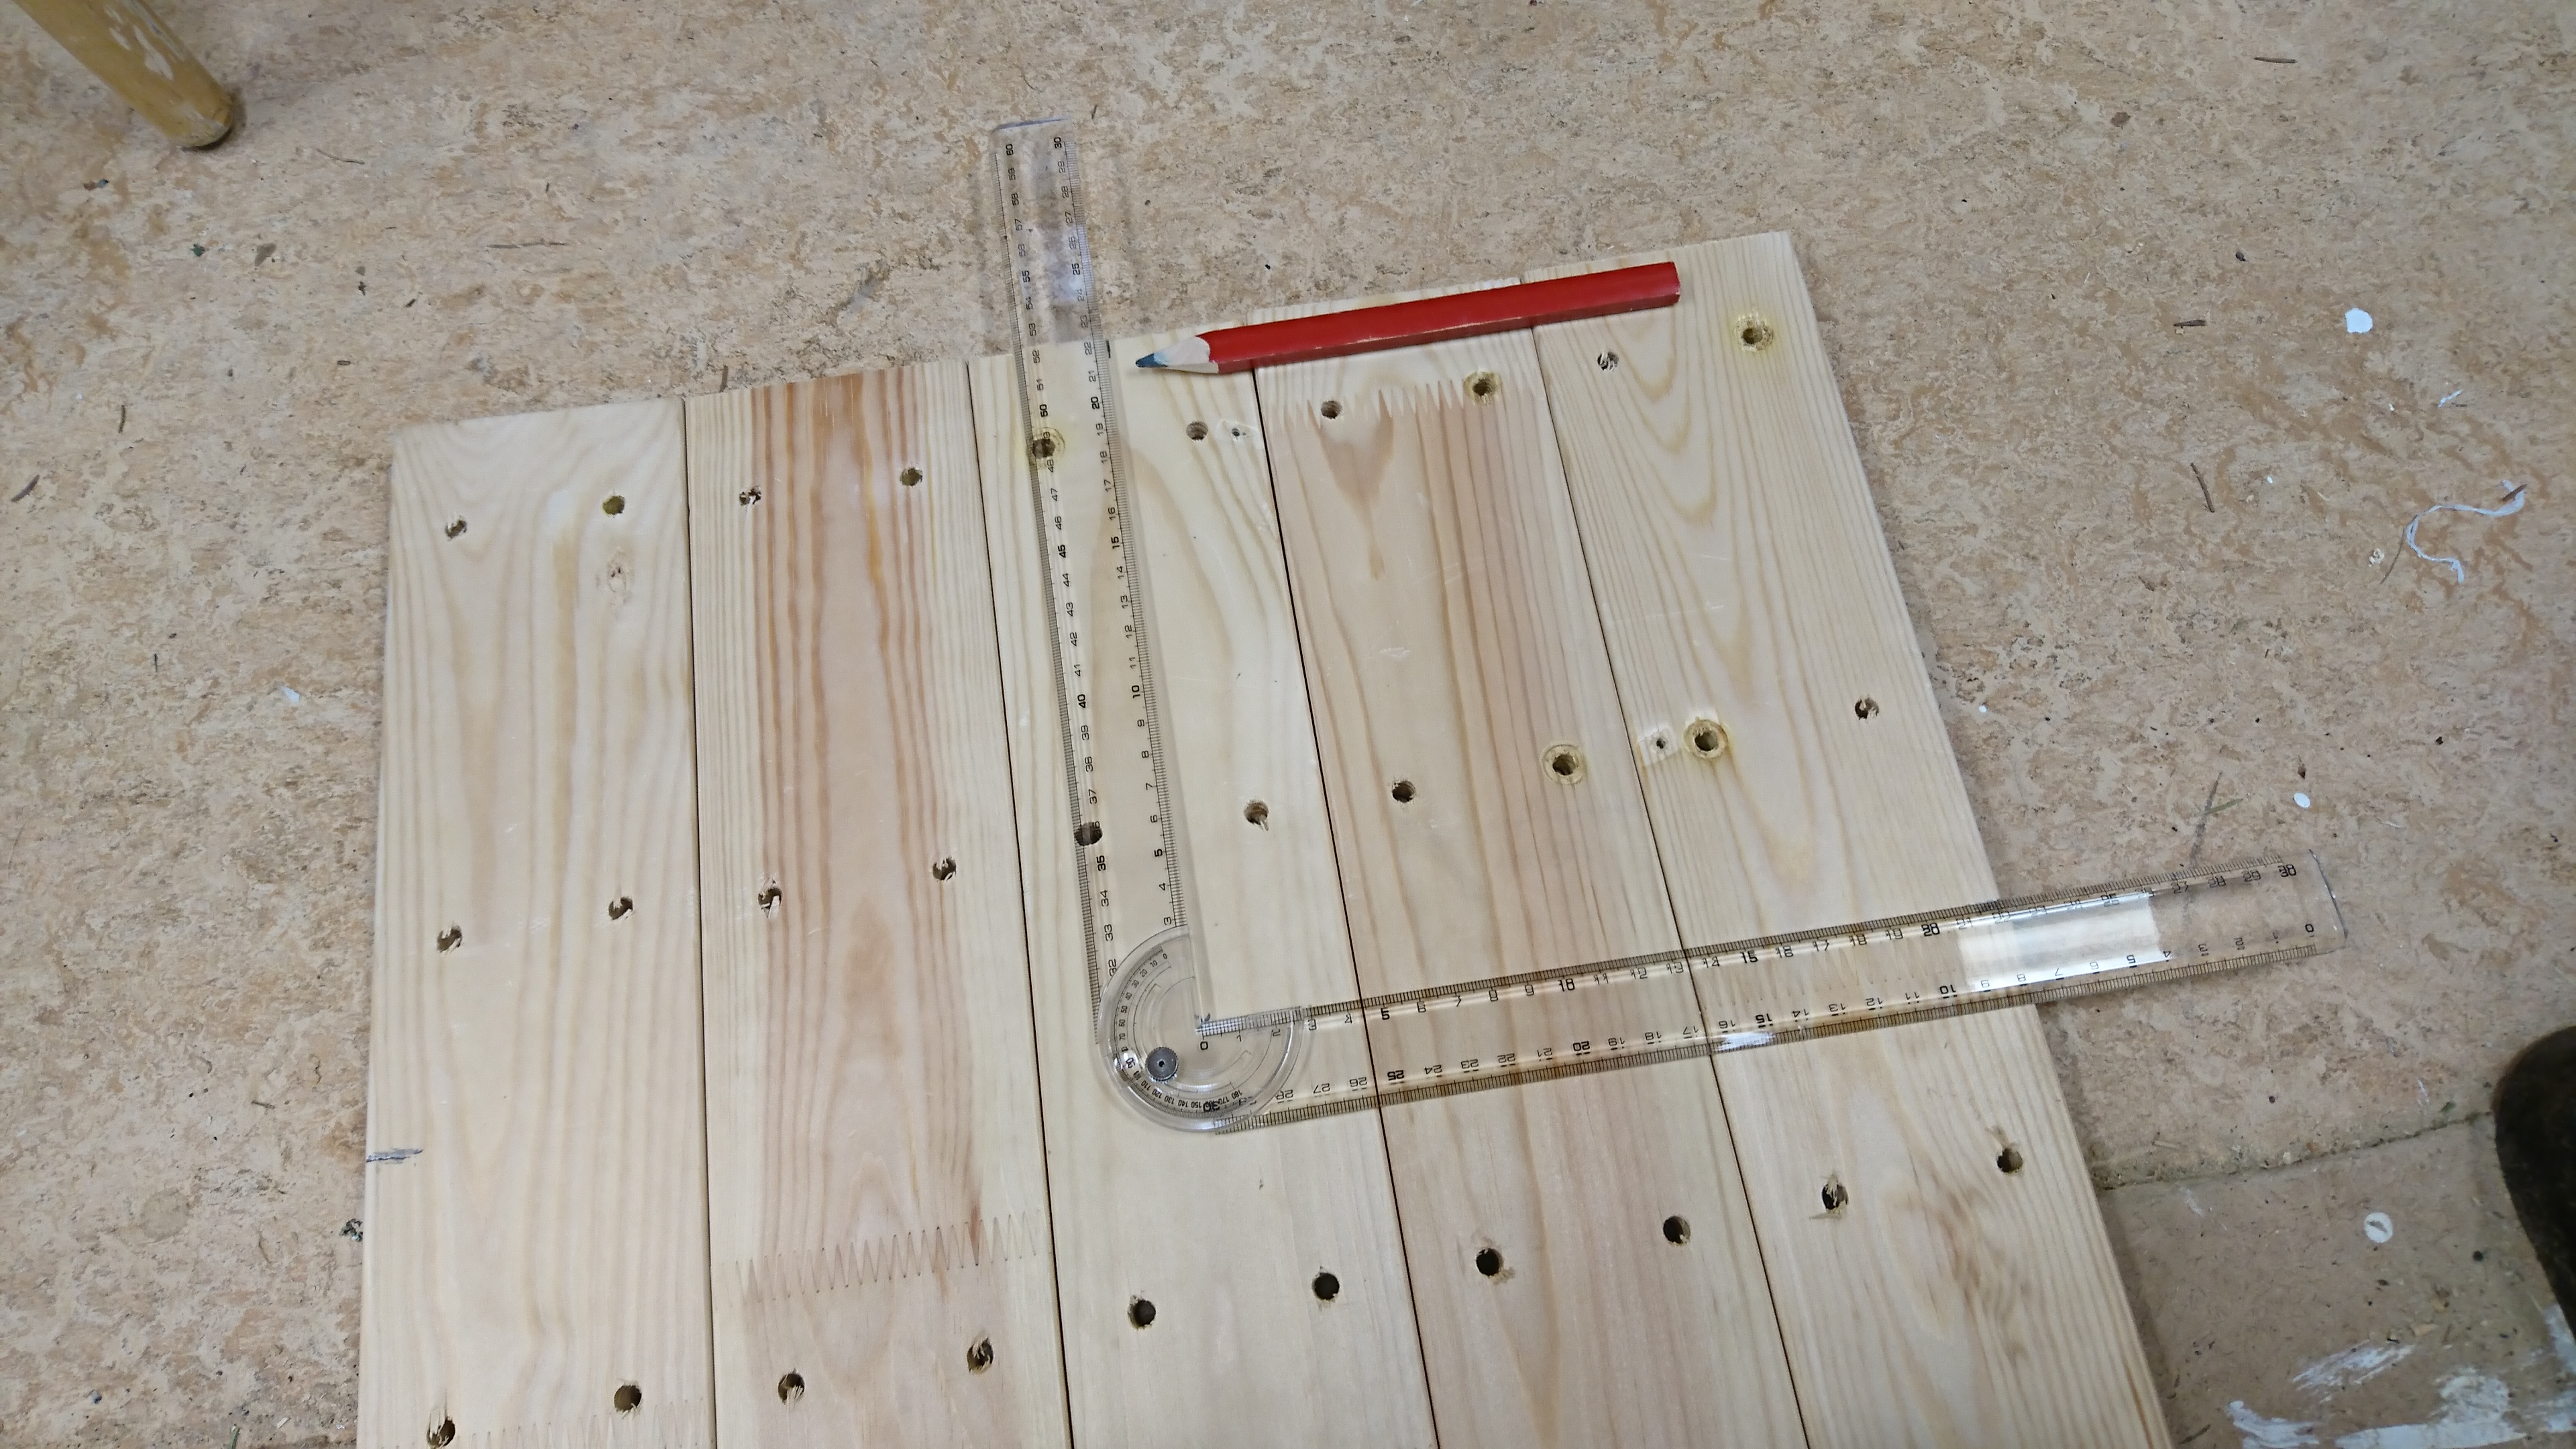
Using a pencil and rulers, I drew the shape I wanted onto the boards.
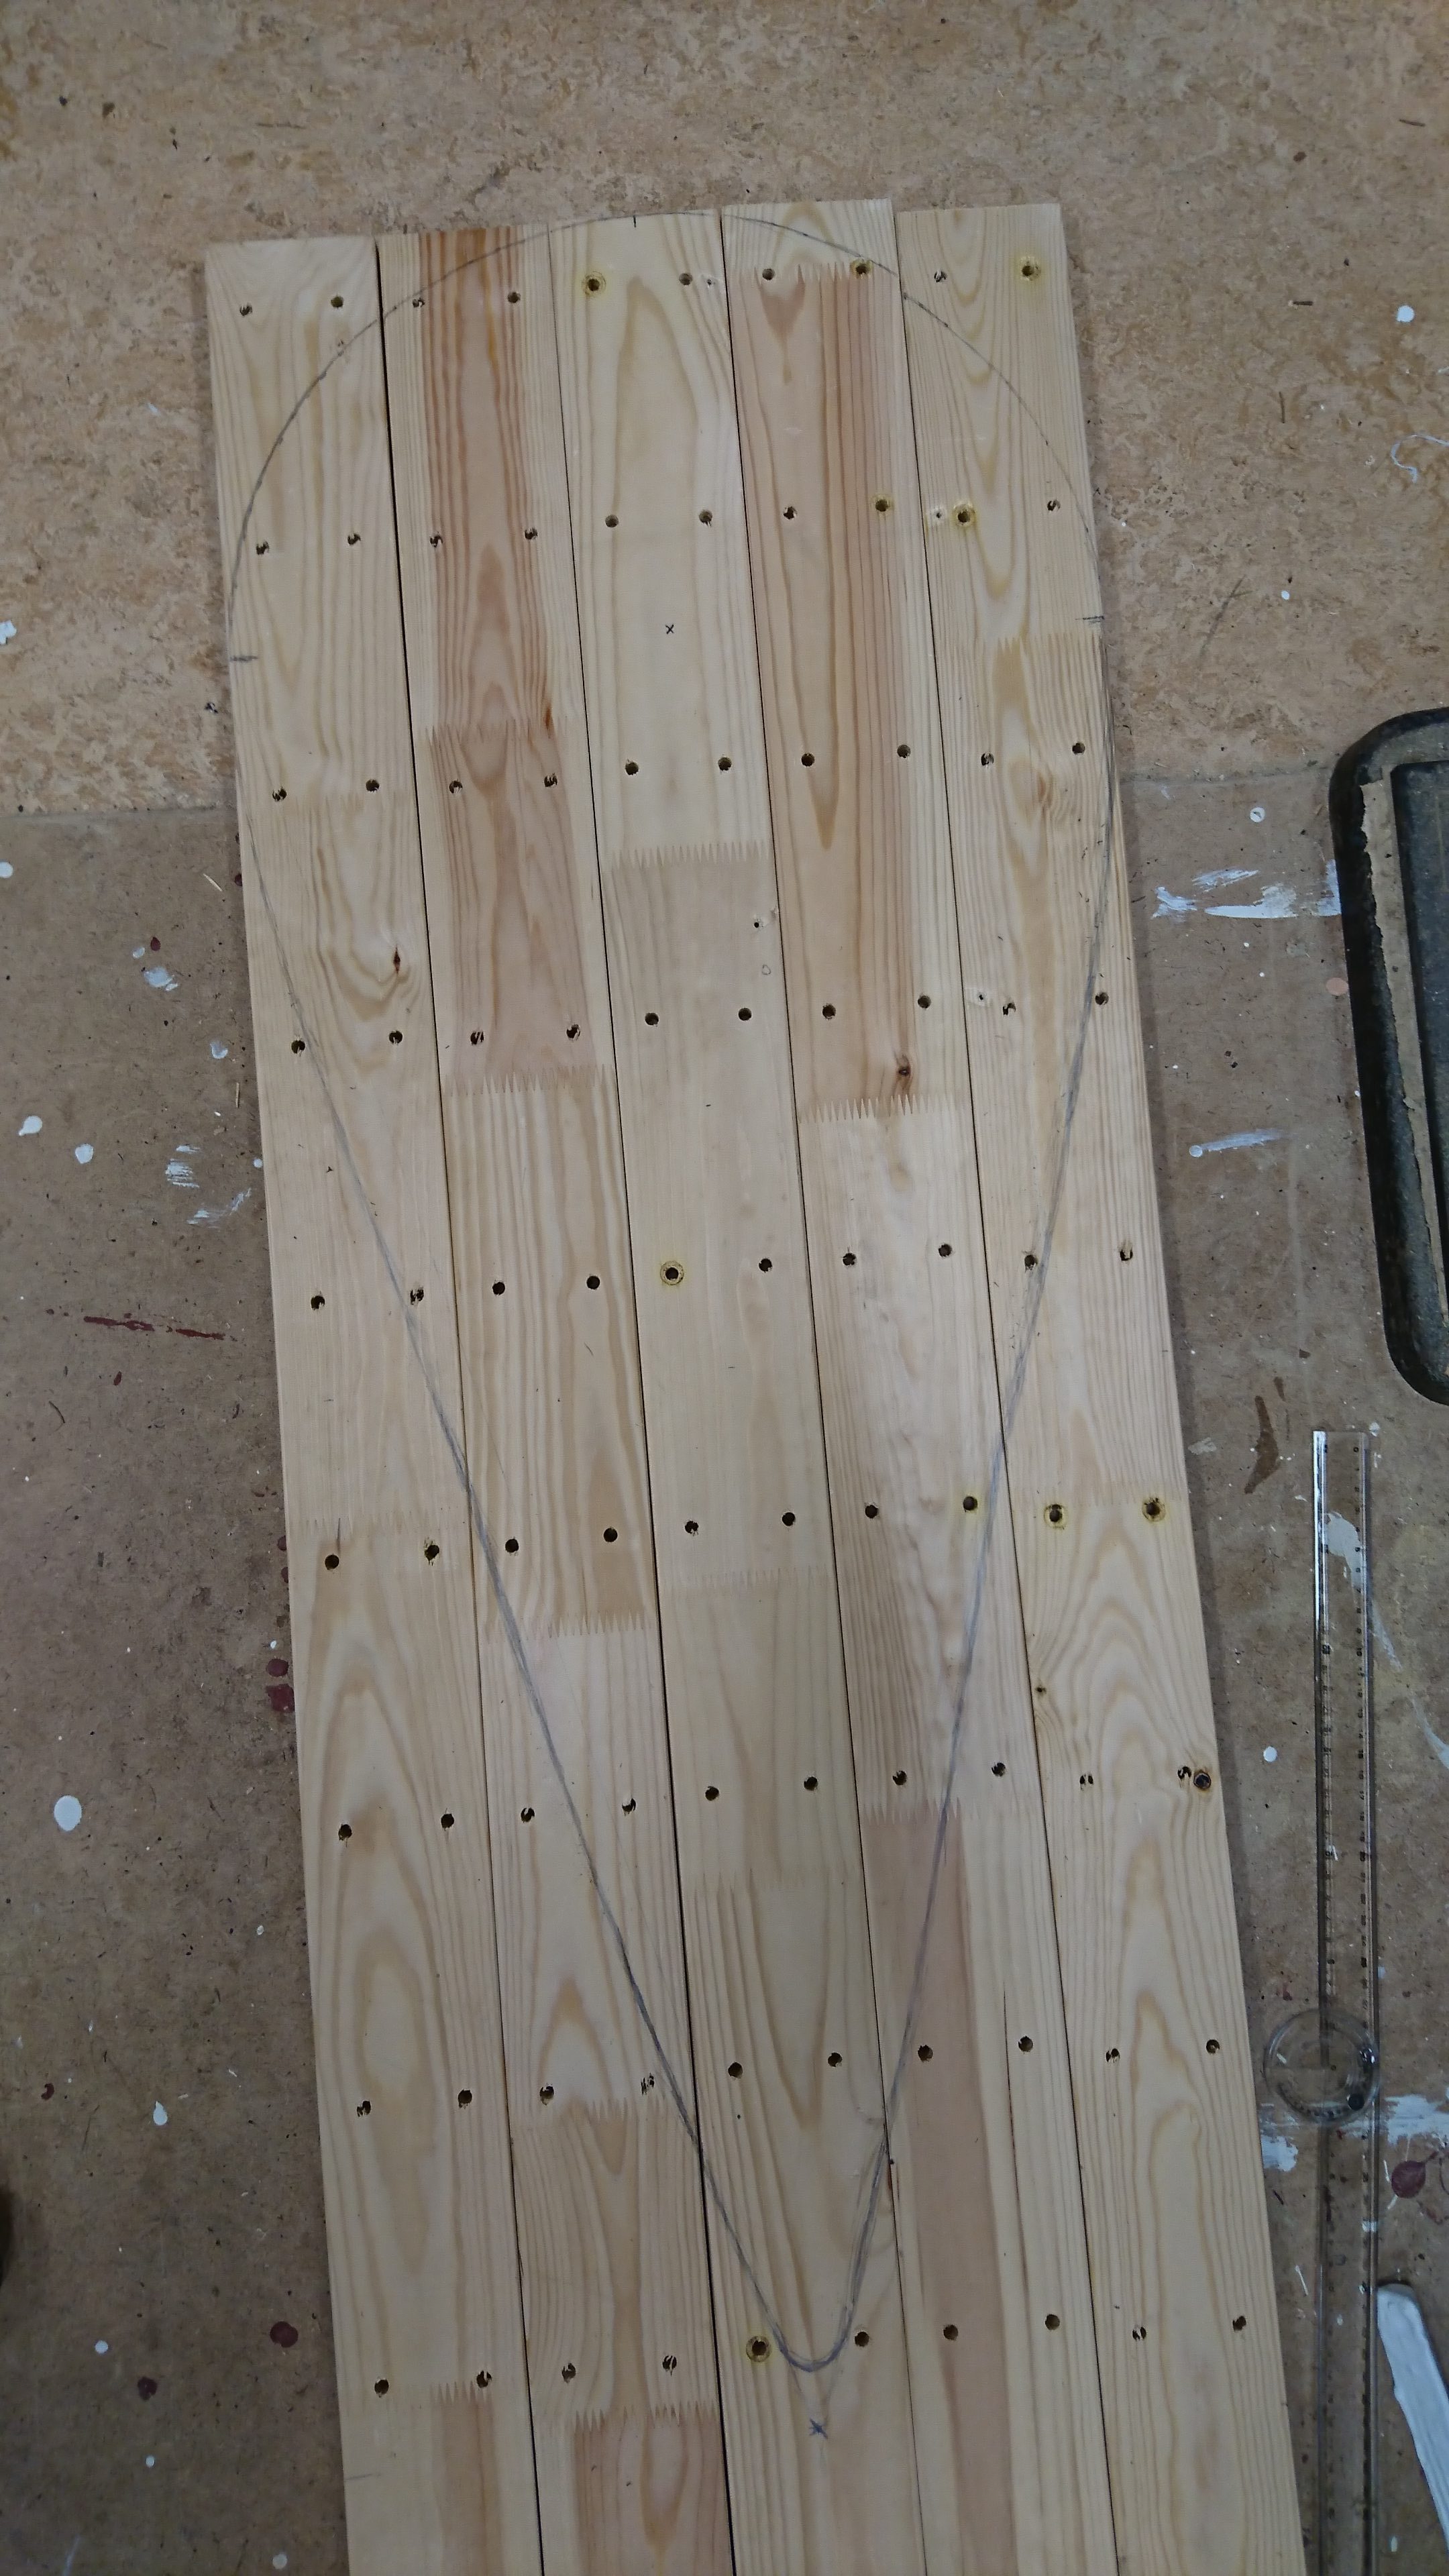
The upper part is a perfect semi-circle, and the edges down towards the point are somewhat curved to give the shield an elegant shape.
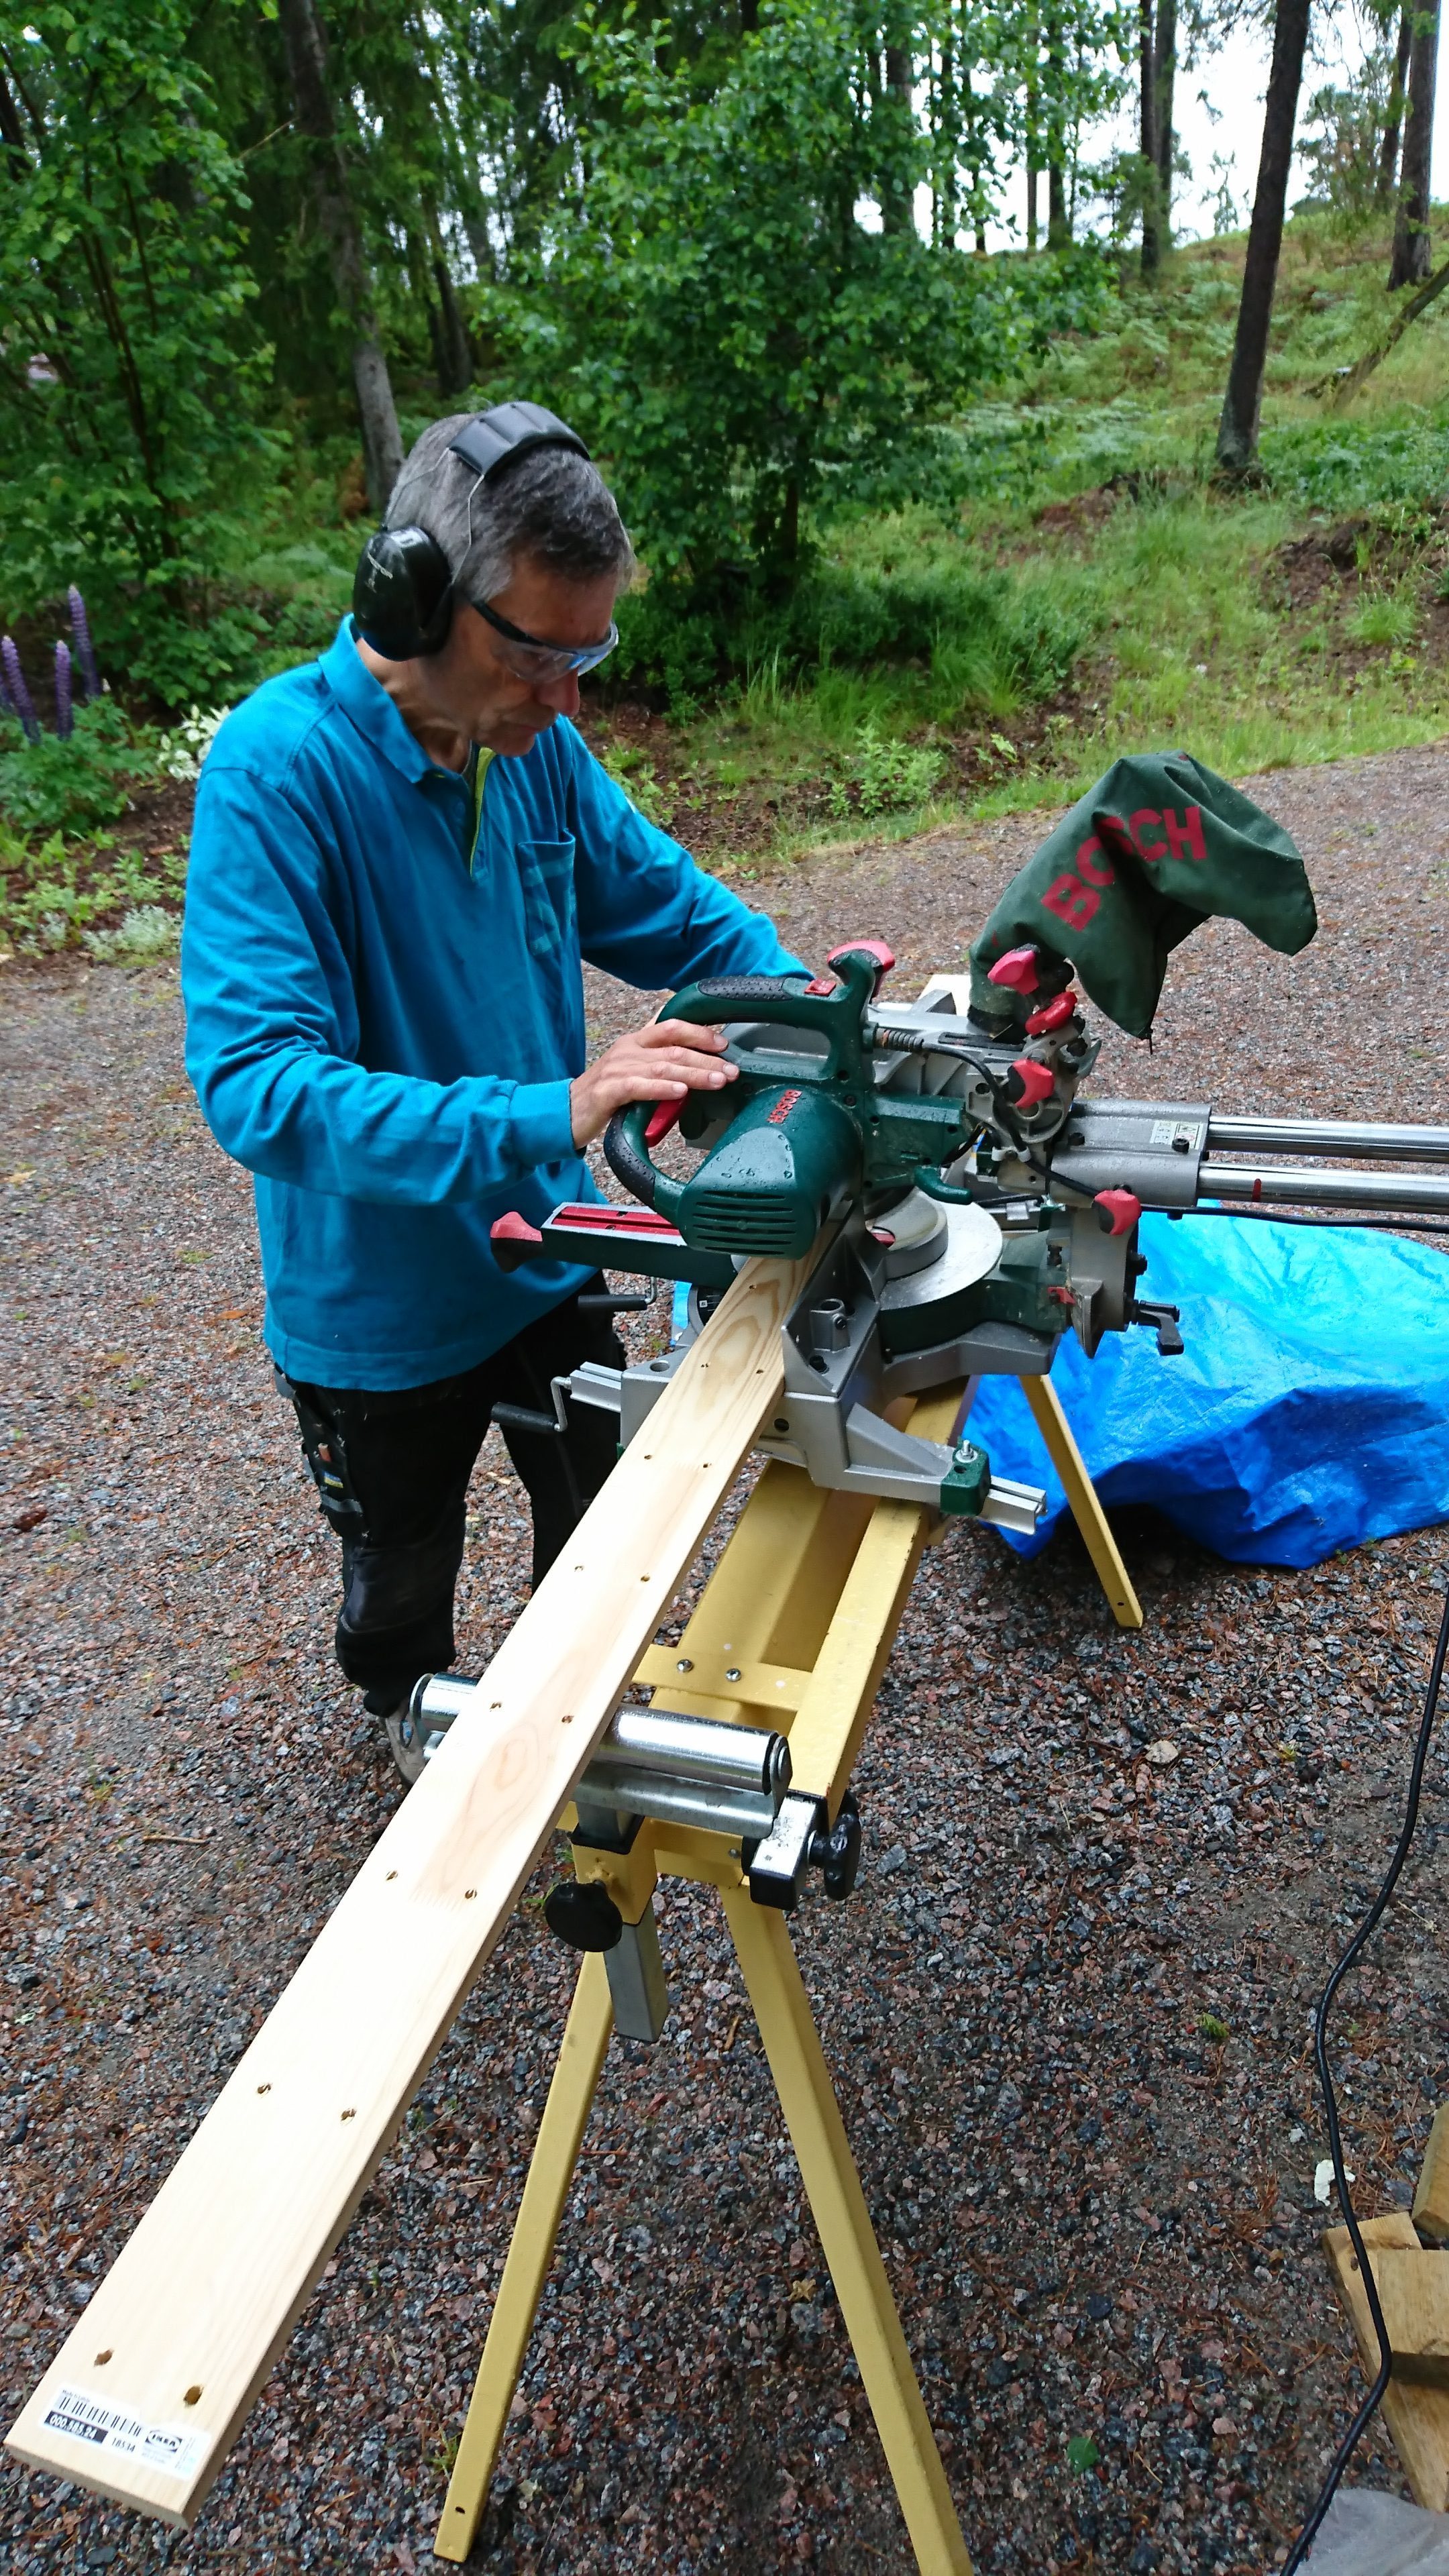
After the shape had been drawn onto the boards, we made a rough cut to make them a bit more easy to handle.
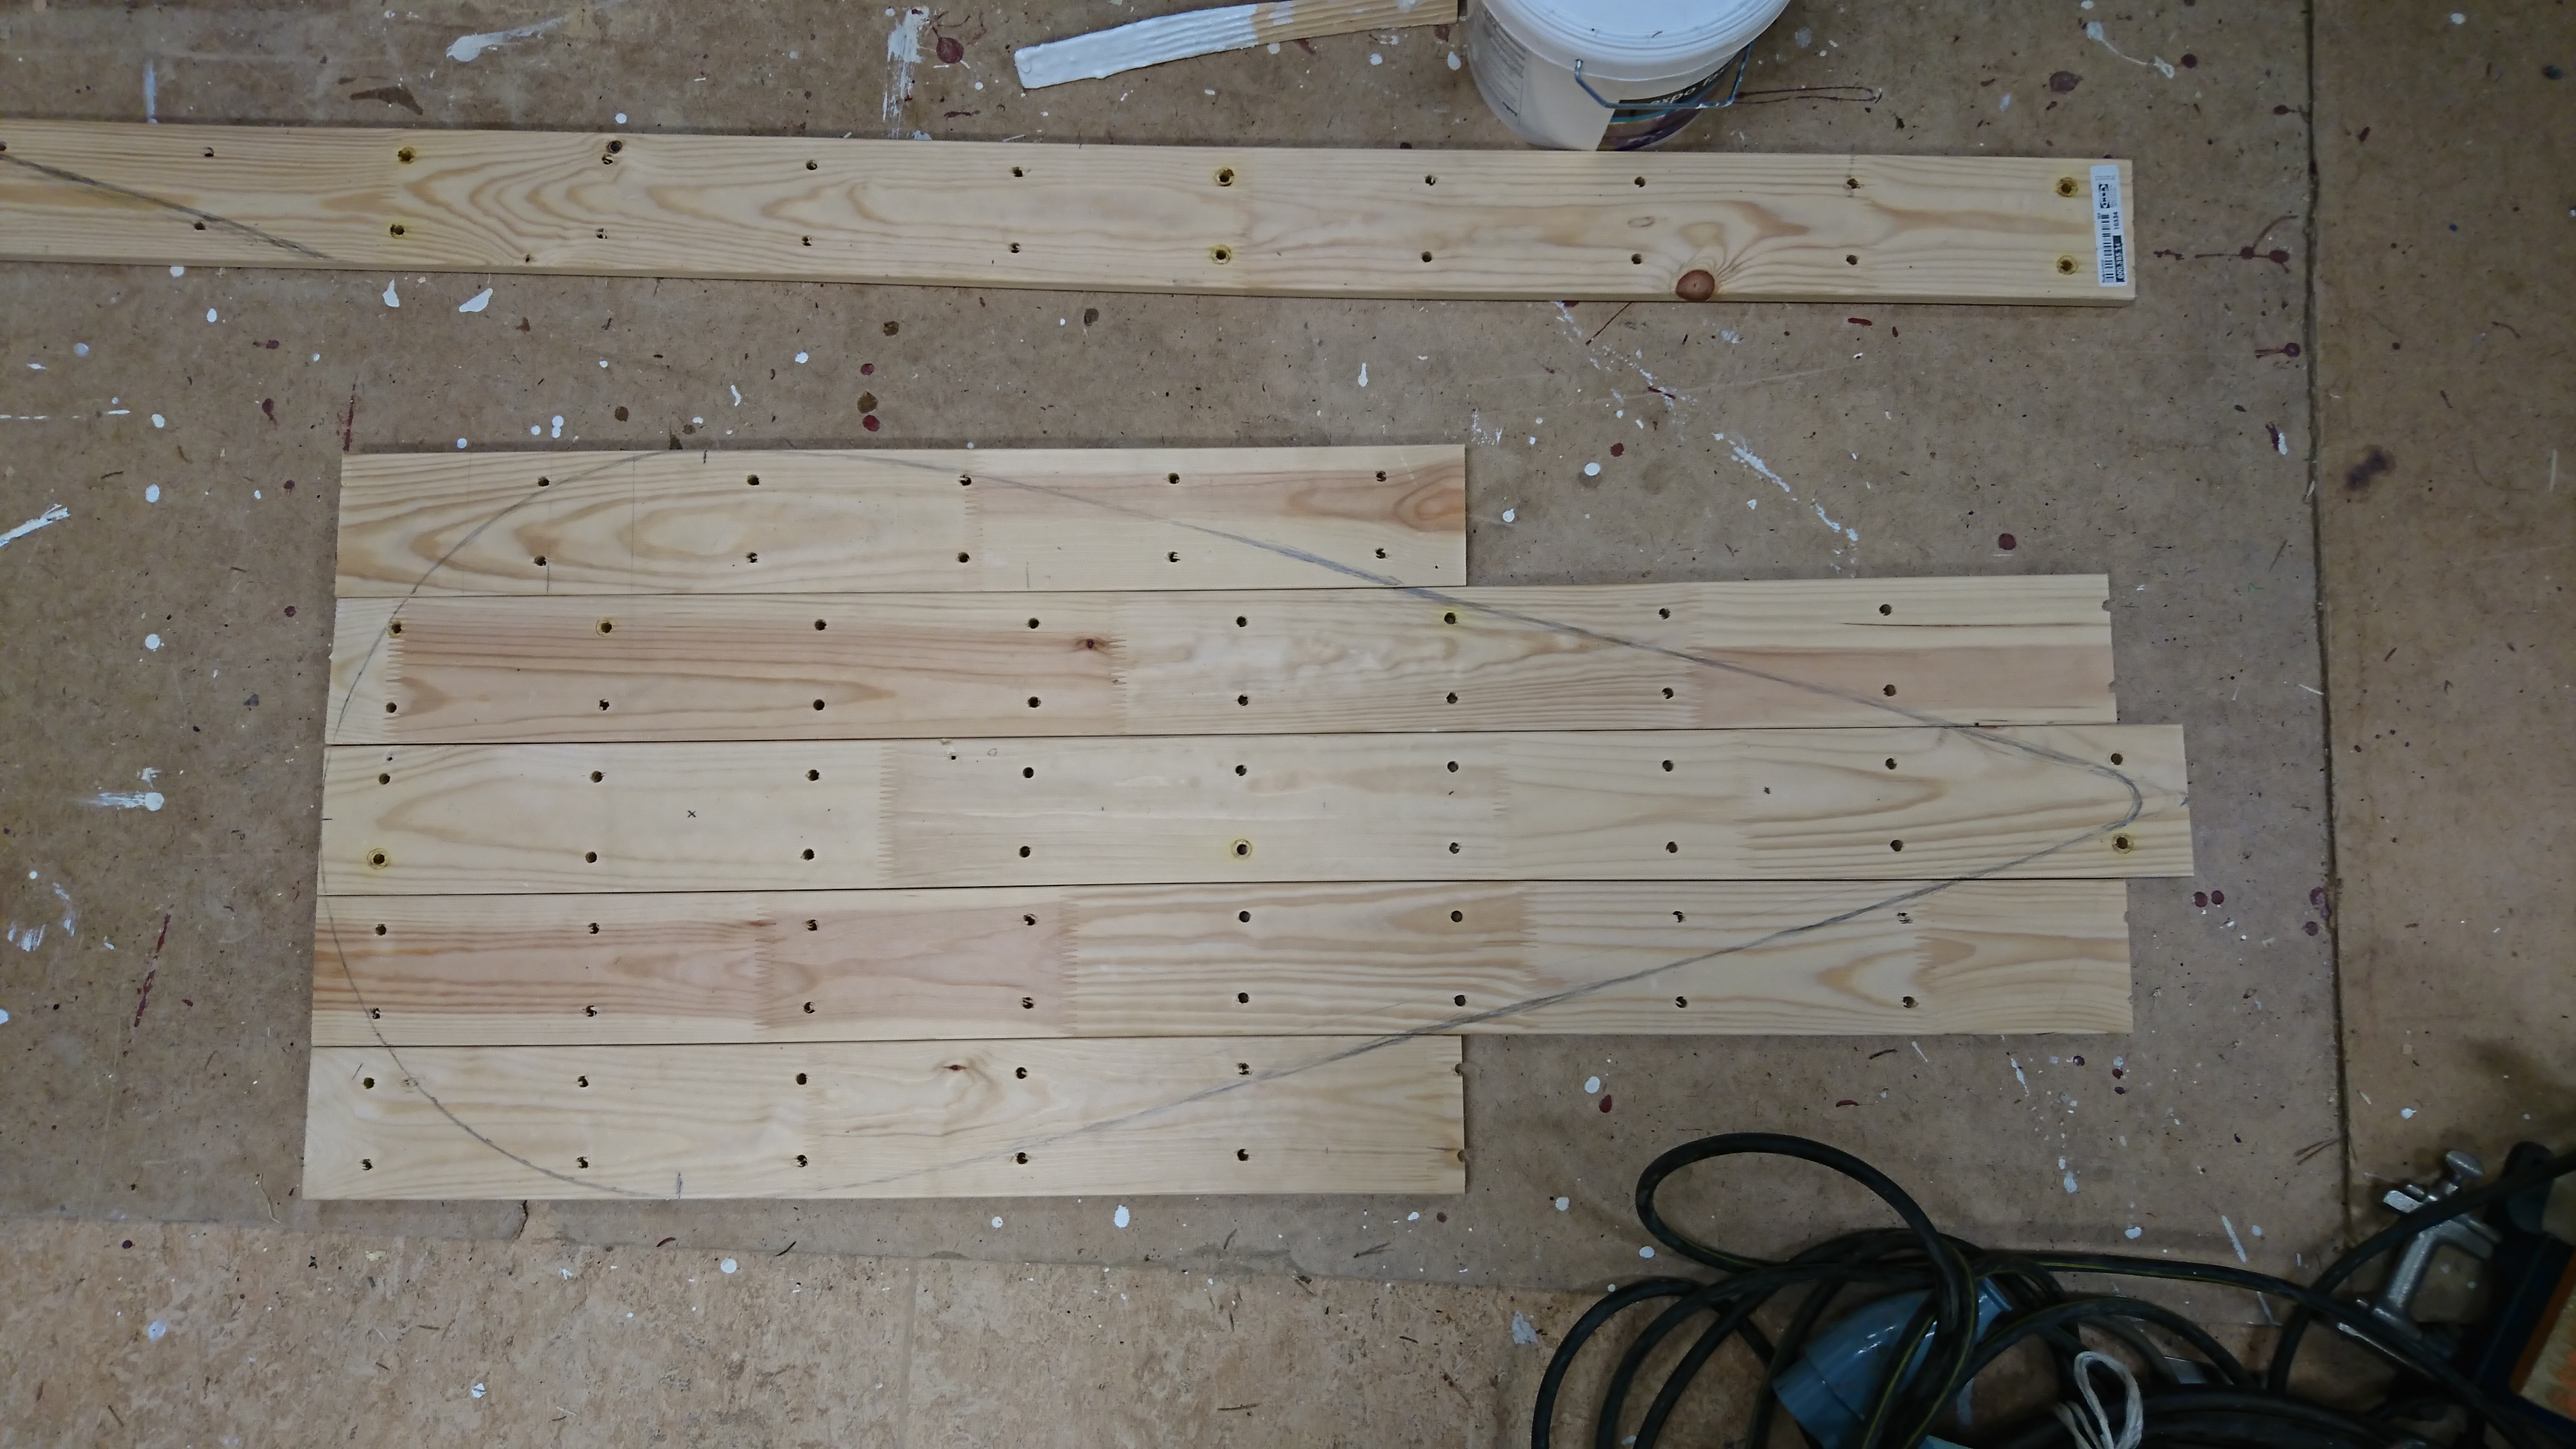
More easy-to-handle boards.
Step 4: Tapering the edges
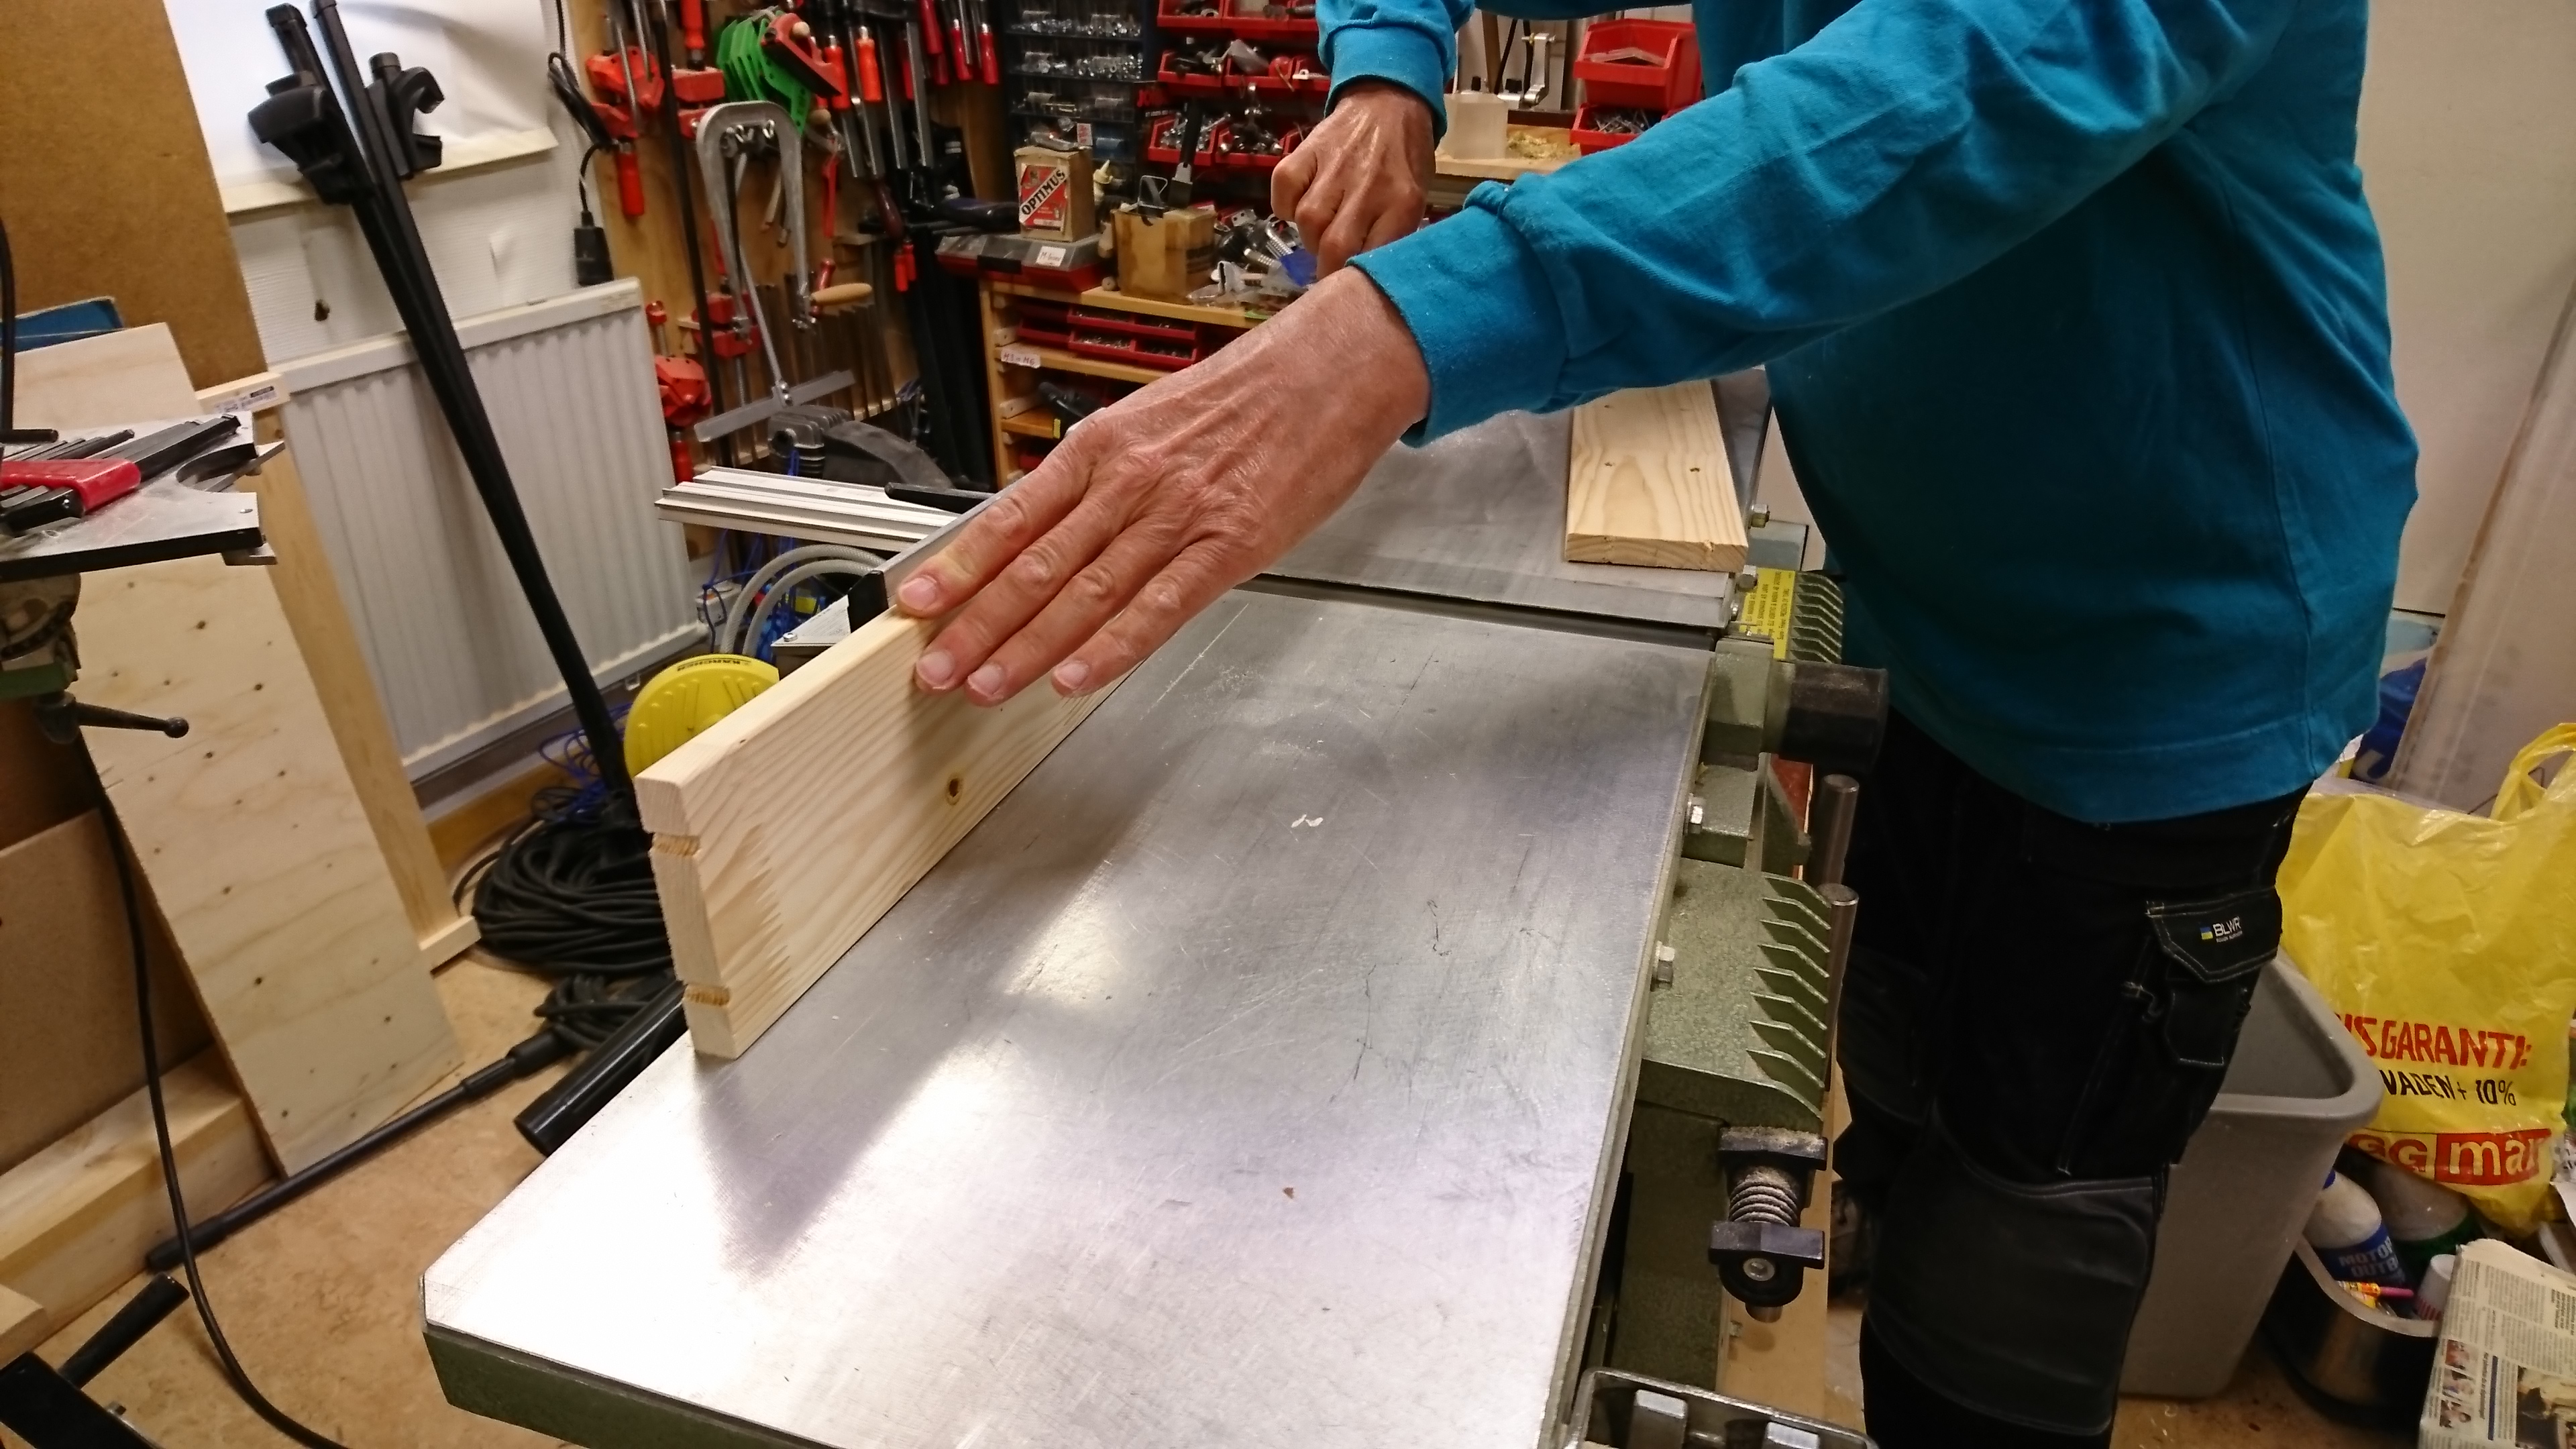
An integral part of the project was the fact that I did not want a flat shield, but a curved one. This ment that each board had to be slightly tapered before being fitted with the others.
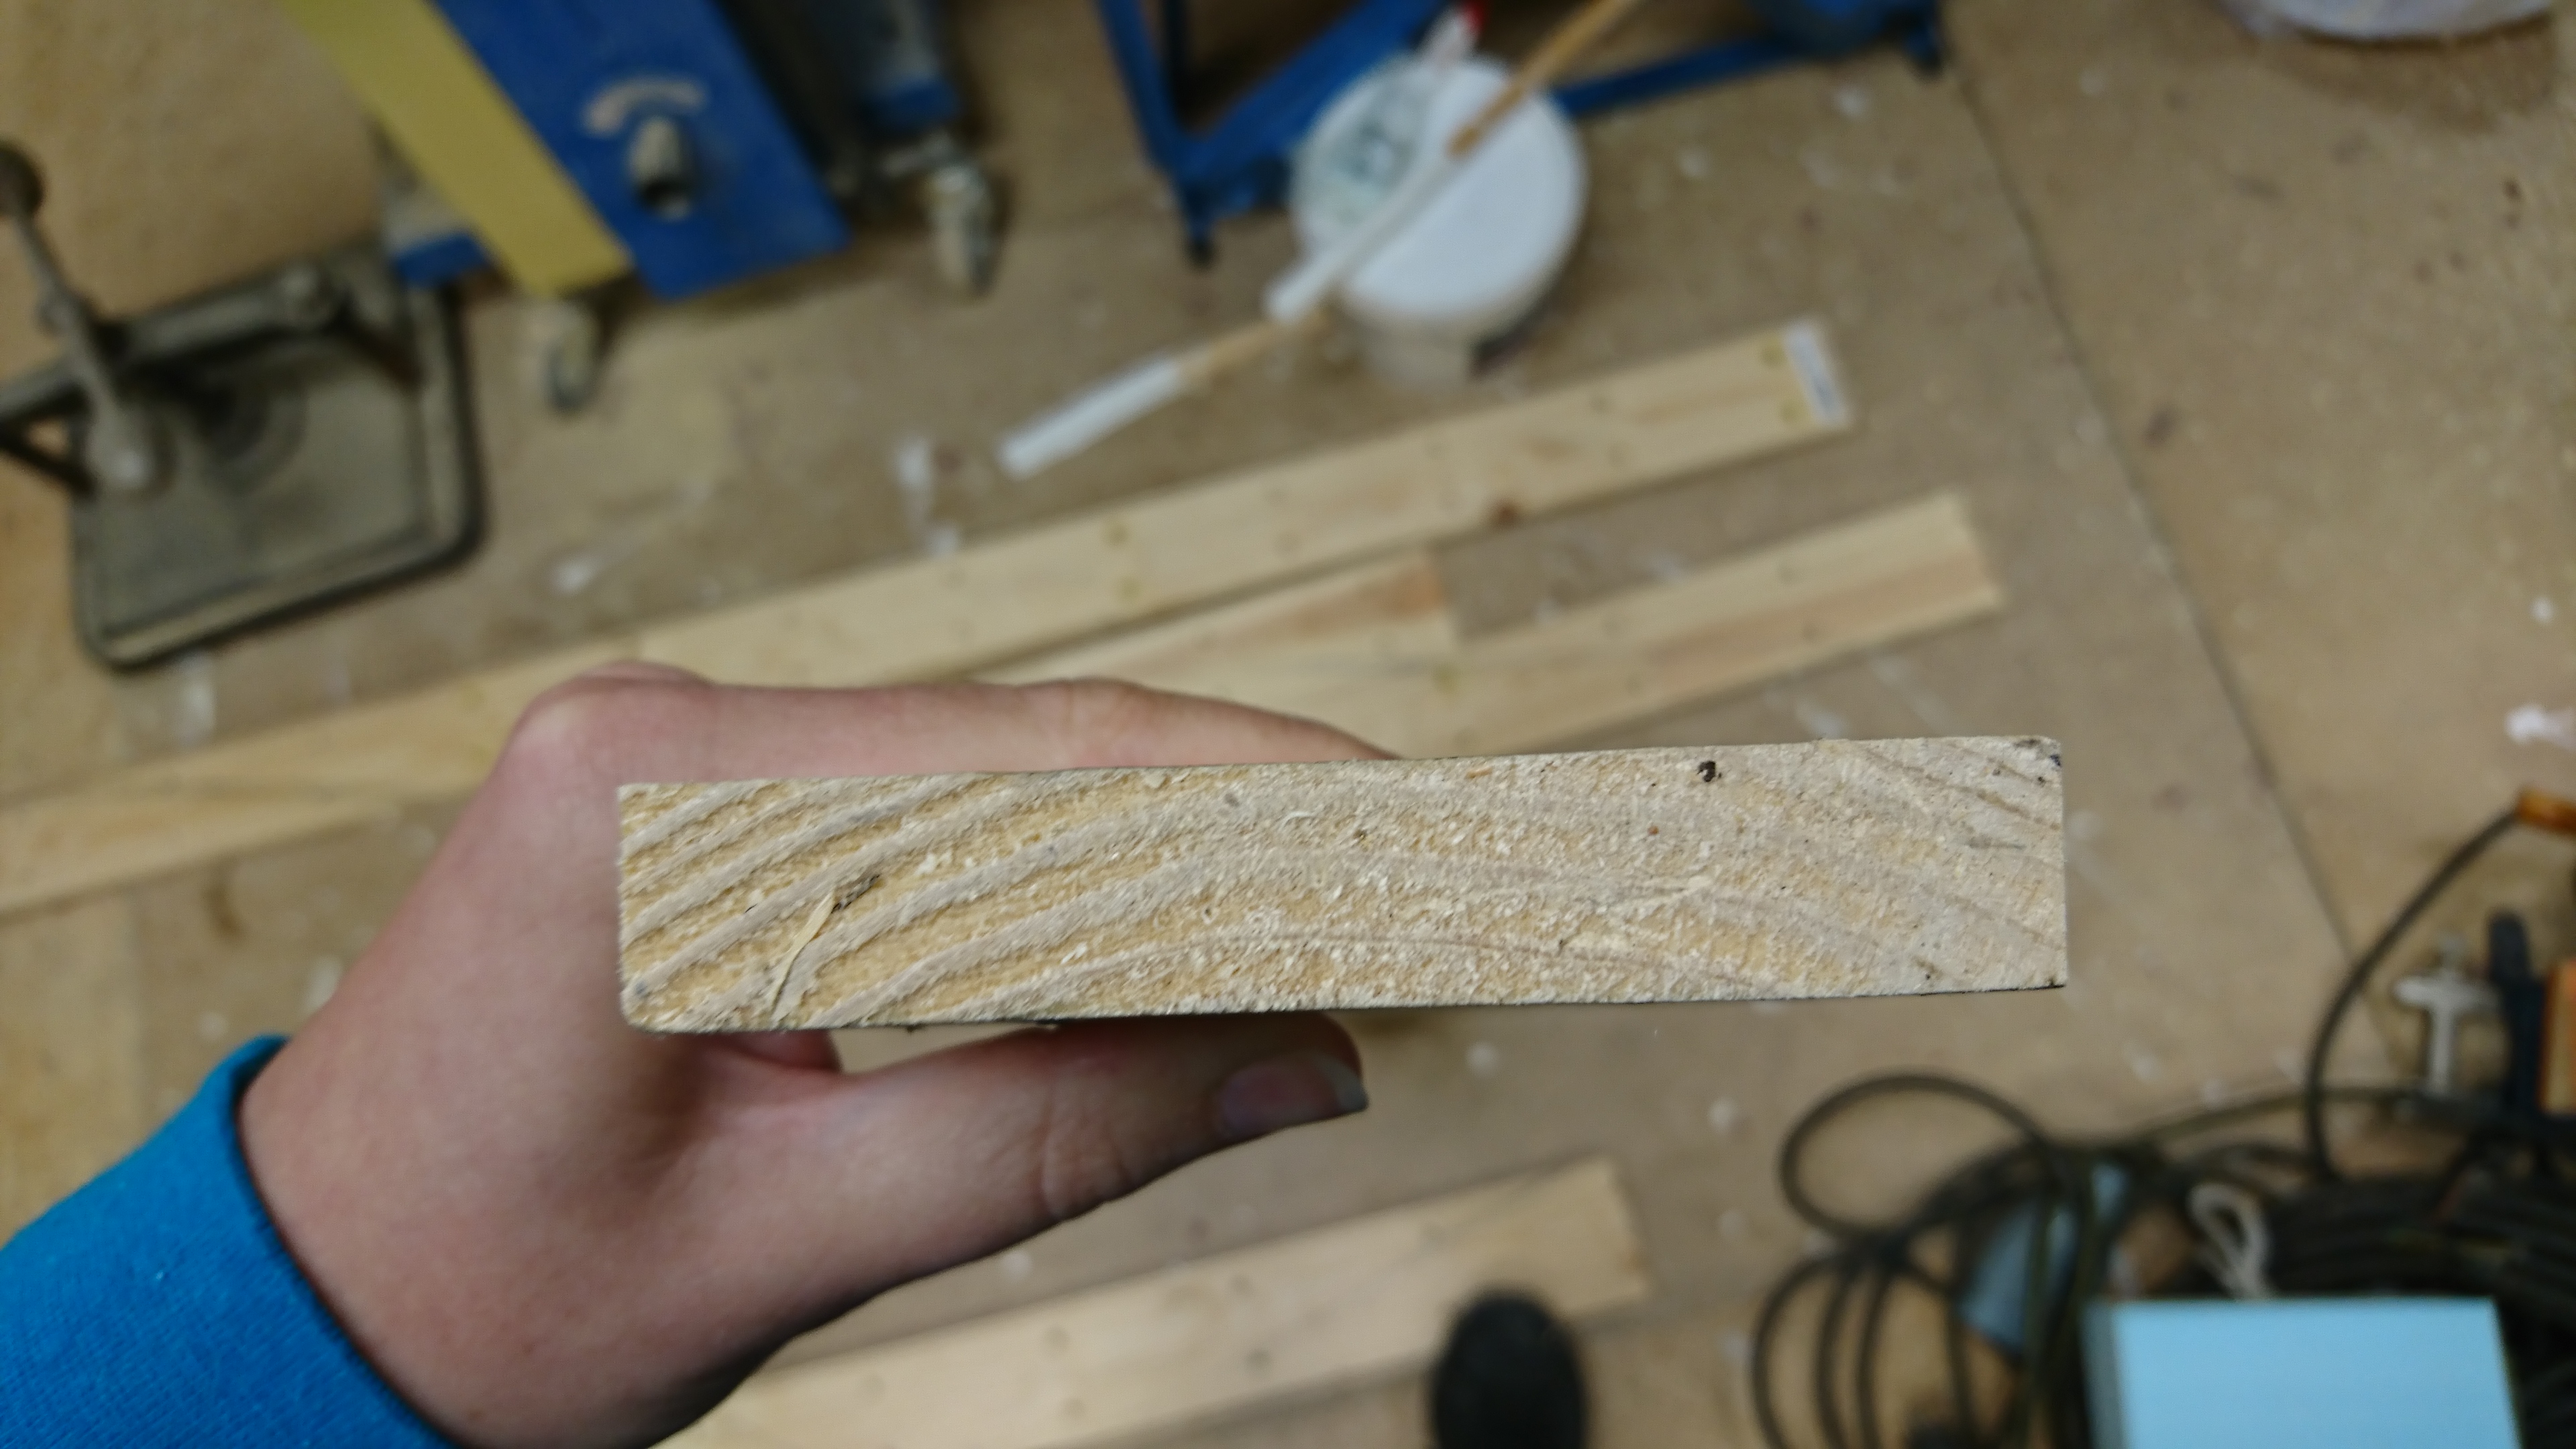
We removed maybe a millimeter of one of the edges on each side of the boards.
Step 5: Biscuit time!
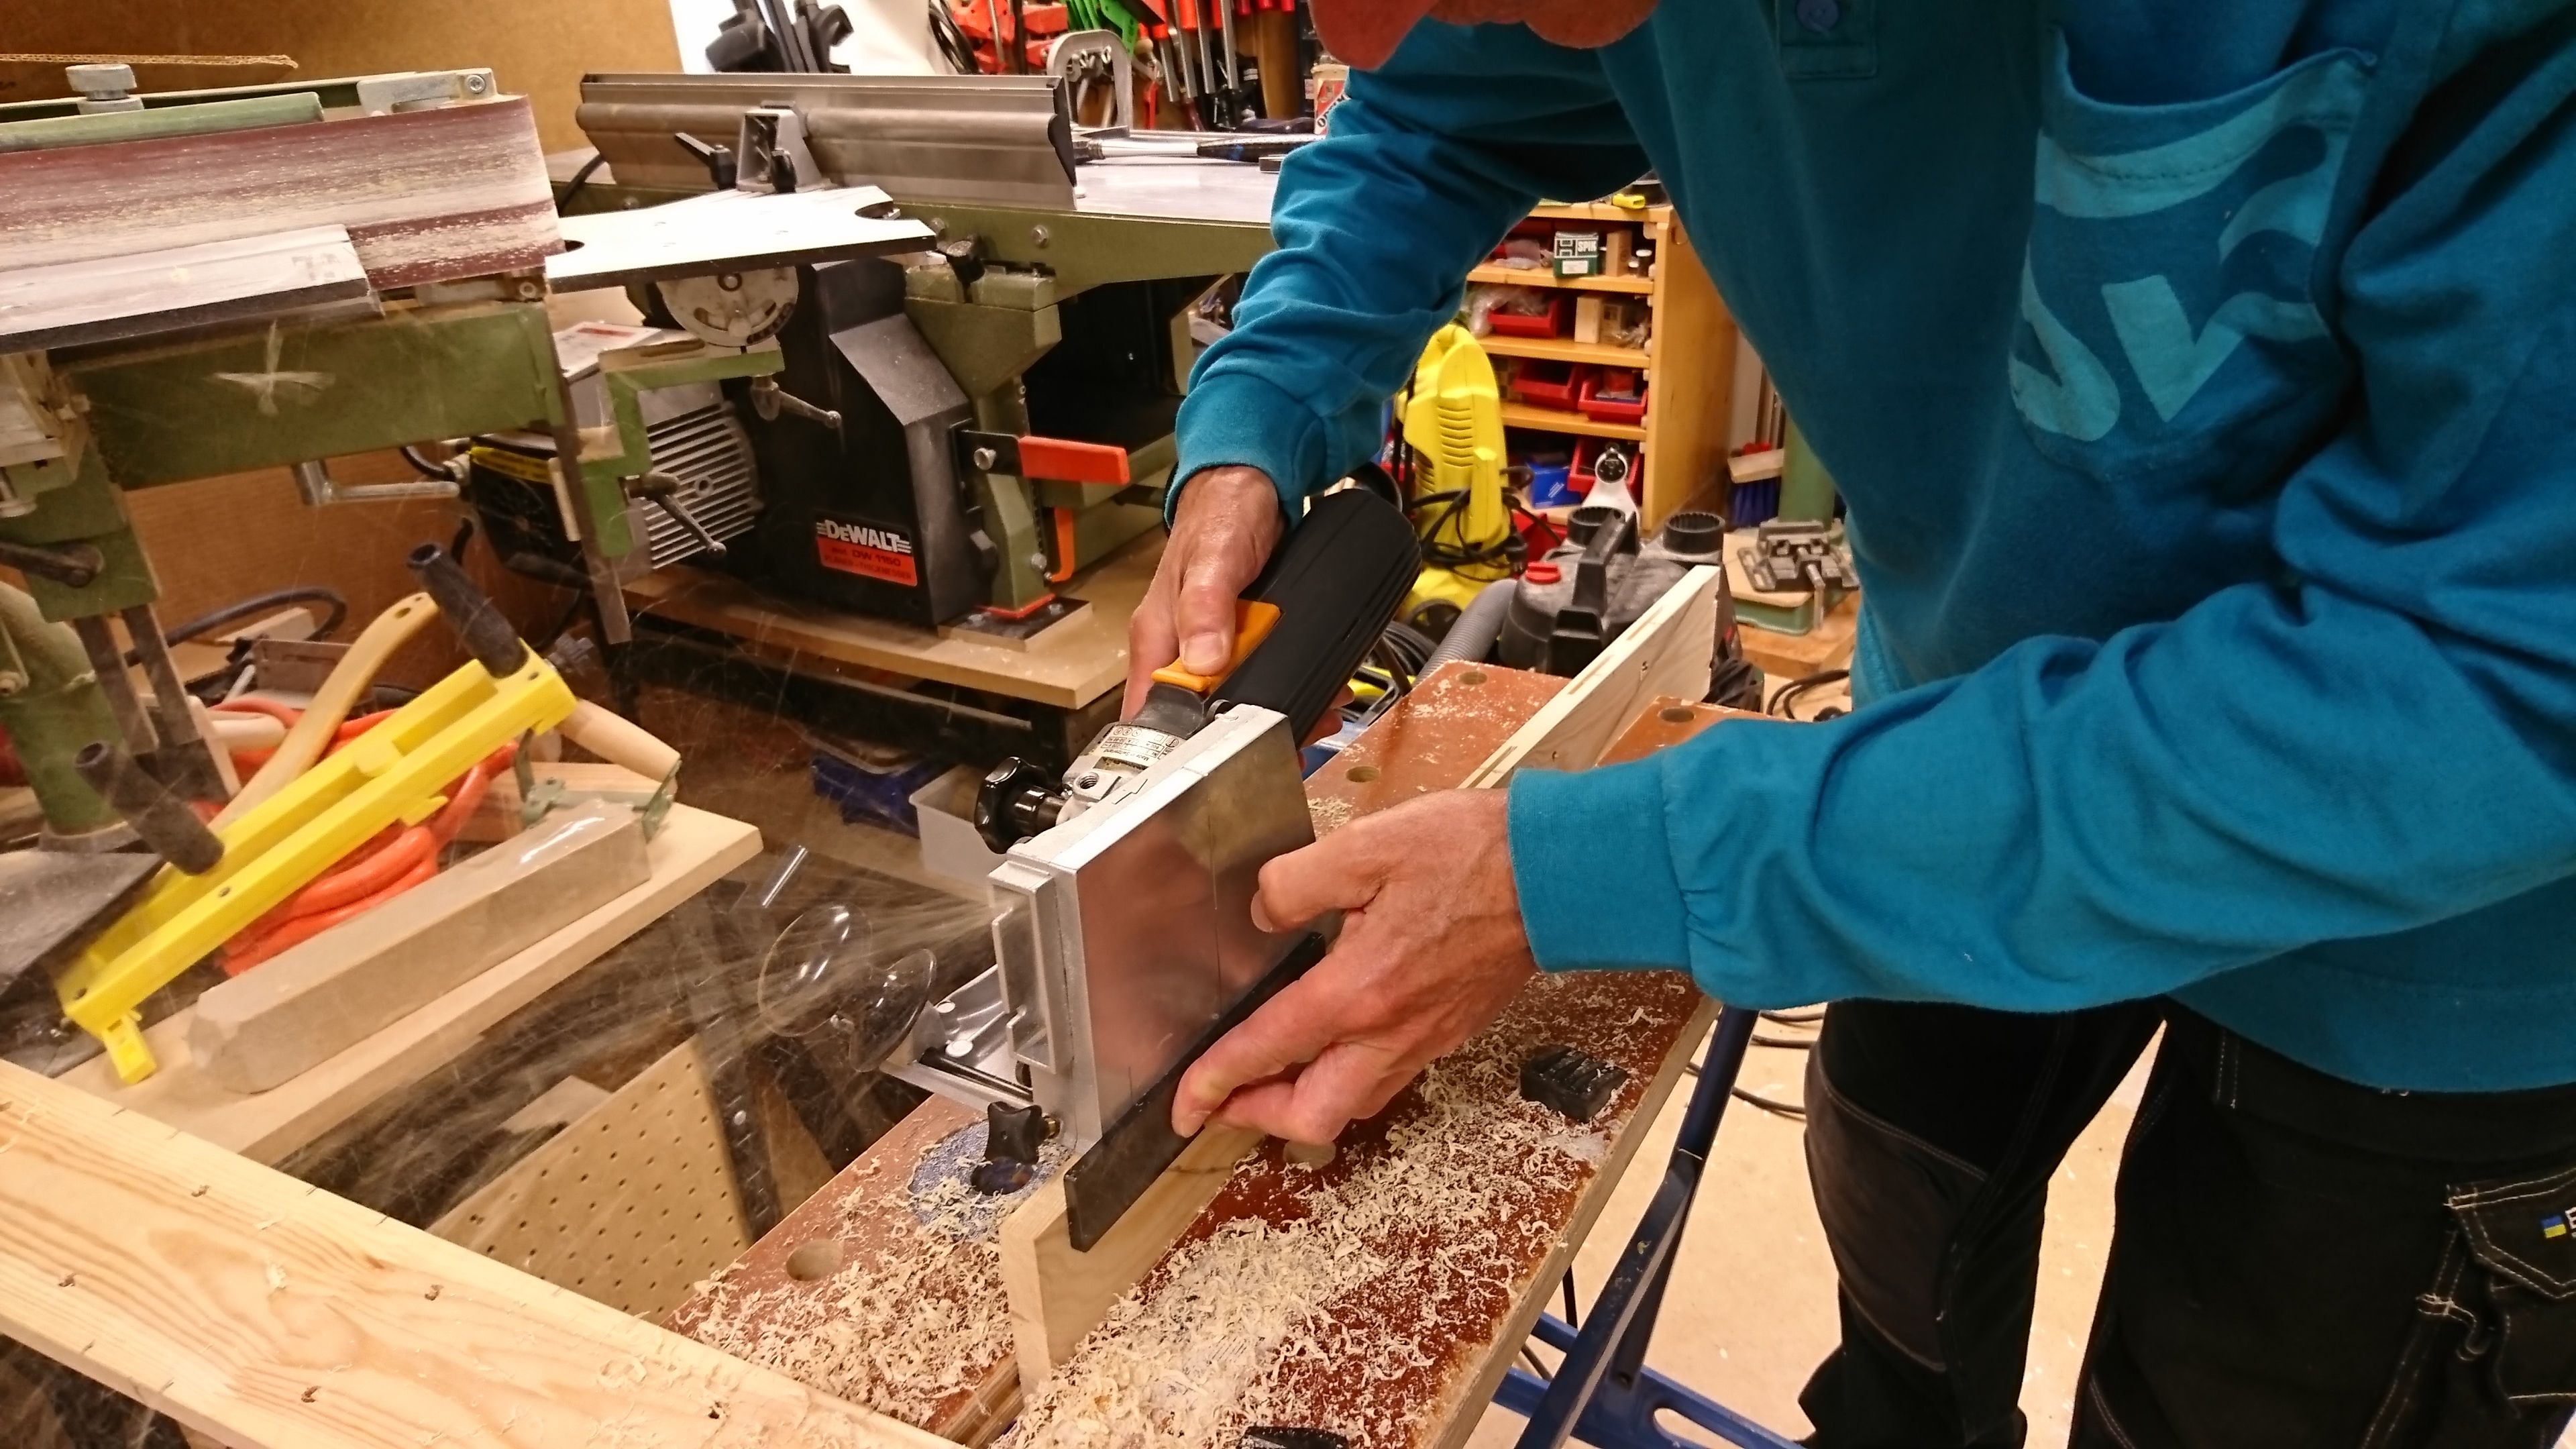
In order to fit the boards together, we used a biscuit joiner to create the tracks in which to put wooden biscuits. Their purpose it to make sure the different wooden parts stay close together and don't slide in any direction when put under pressure.
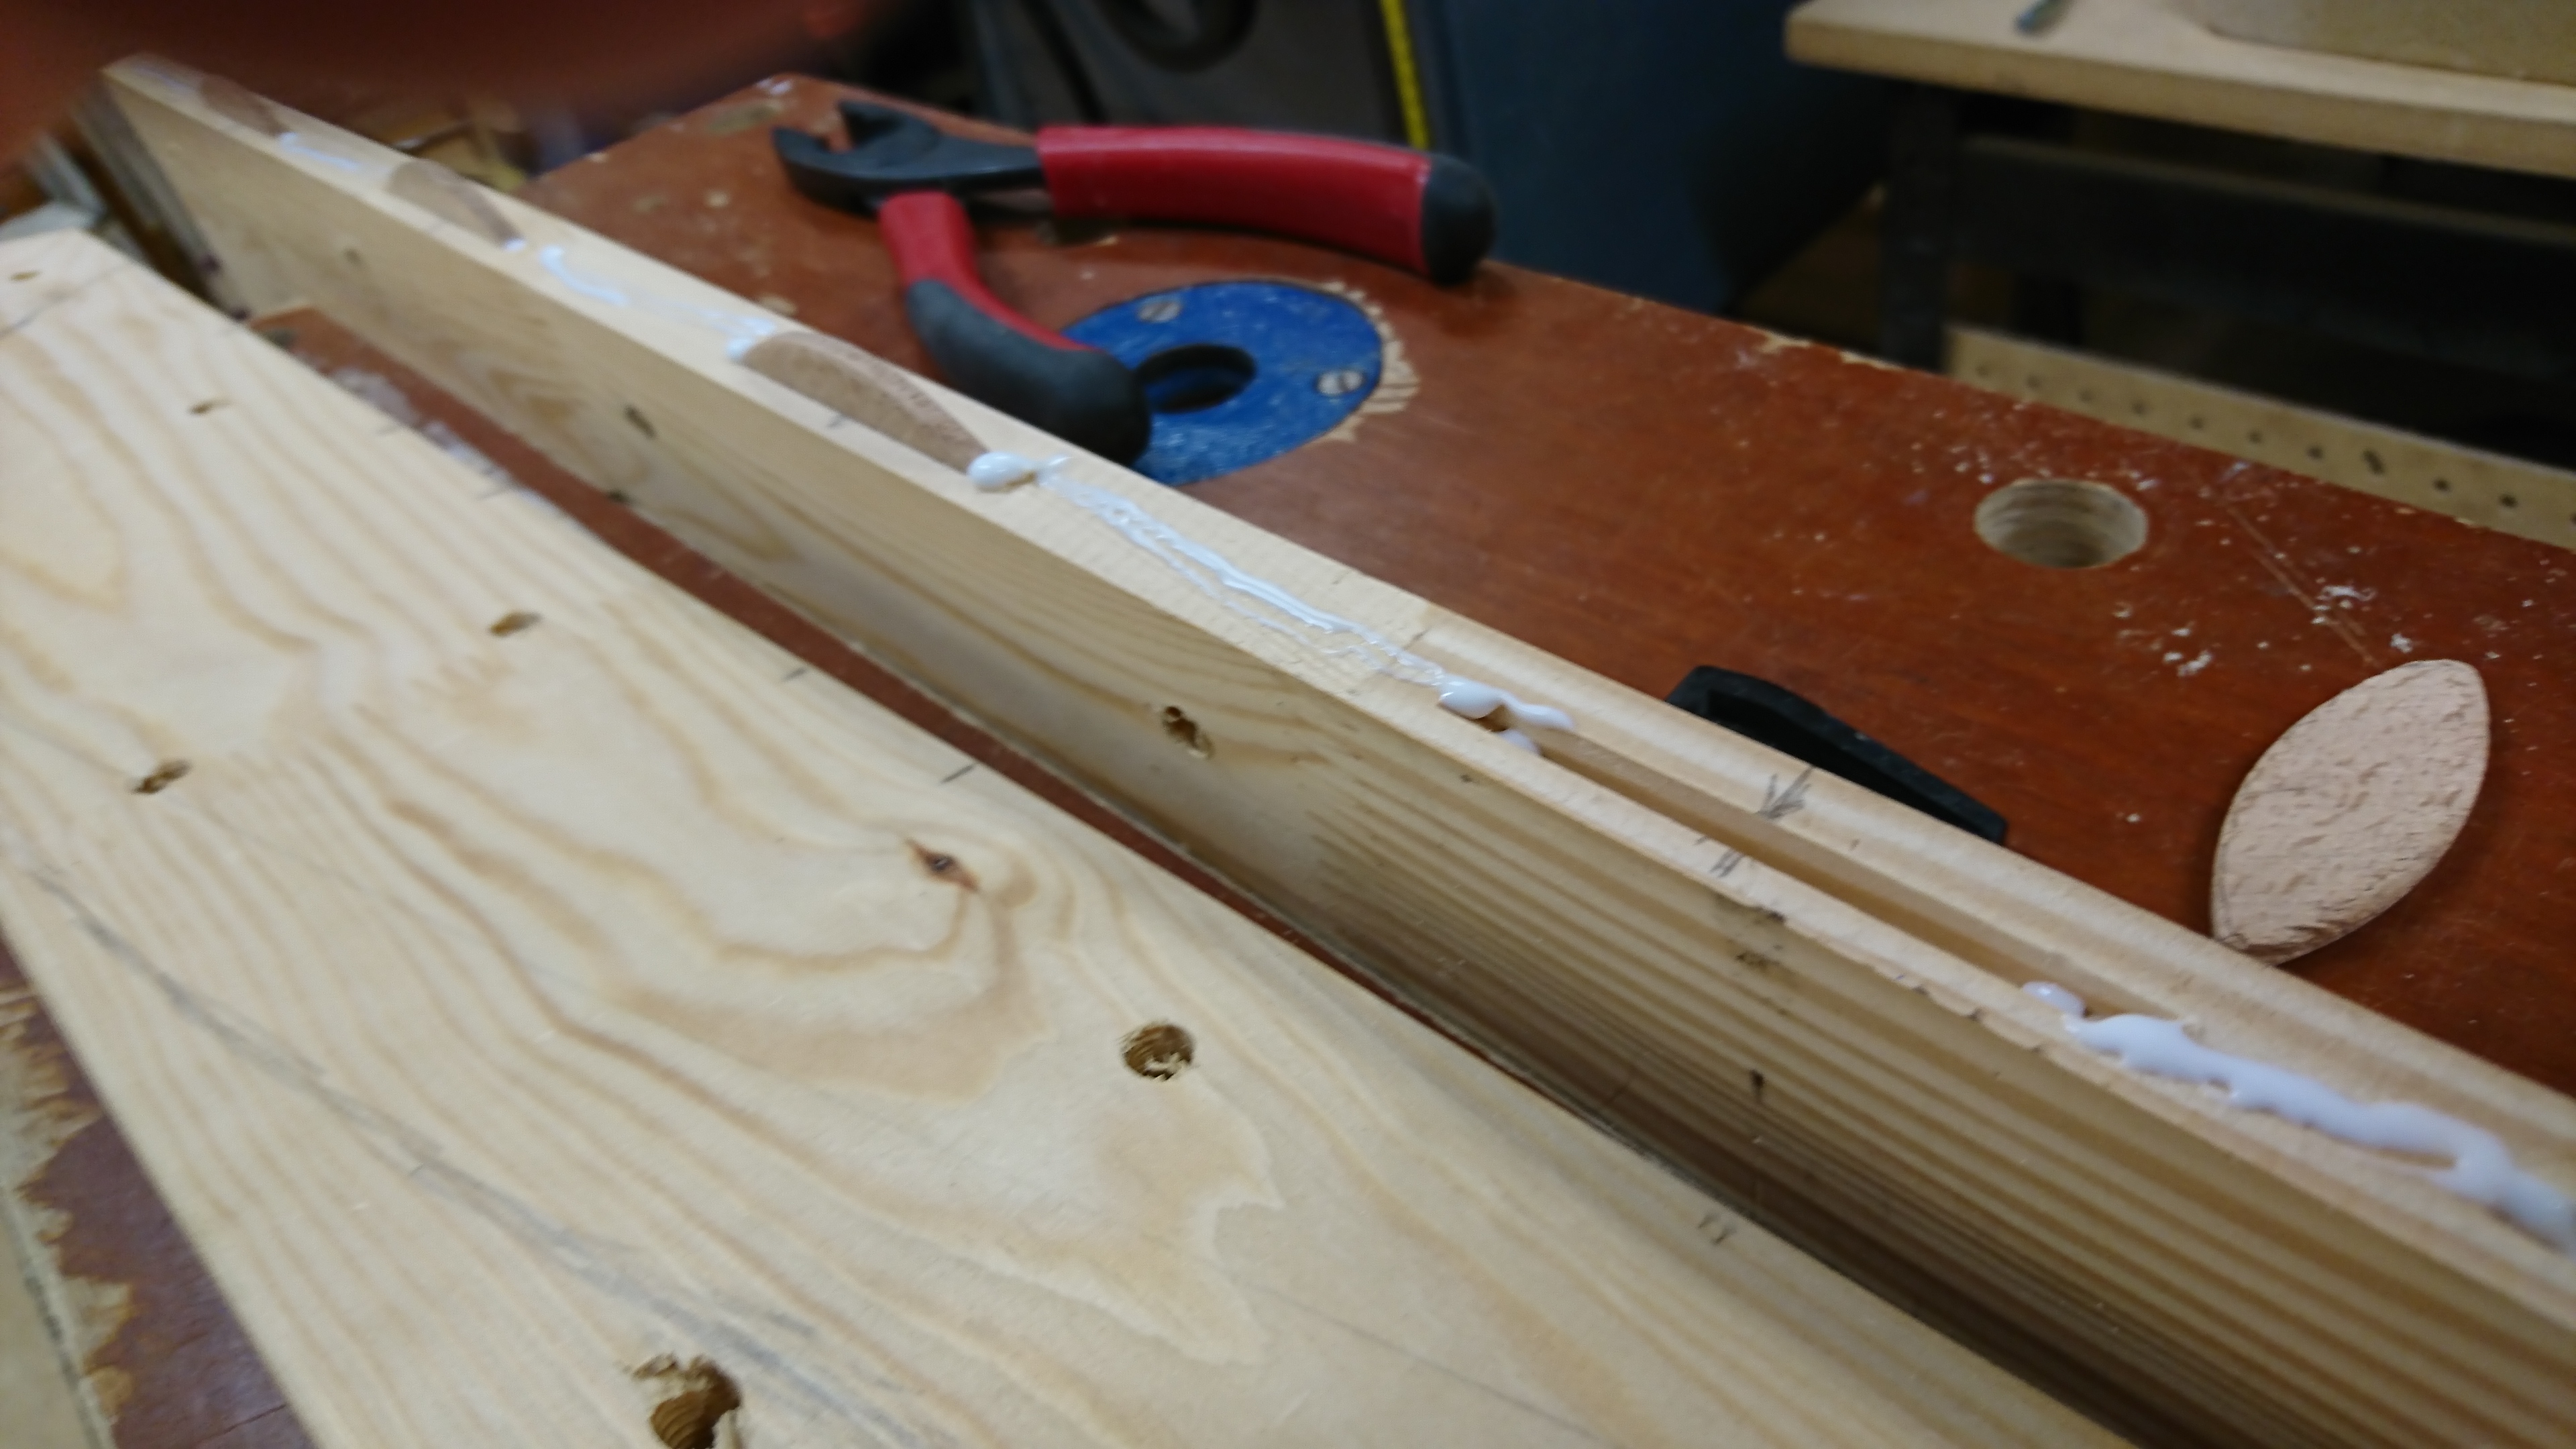
We added wood glue to the tracks as well as the sides of the boards to make it all stick together properly.
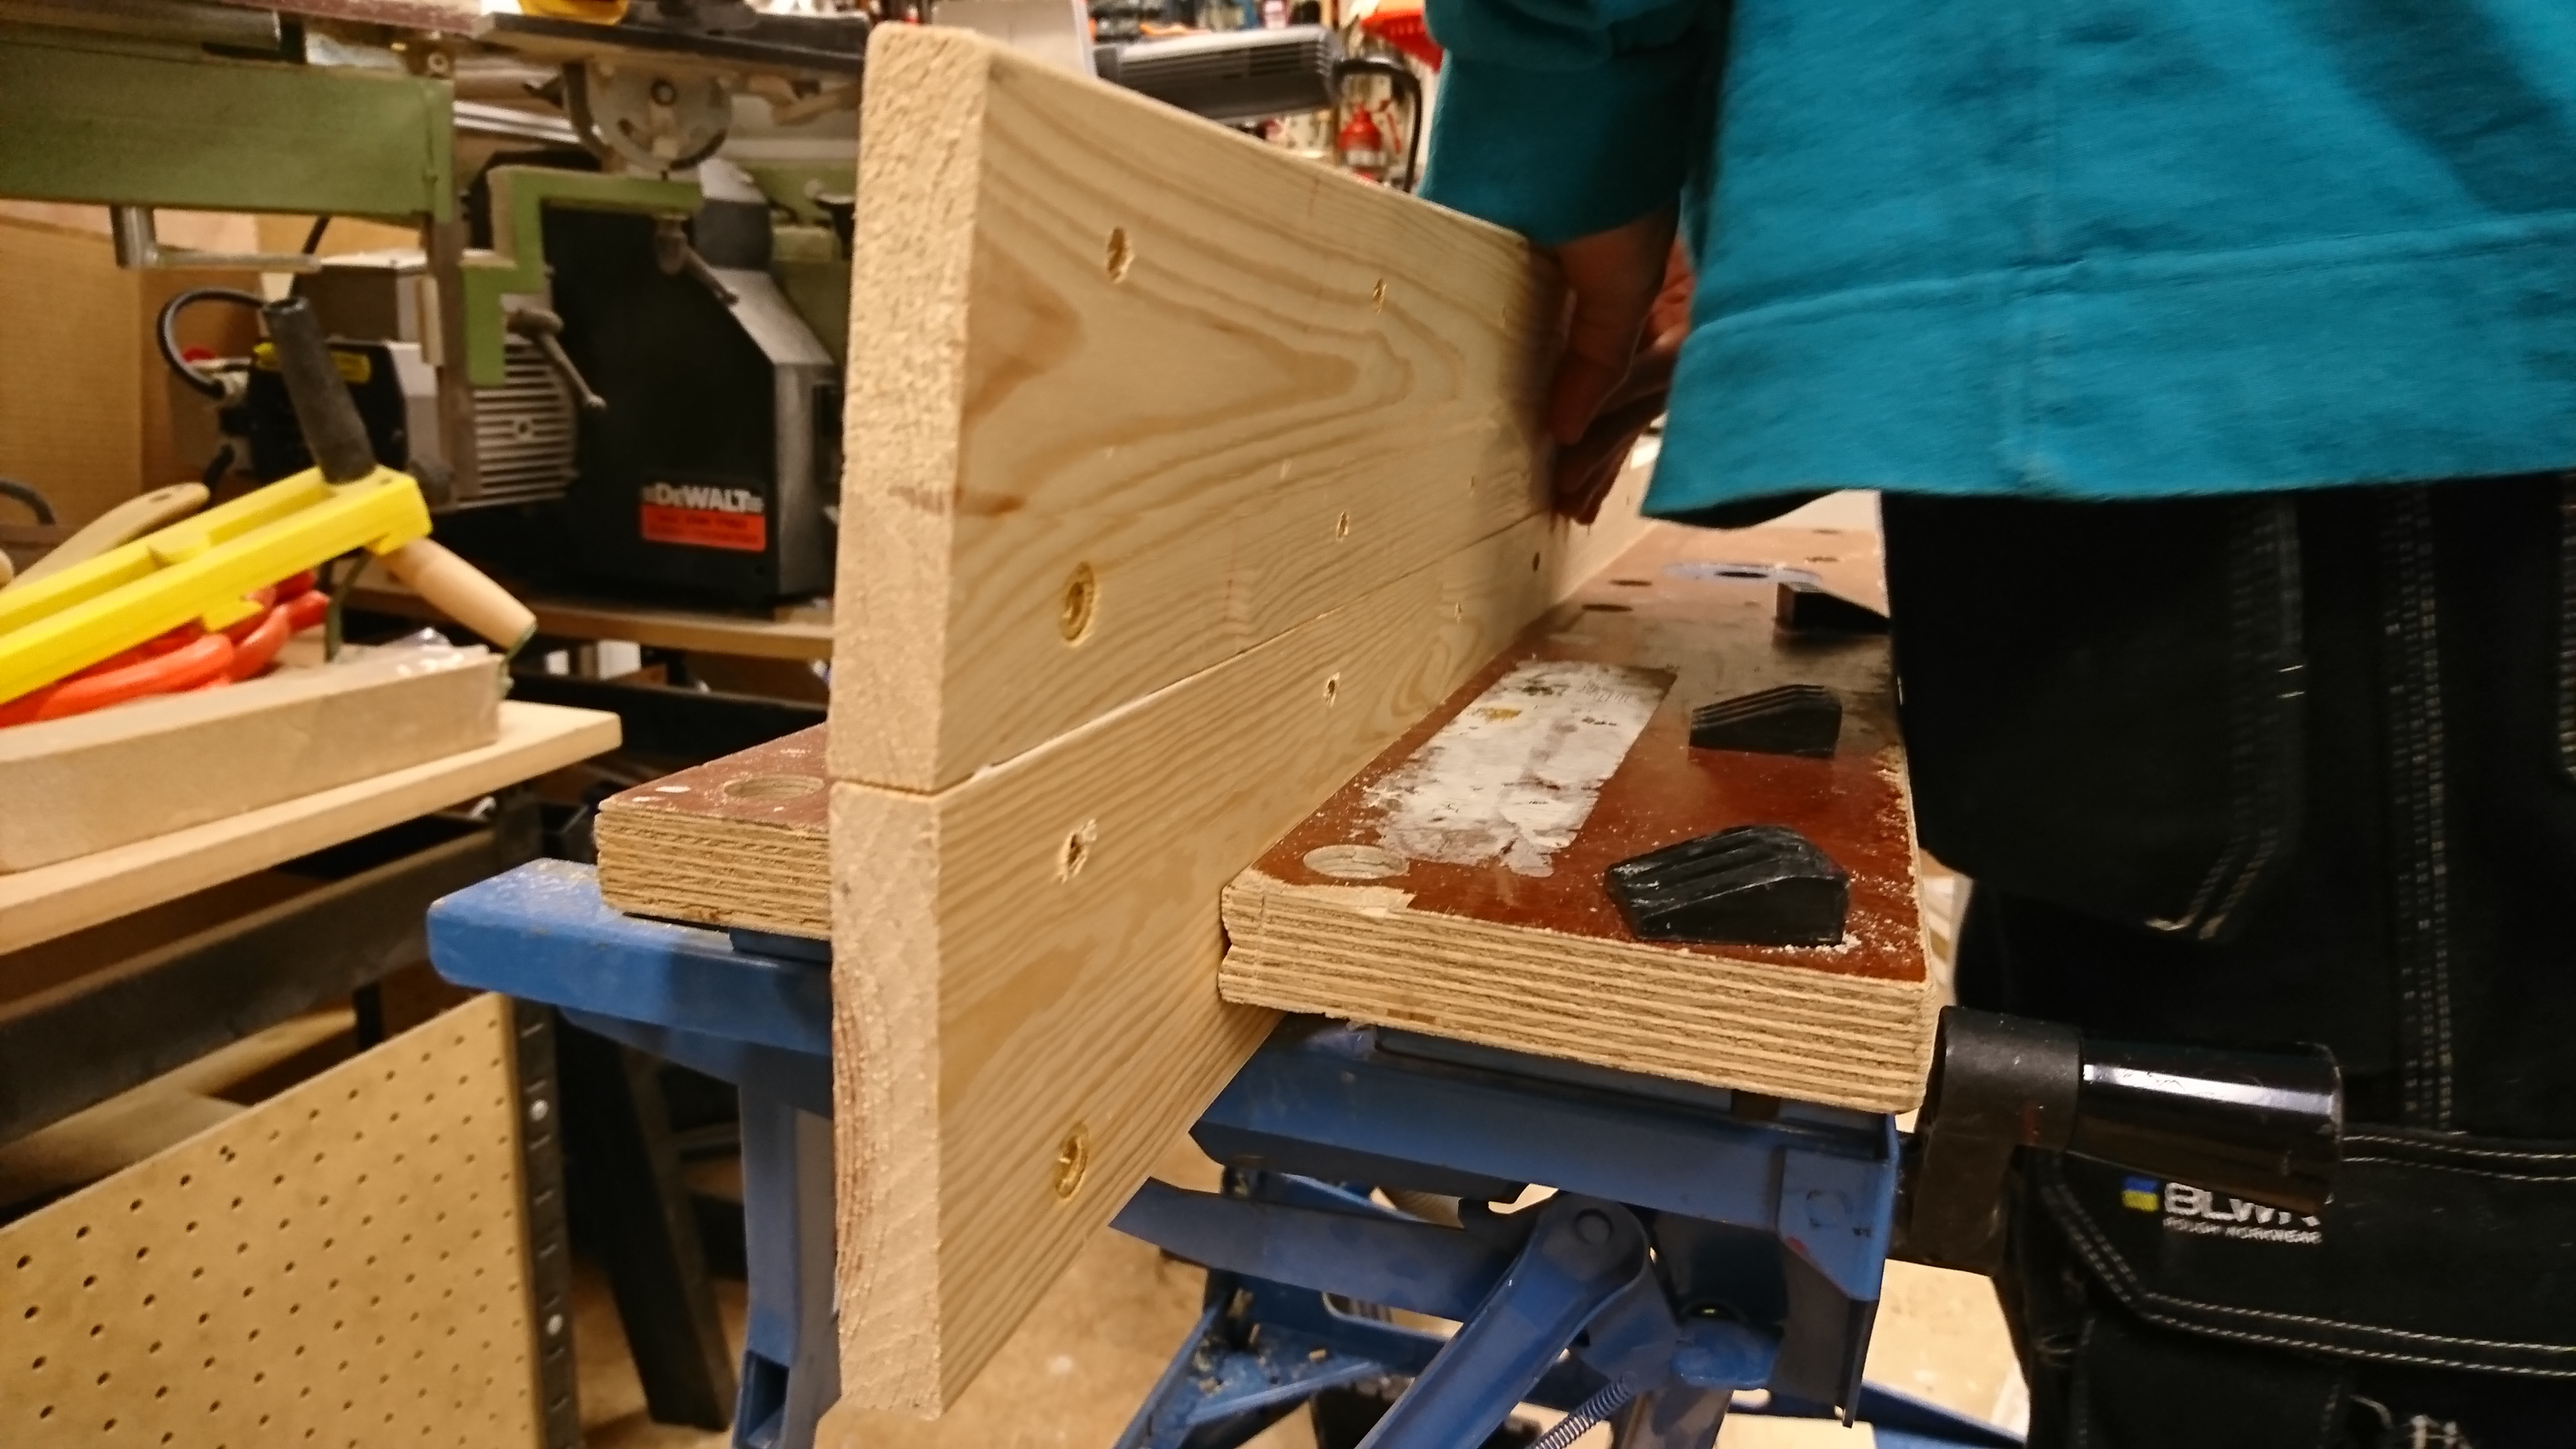
When that was done, we put the boards together. Carefully, as not to break them since they were at an angle, we fastened them with clamps.
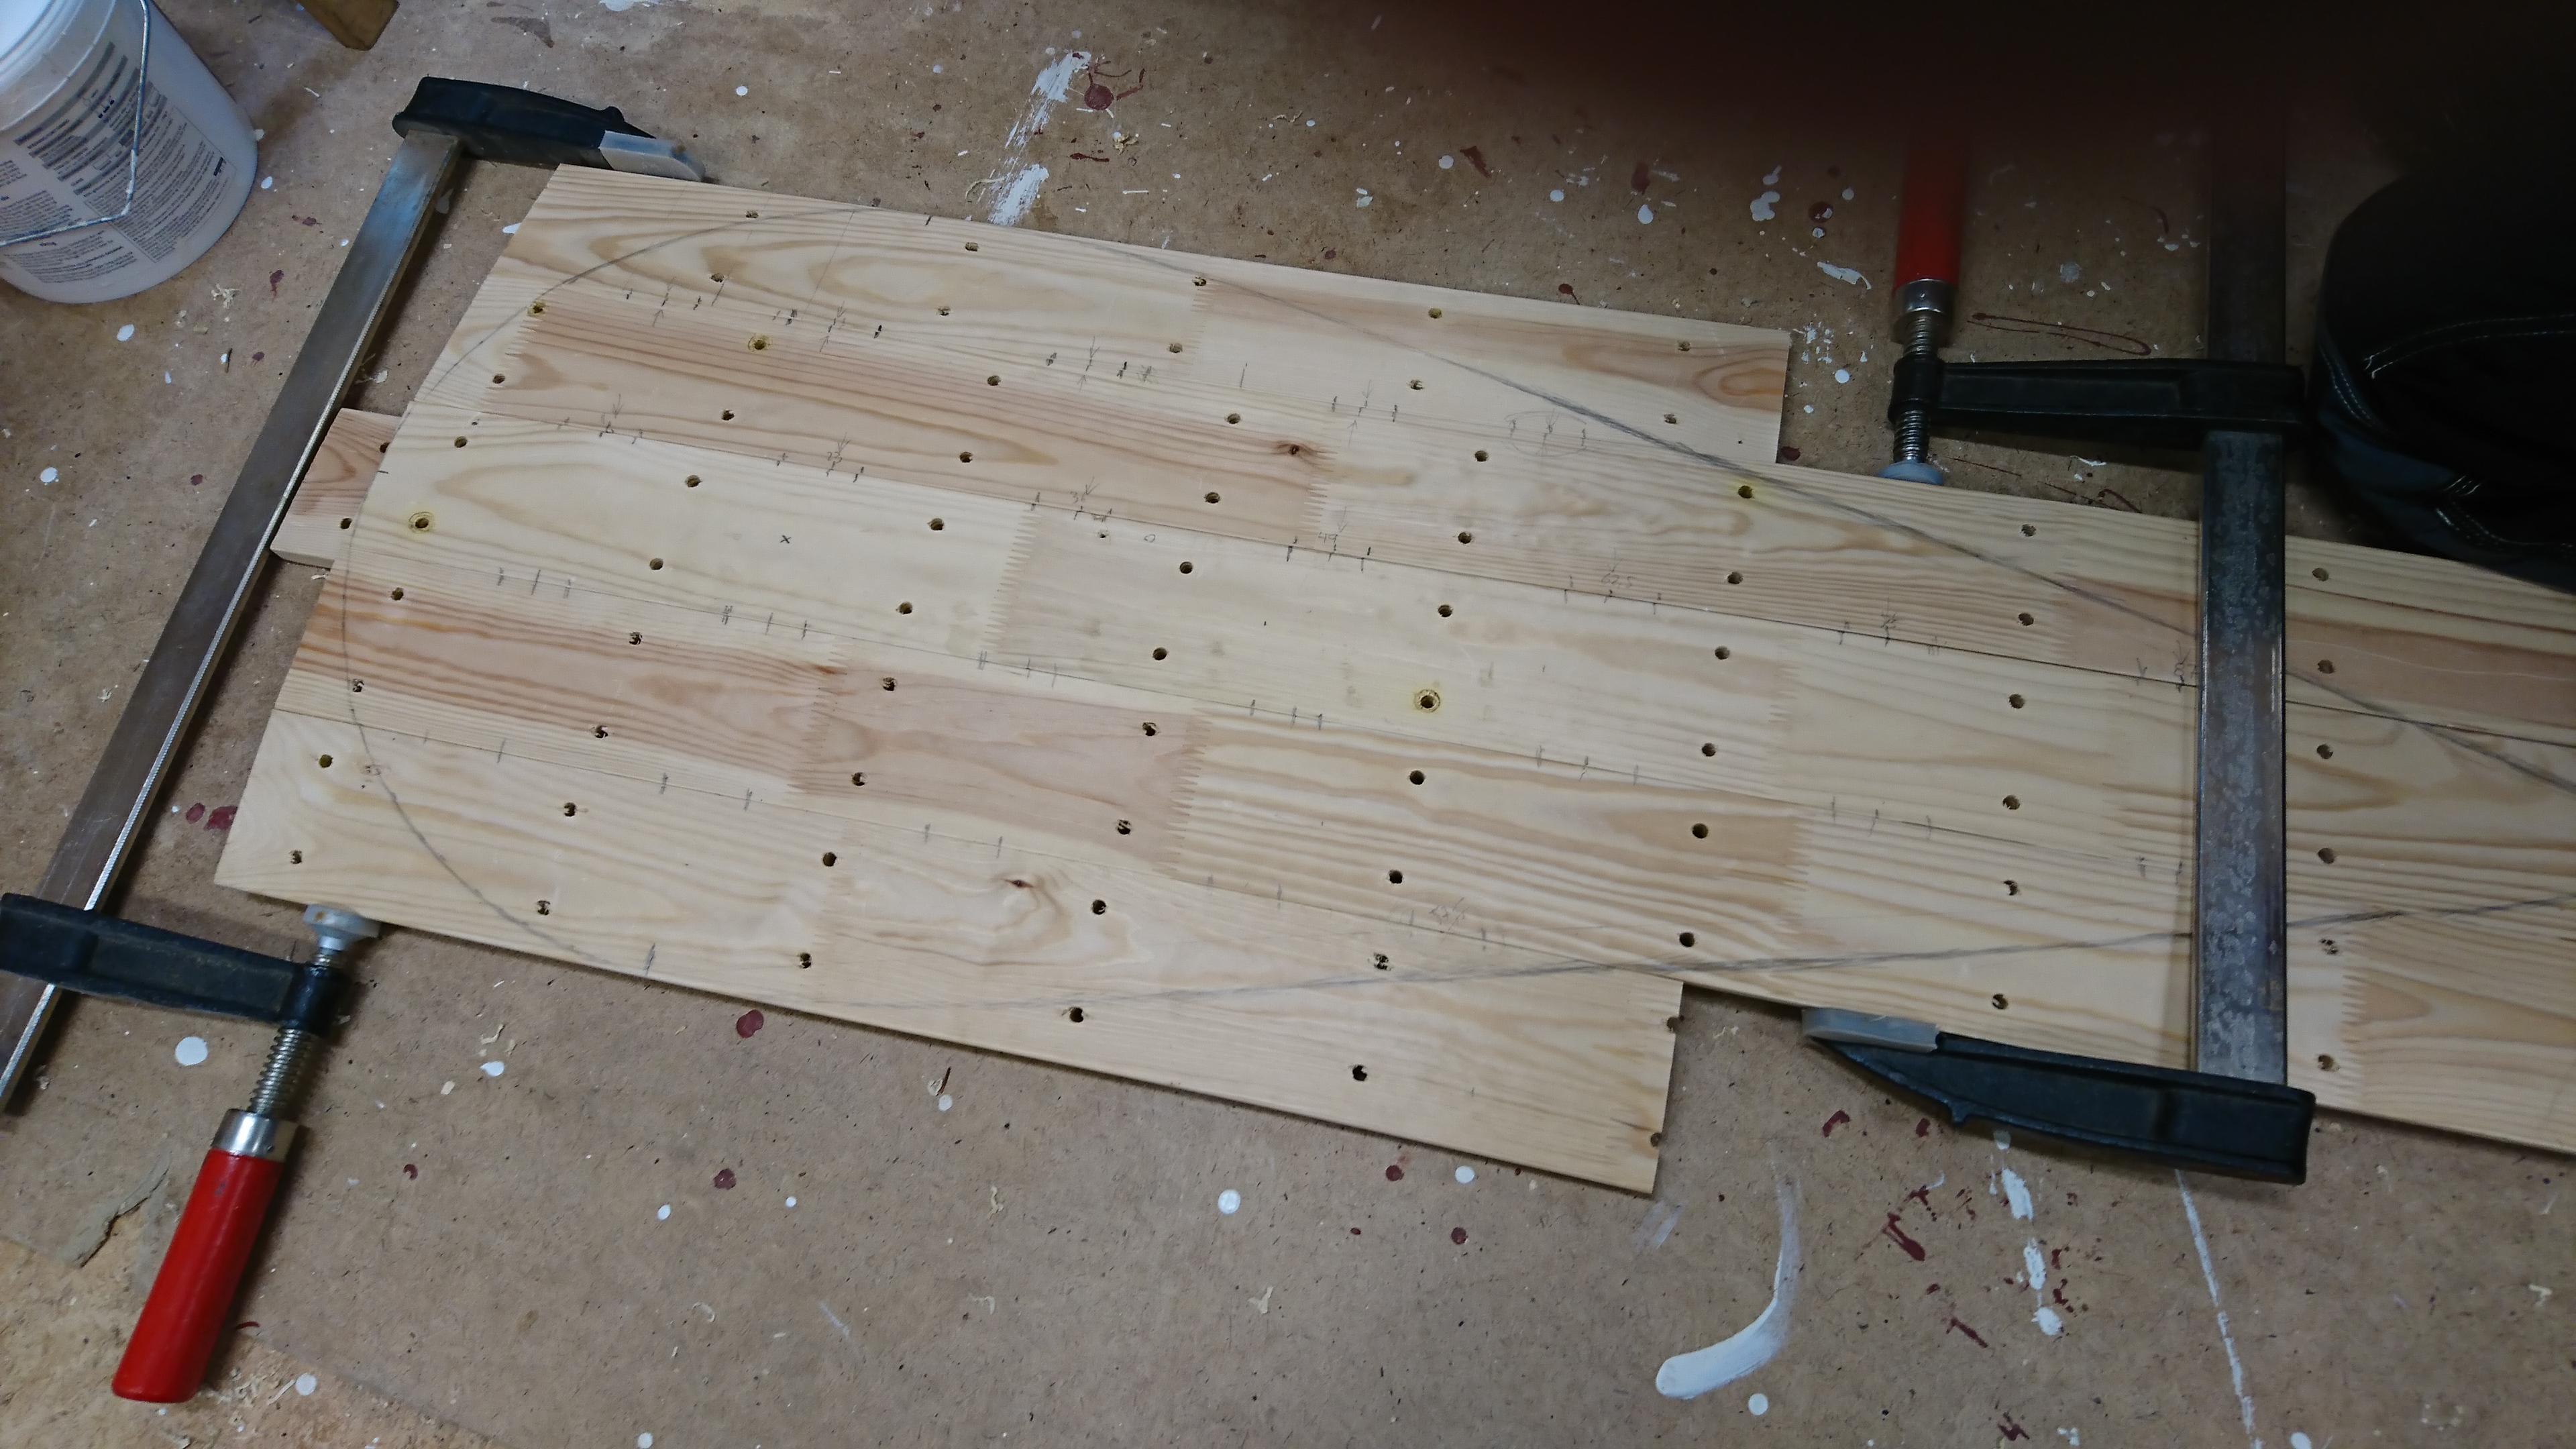
First we joined the two outermost boards on each side. After the glued had dried, we added one more to one of them. In the third step, we put it all together. This then dried overnight.
Step 6: Cut it out
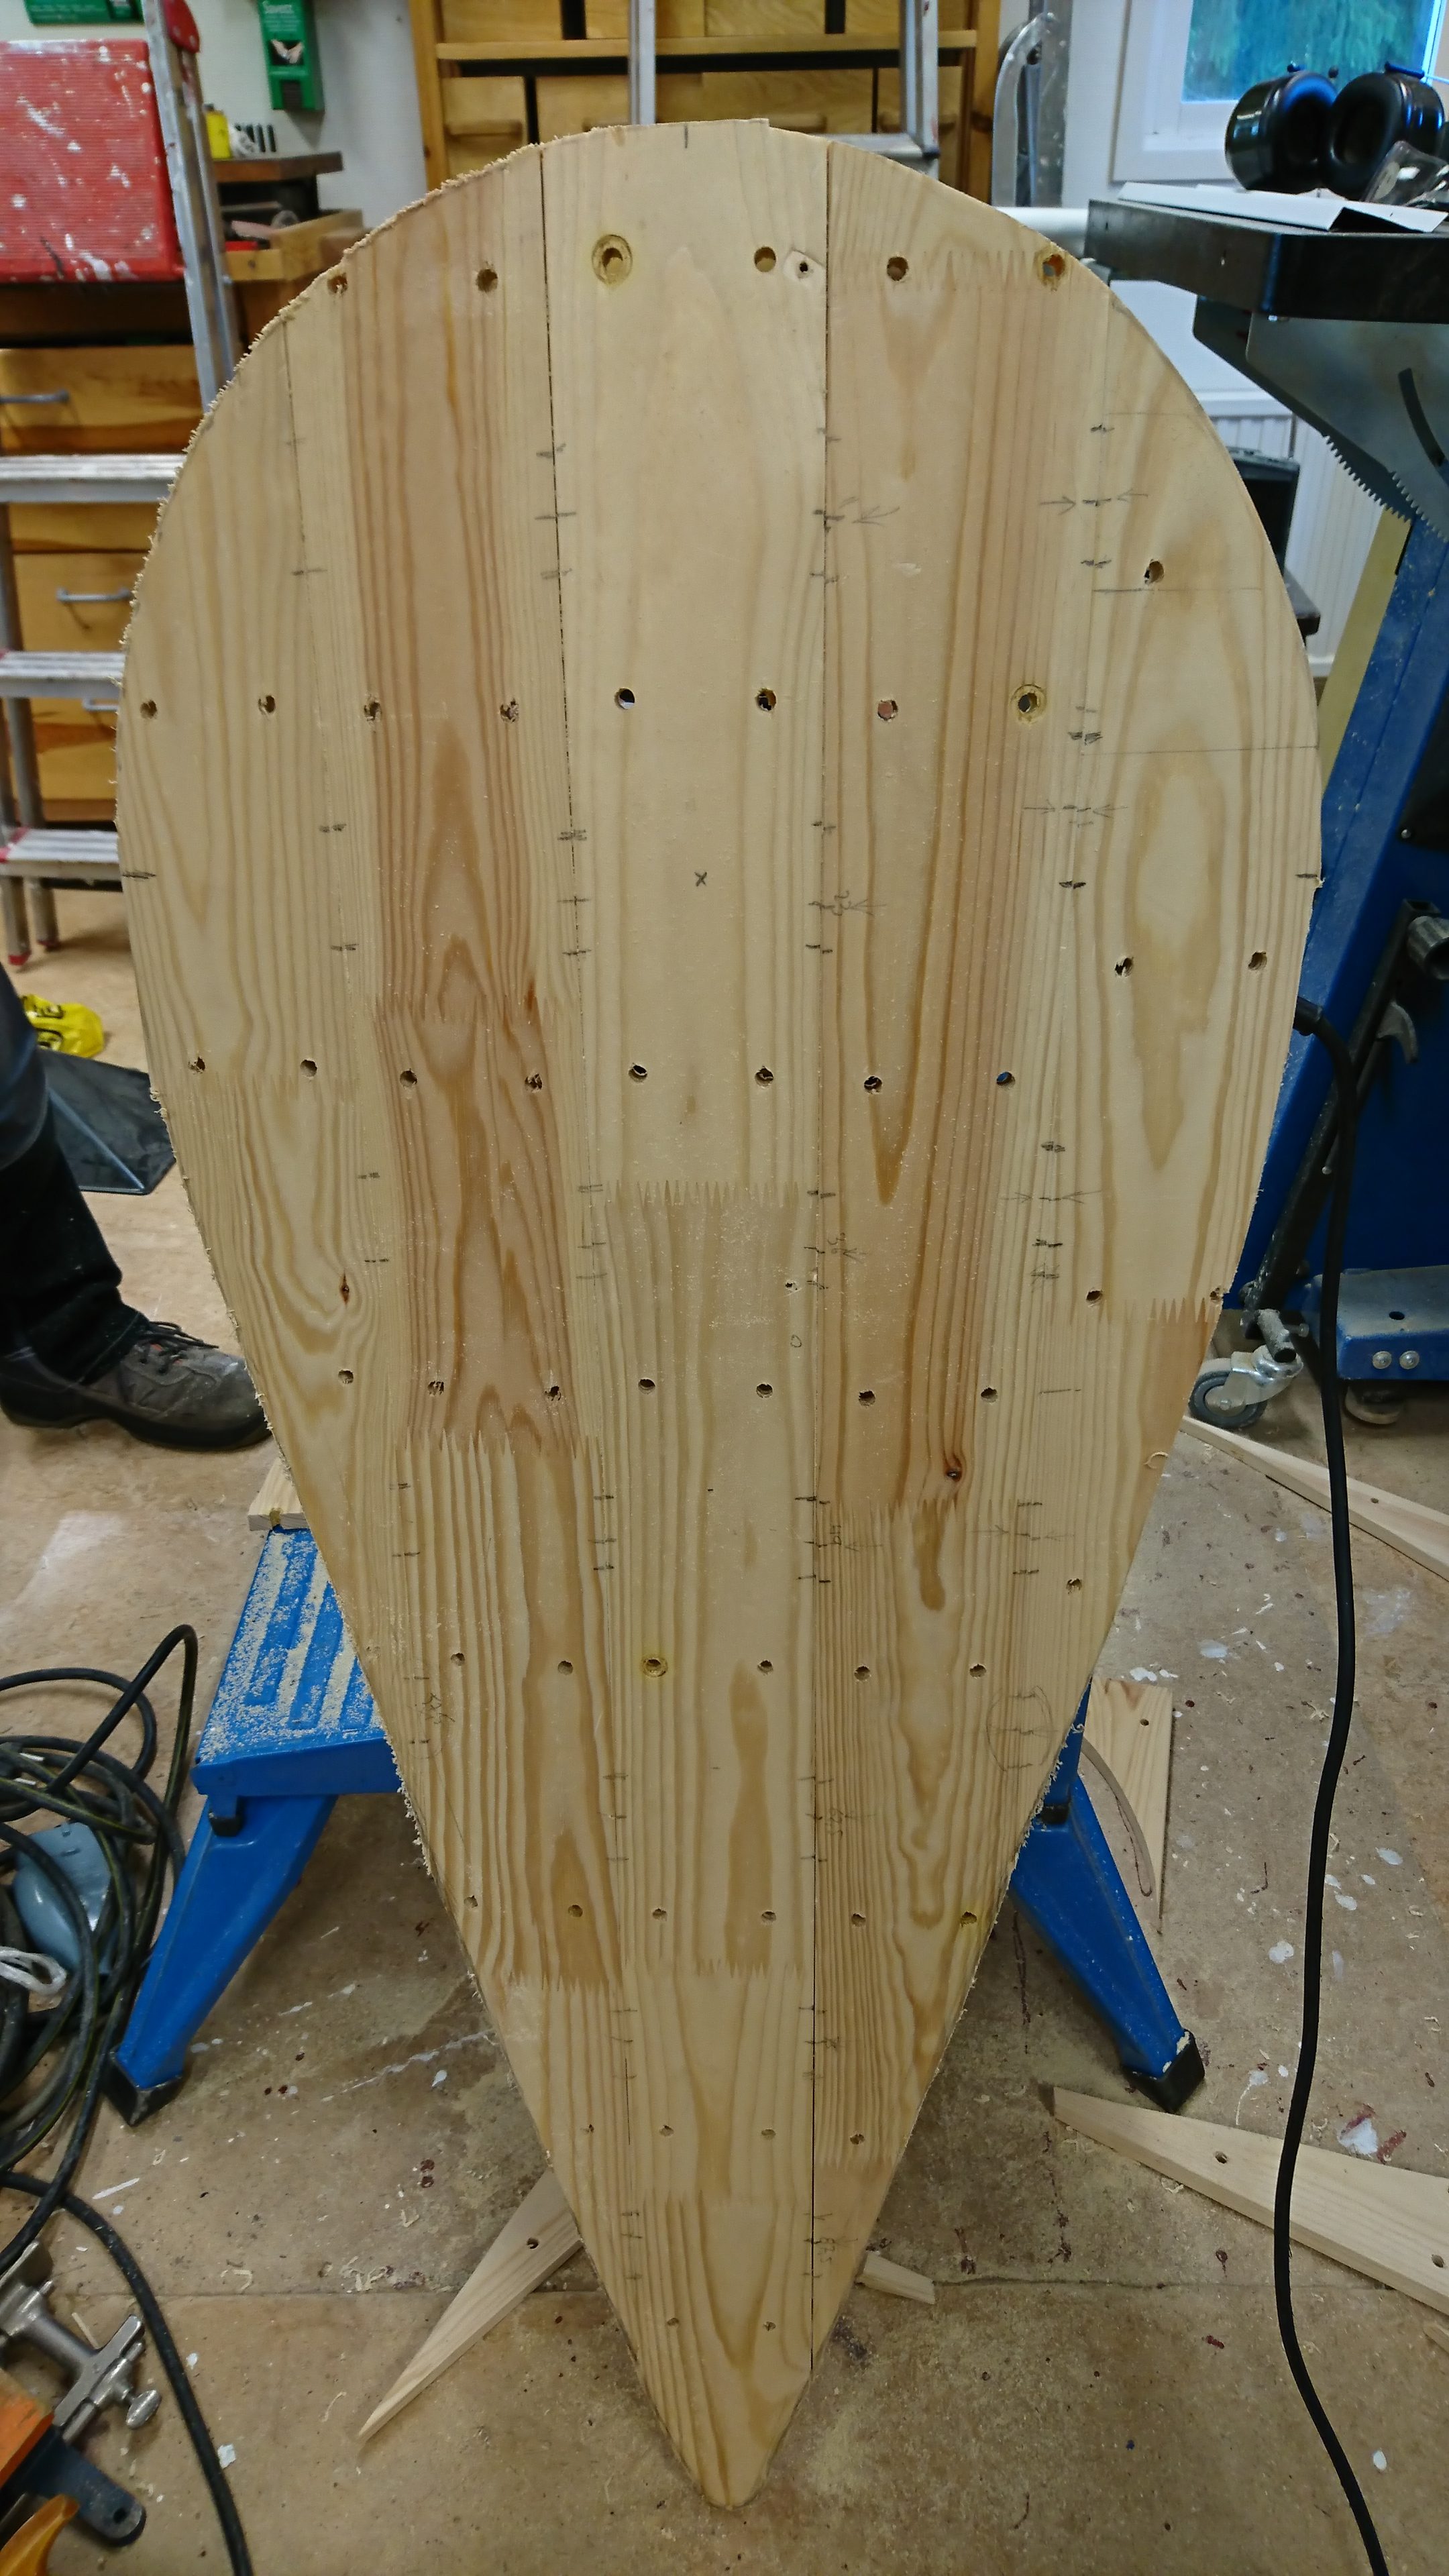
When then all the boards had been properly glued together, it was time to saw out the shape of the shield with a jigsaw. Some edges got a bit wobbly, but that’s nothing a file and sand paper can’t fix!
Step 7: Stabilizing the boards
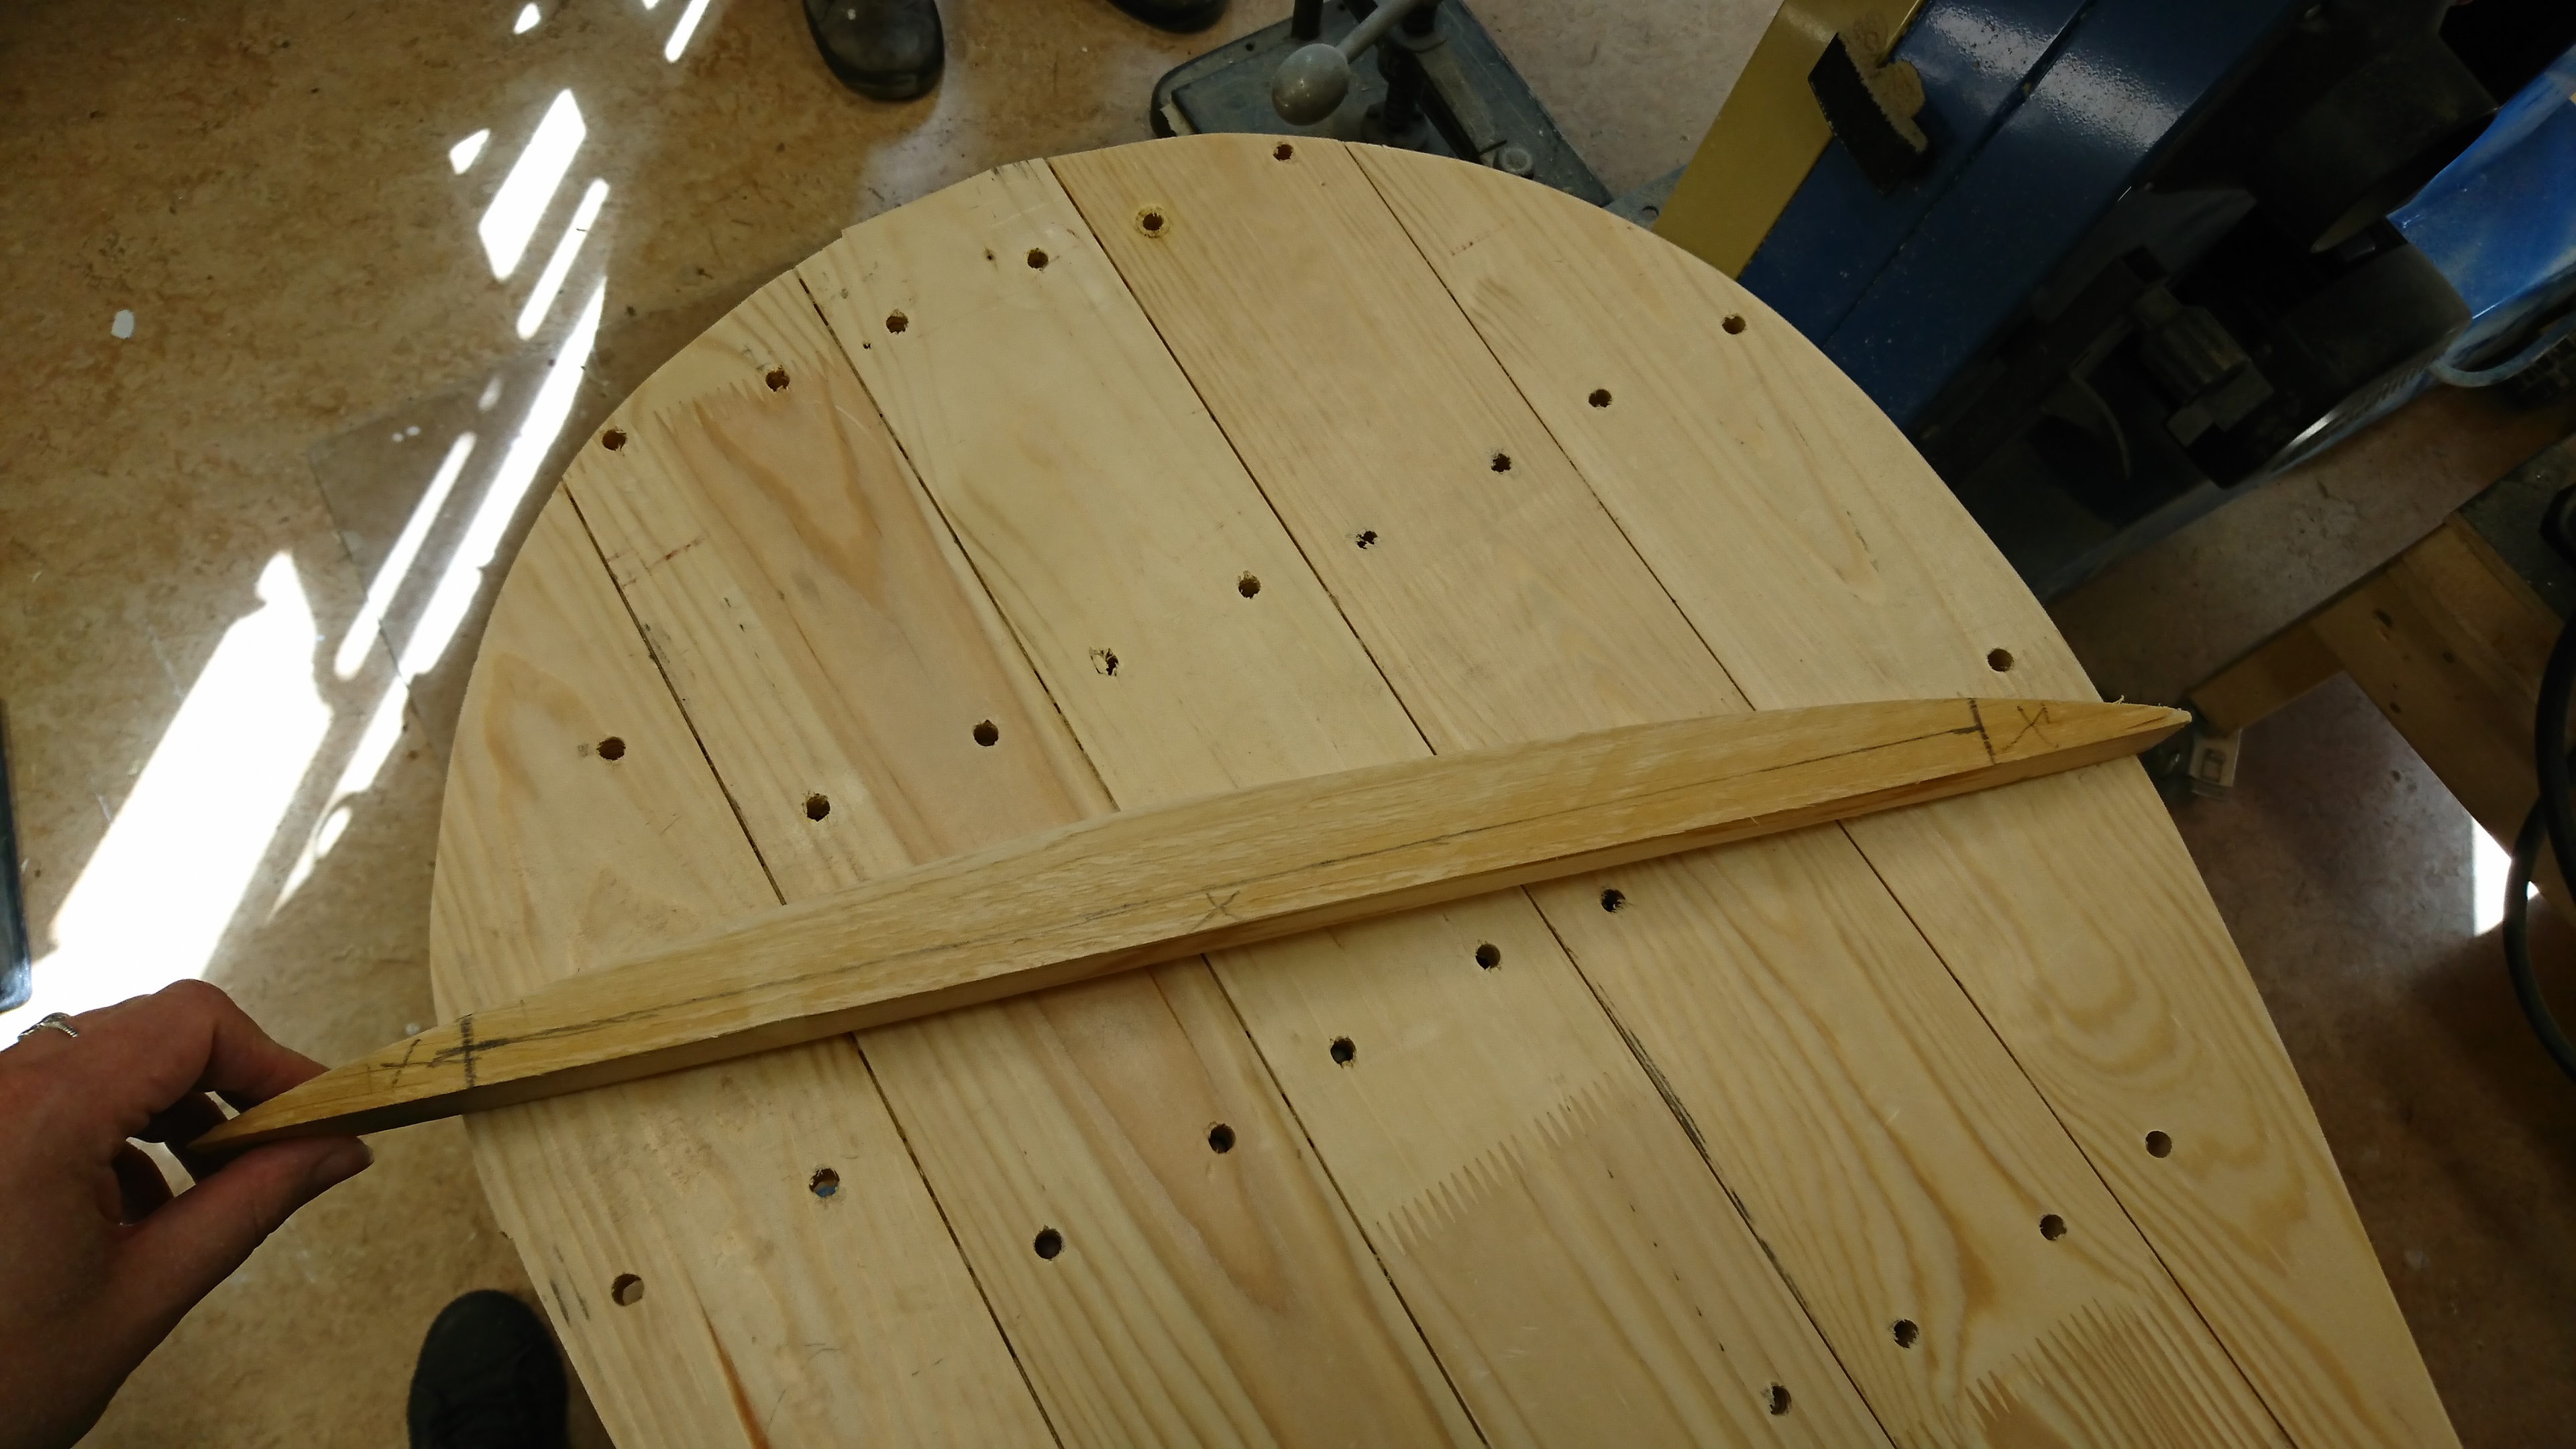
At this point, we decided to step away from the historic records (not too big a deal – we already used IKEA boards after all) and add a couple of horizontal transoms to the back of the shield to make sure they stay put. It was mostly the curve of the boards we were worried about, and adding that extra support would make sure they didn’t flatten.
Historically, the edges of the shield would probably have been lined with a strip of metal to keep it all together and support it. This, however, is beyond my skills as well as resources at this point in time.
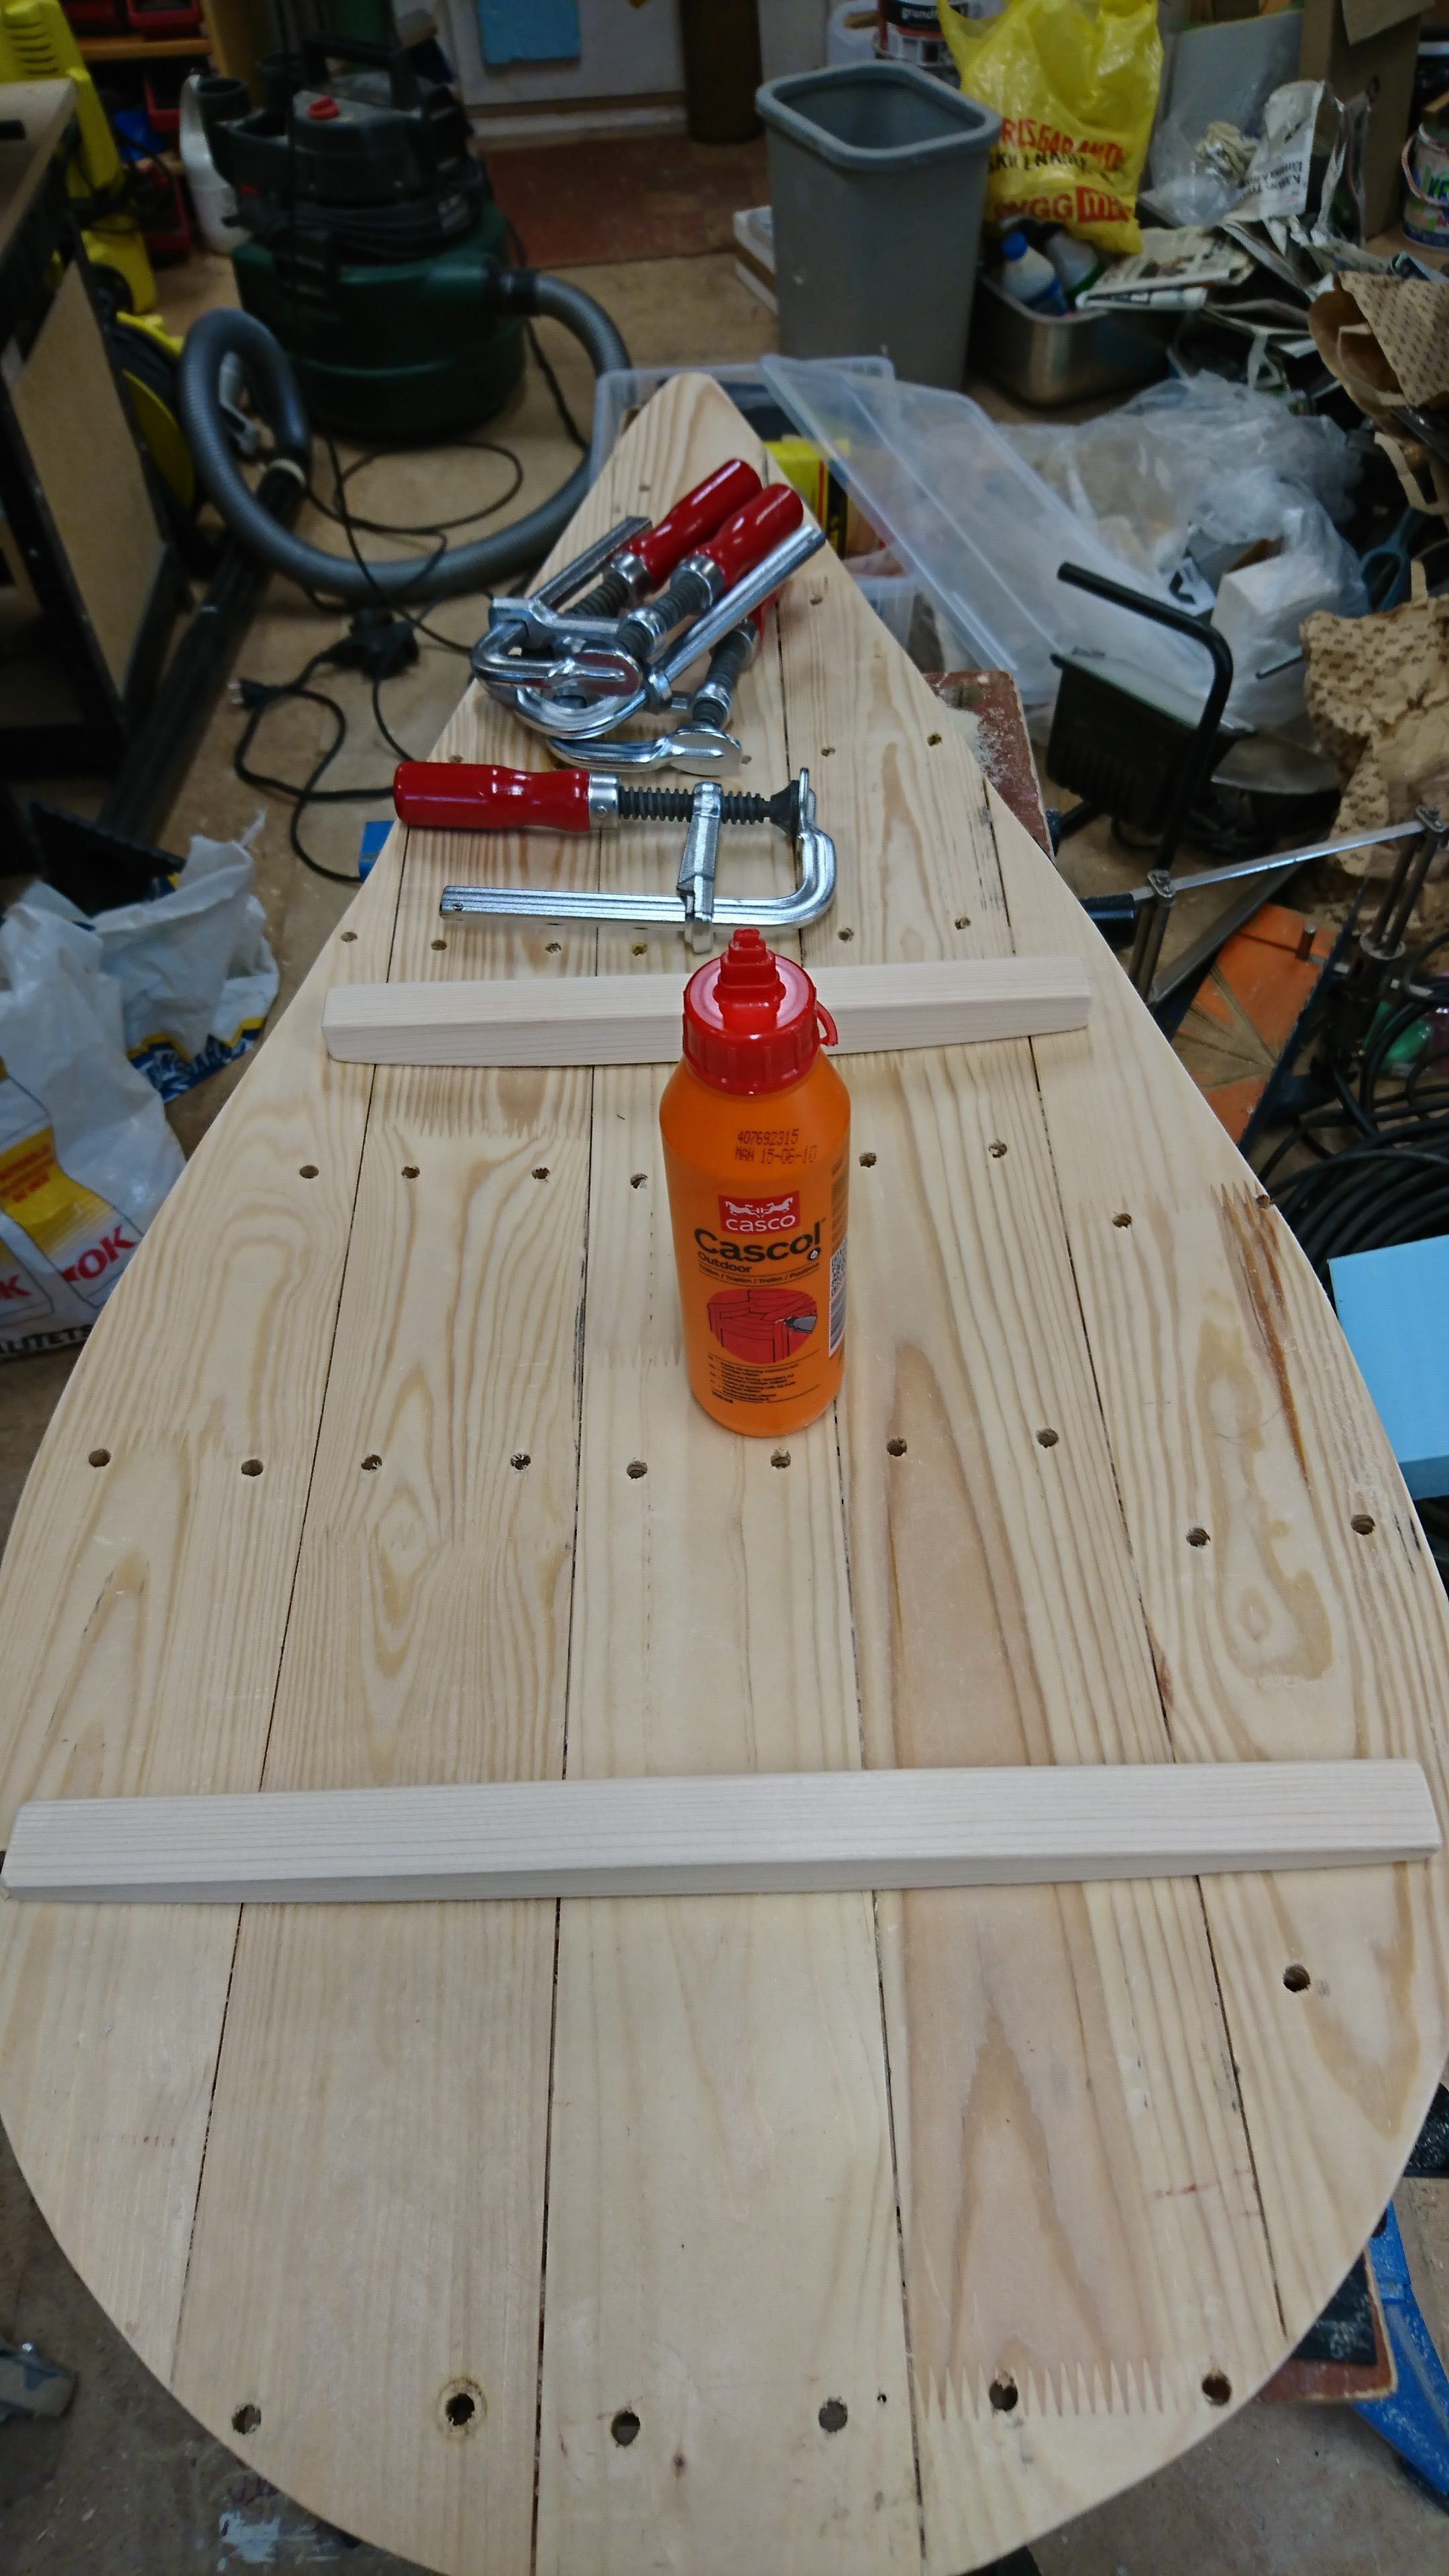
Using the curve of the back of the shield to make a profile, we cut the bars out with the jigsaw. Some sand paper later, they were ready to mount with some glue and screws.
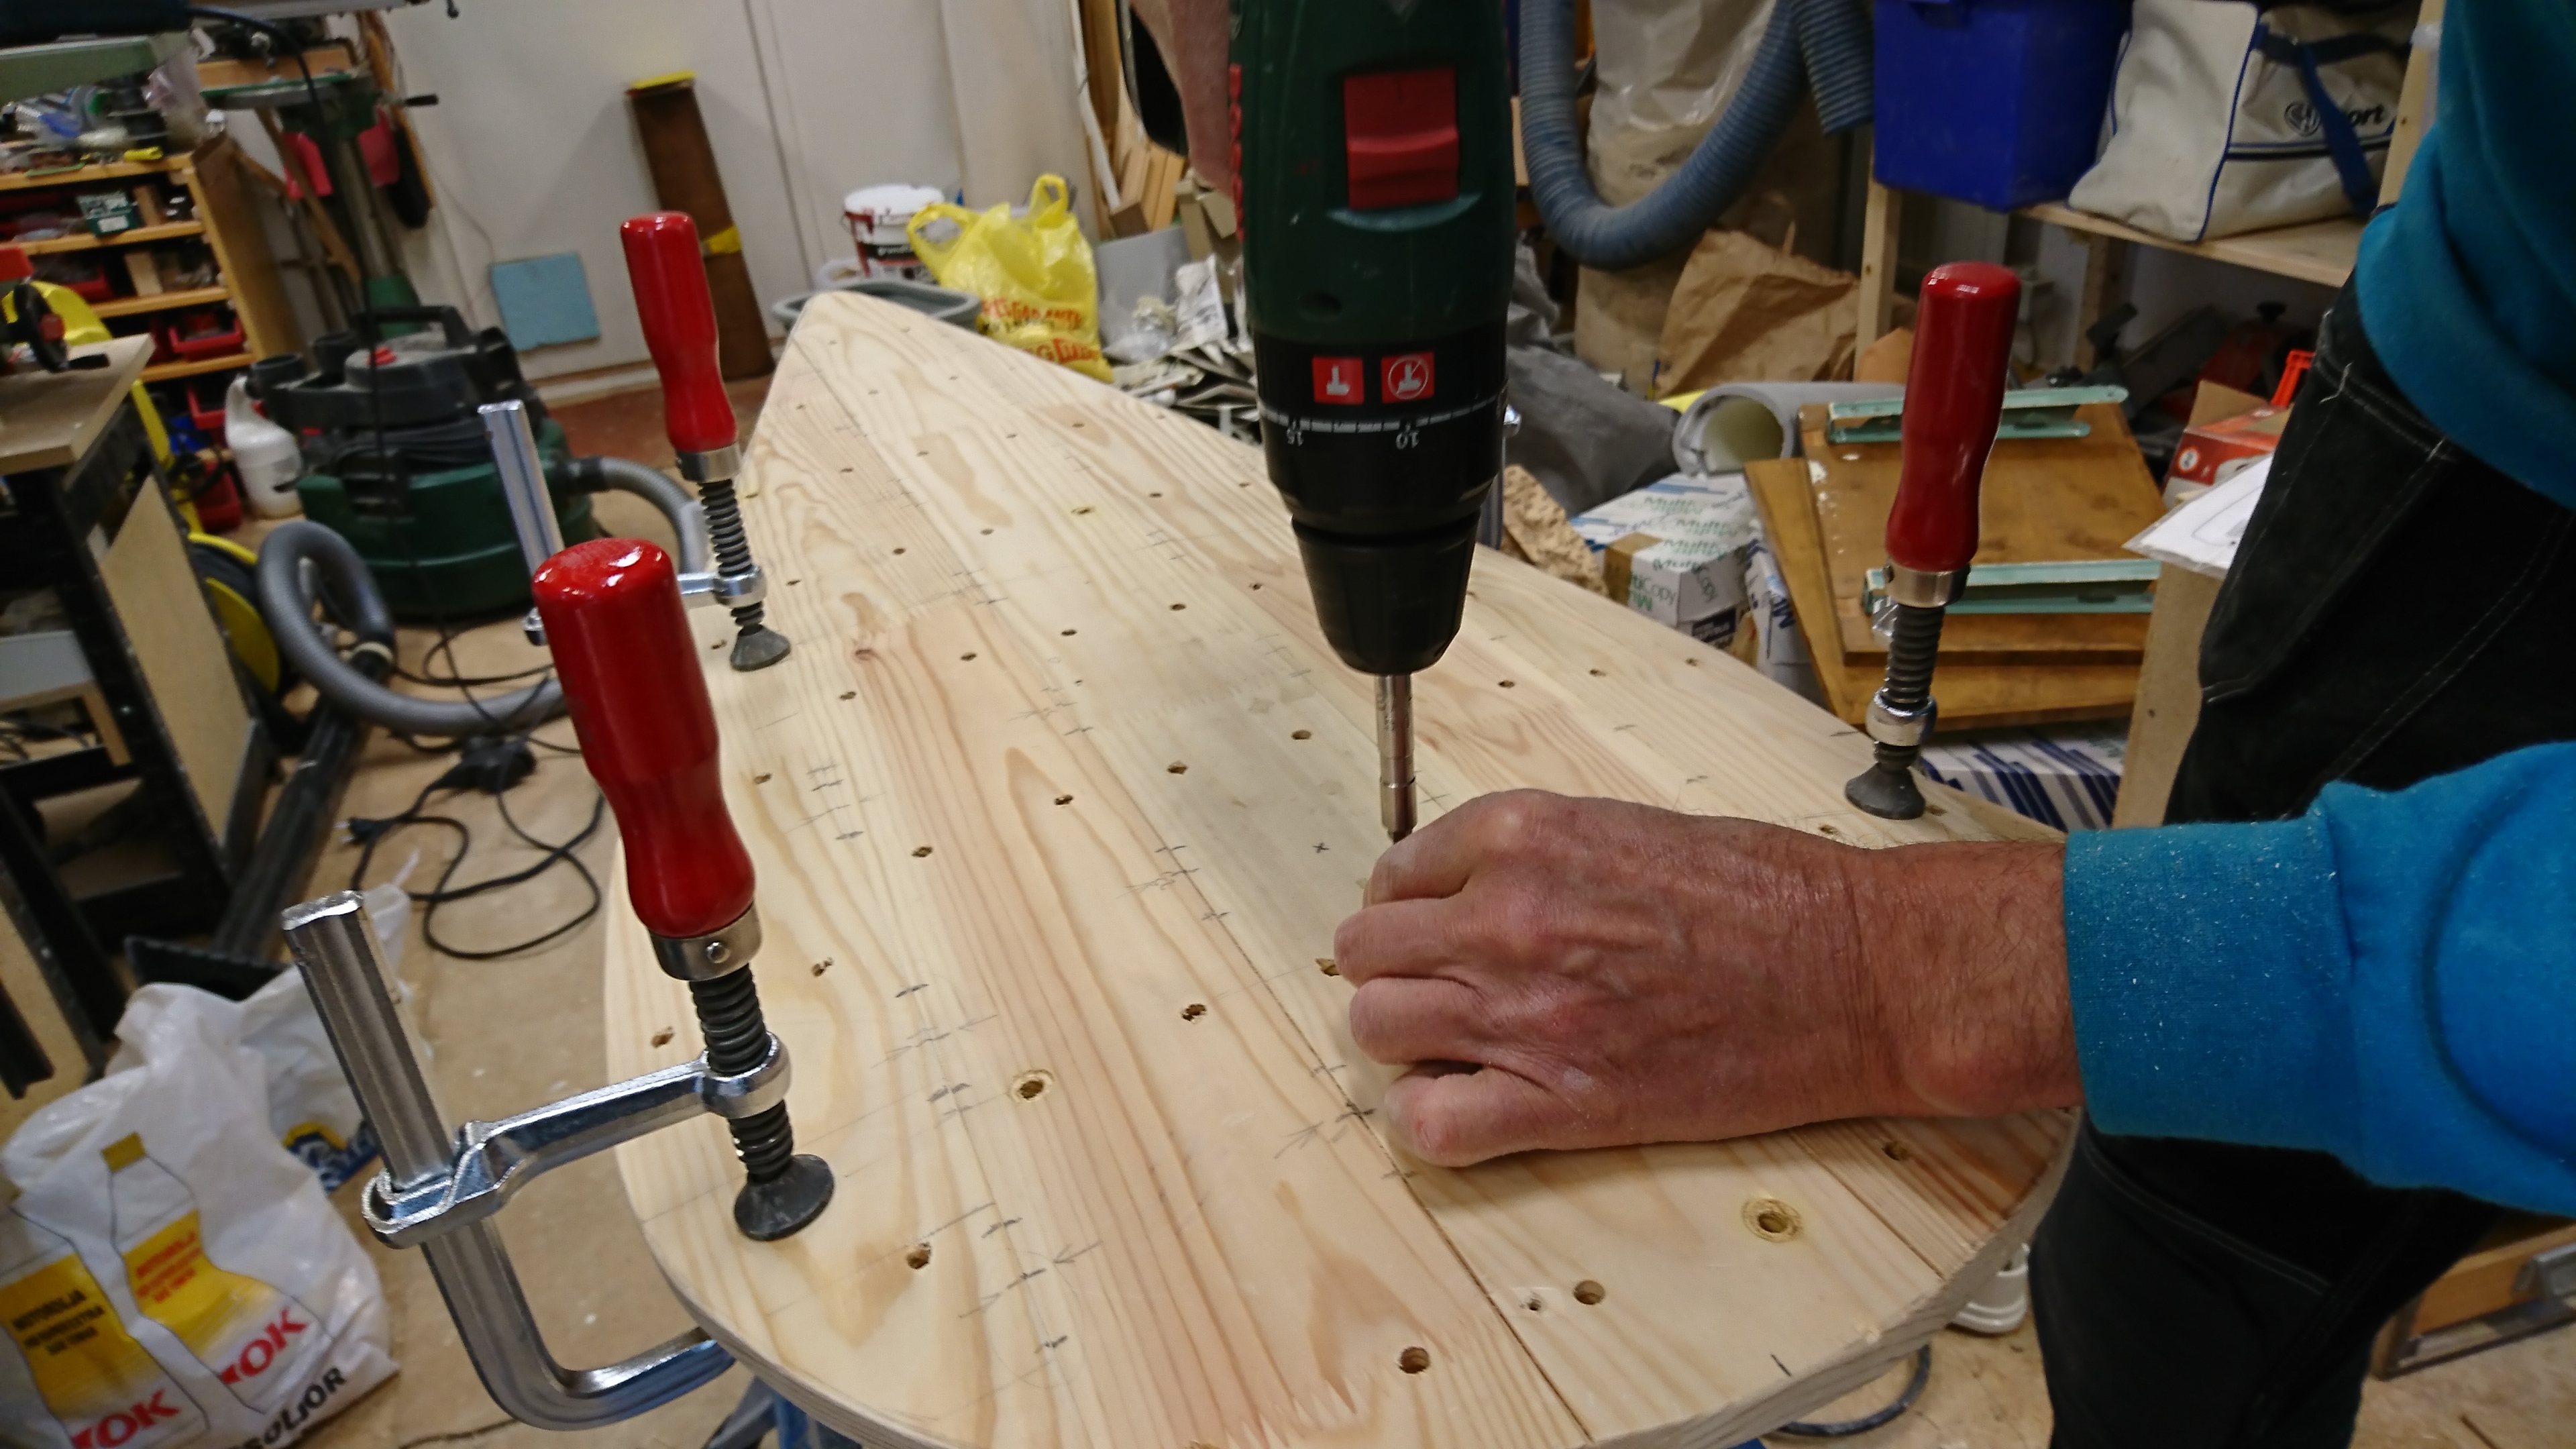
Screws, of course, are not historically correct either – but we figured that they would be easy to cover with putty, and that the integrity of the shield was top priority.
Step 8: The handles (part 1)
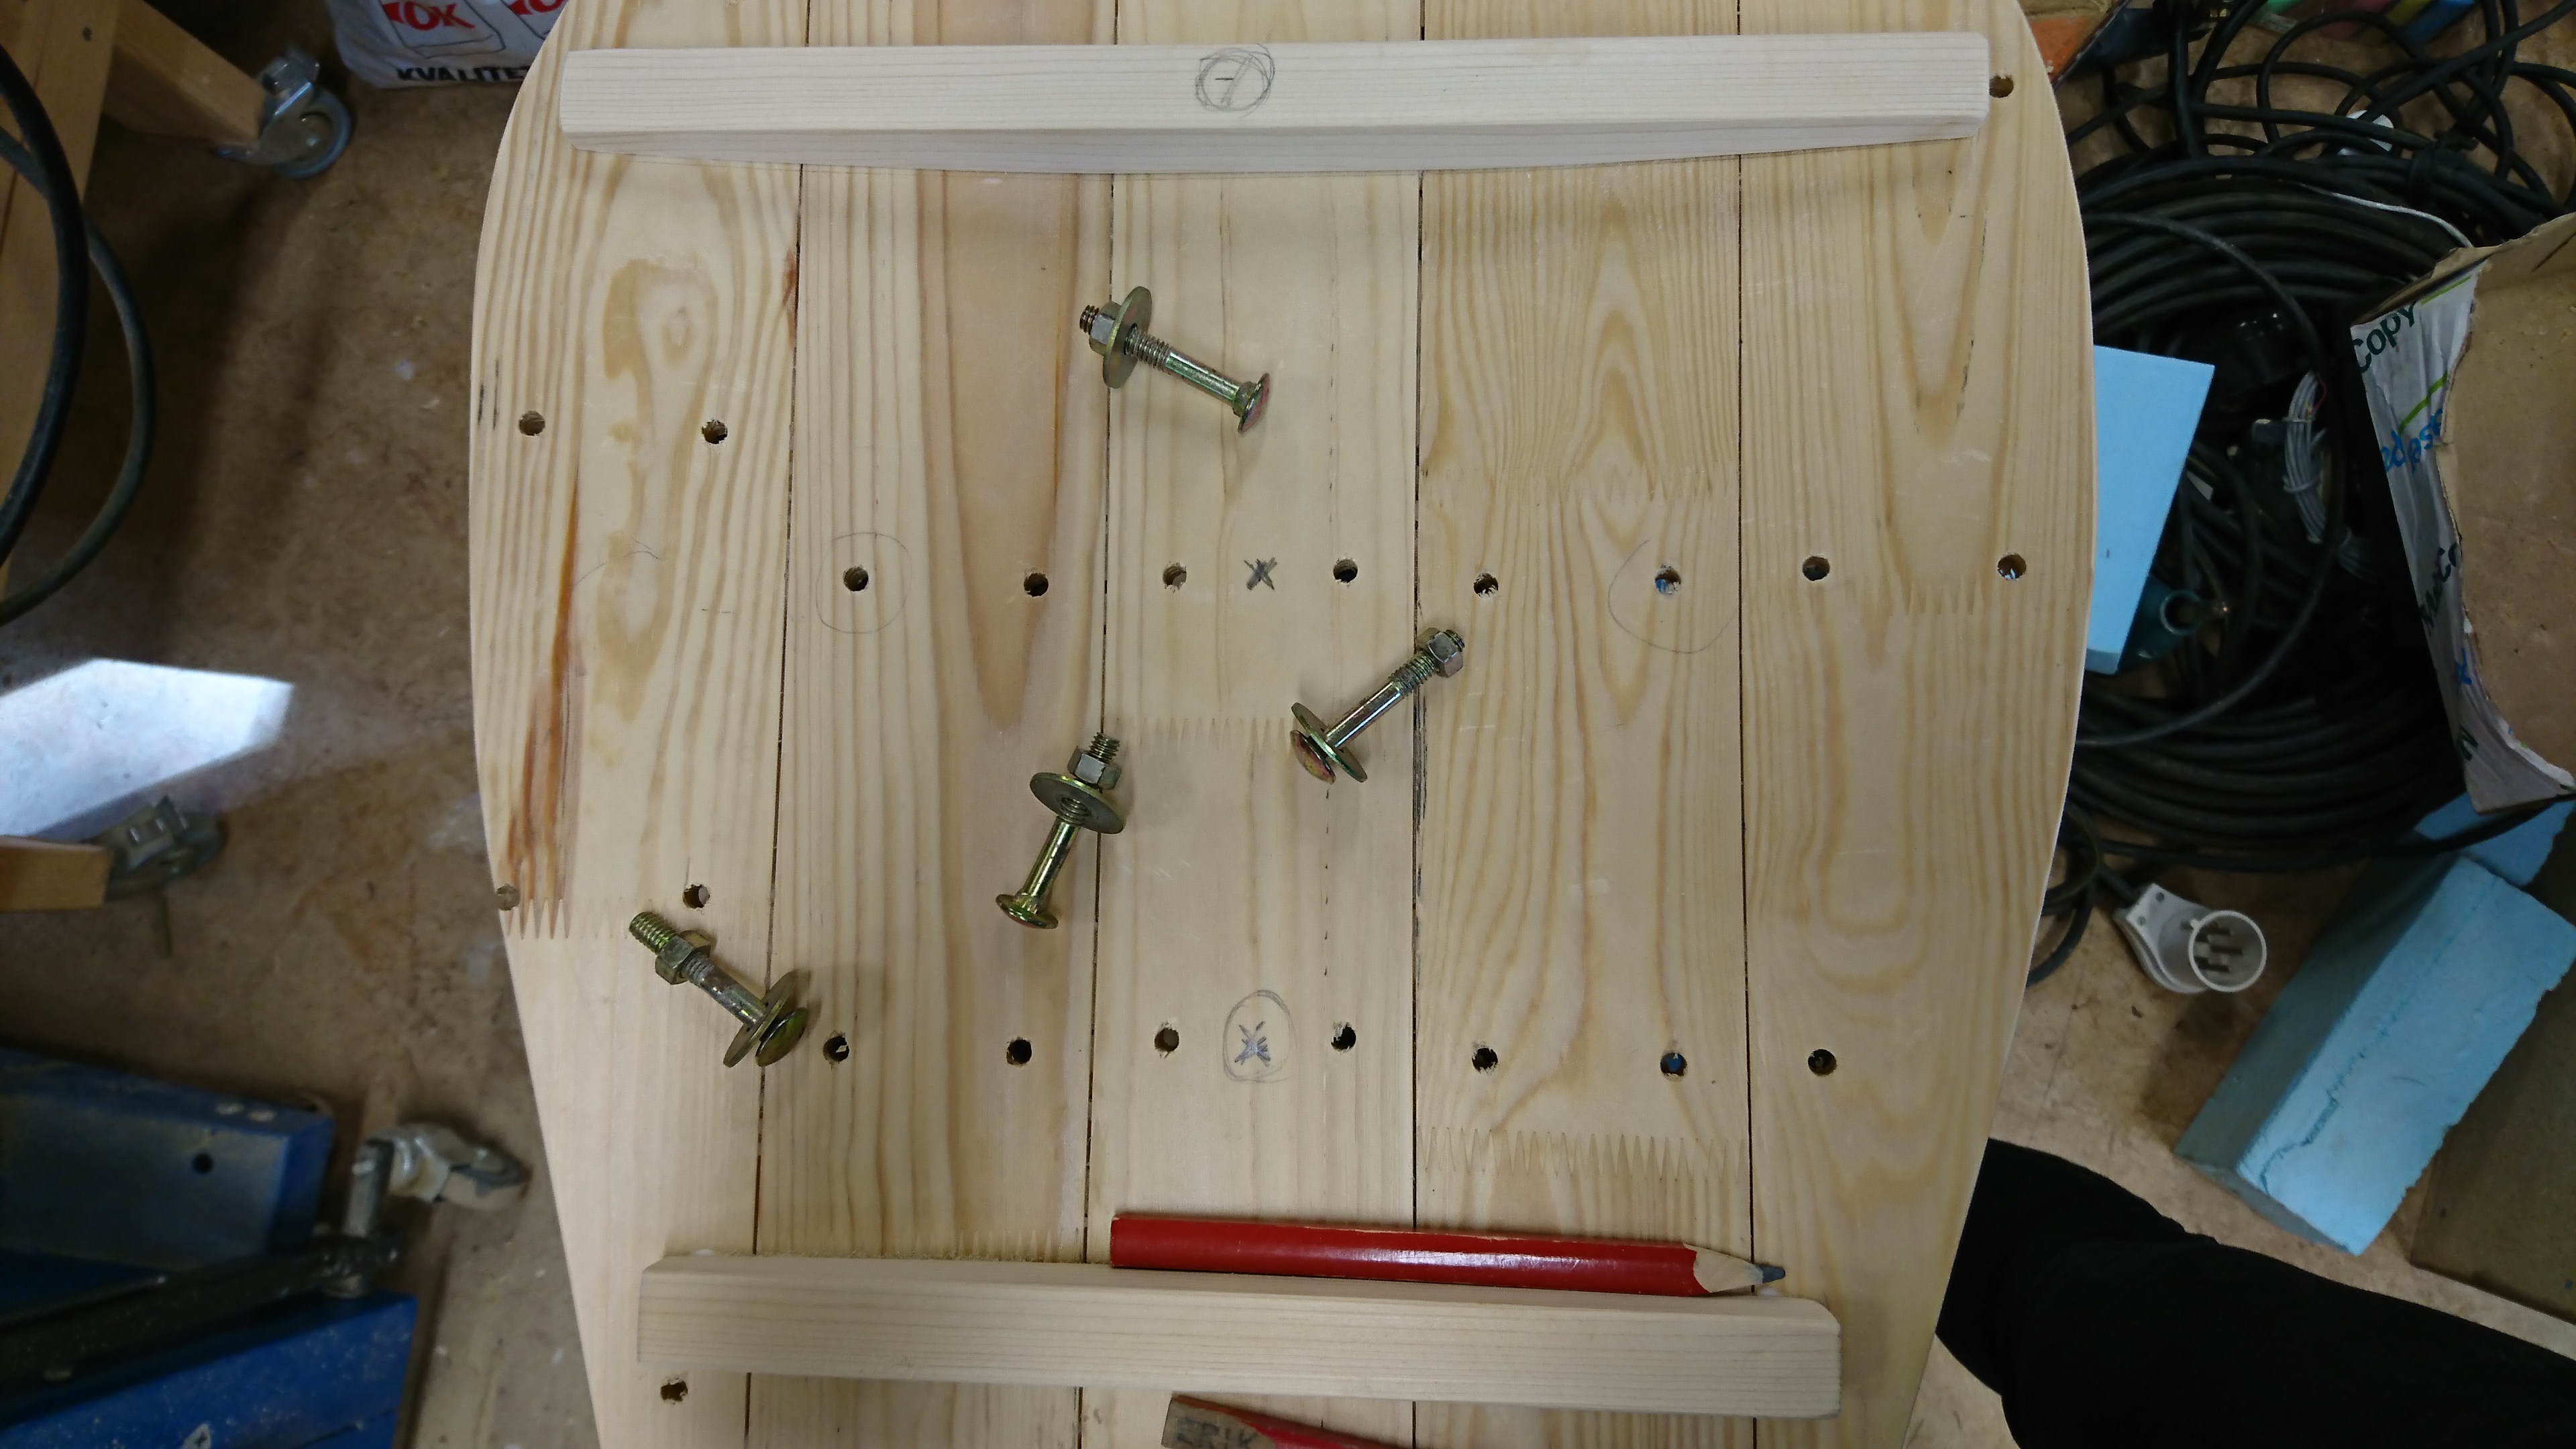
Then, it was time to fit the bolts that would hold the enarmes and guige – the straps you use to hold the shield and attach it to your back, respectively.
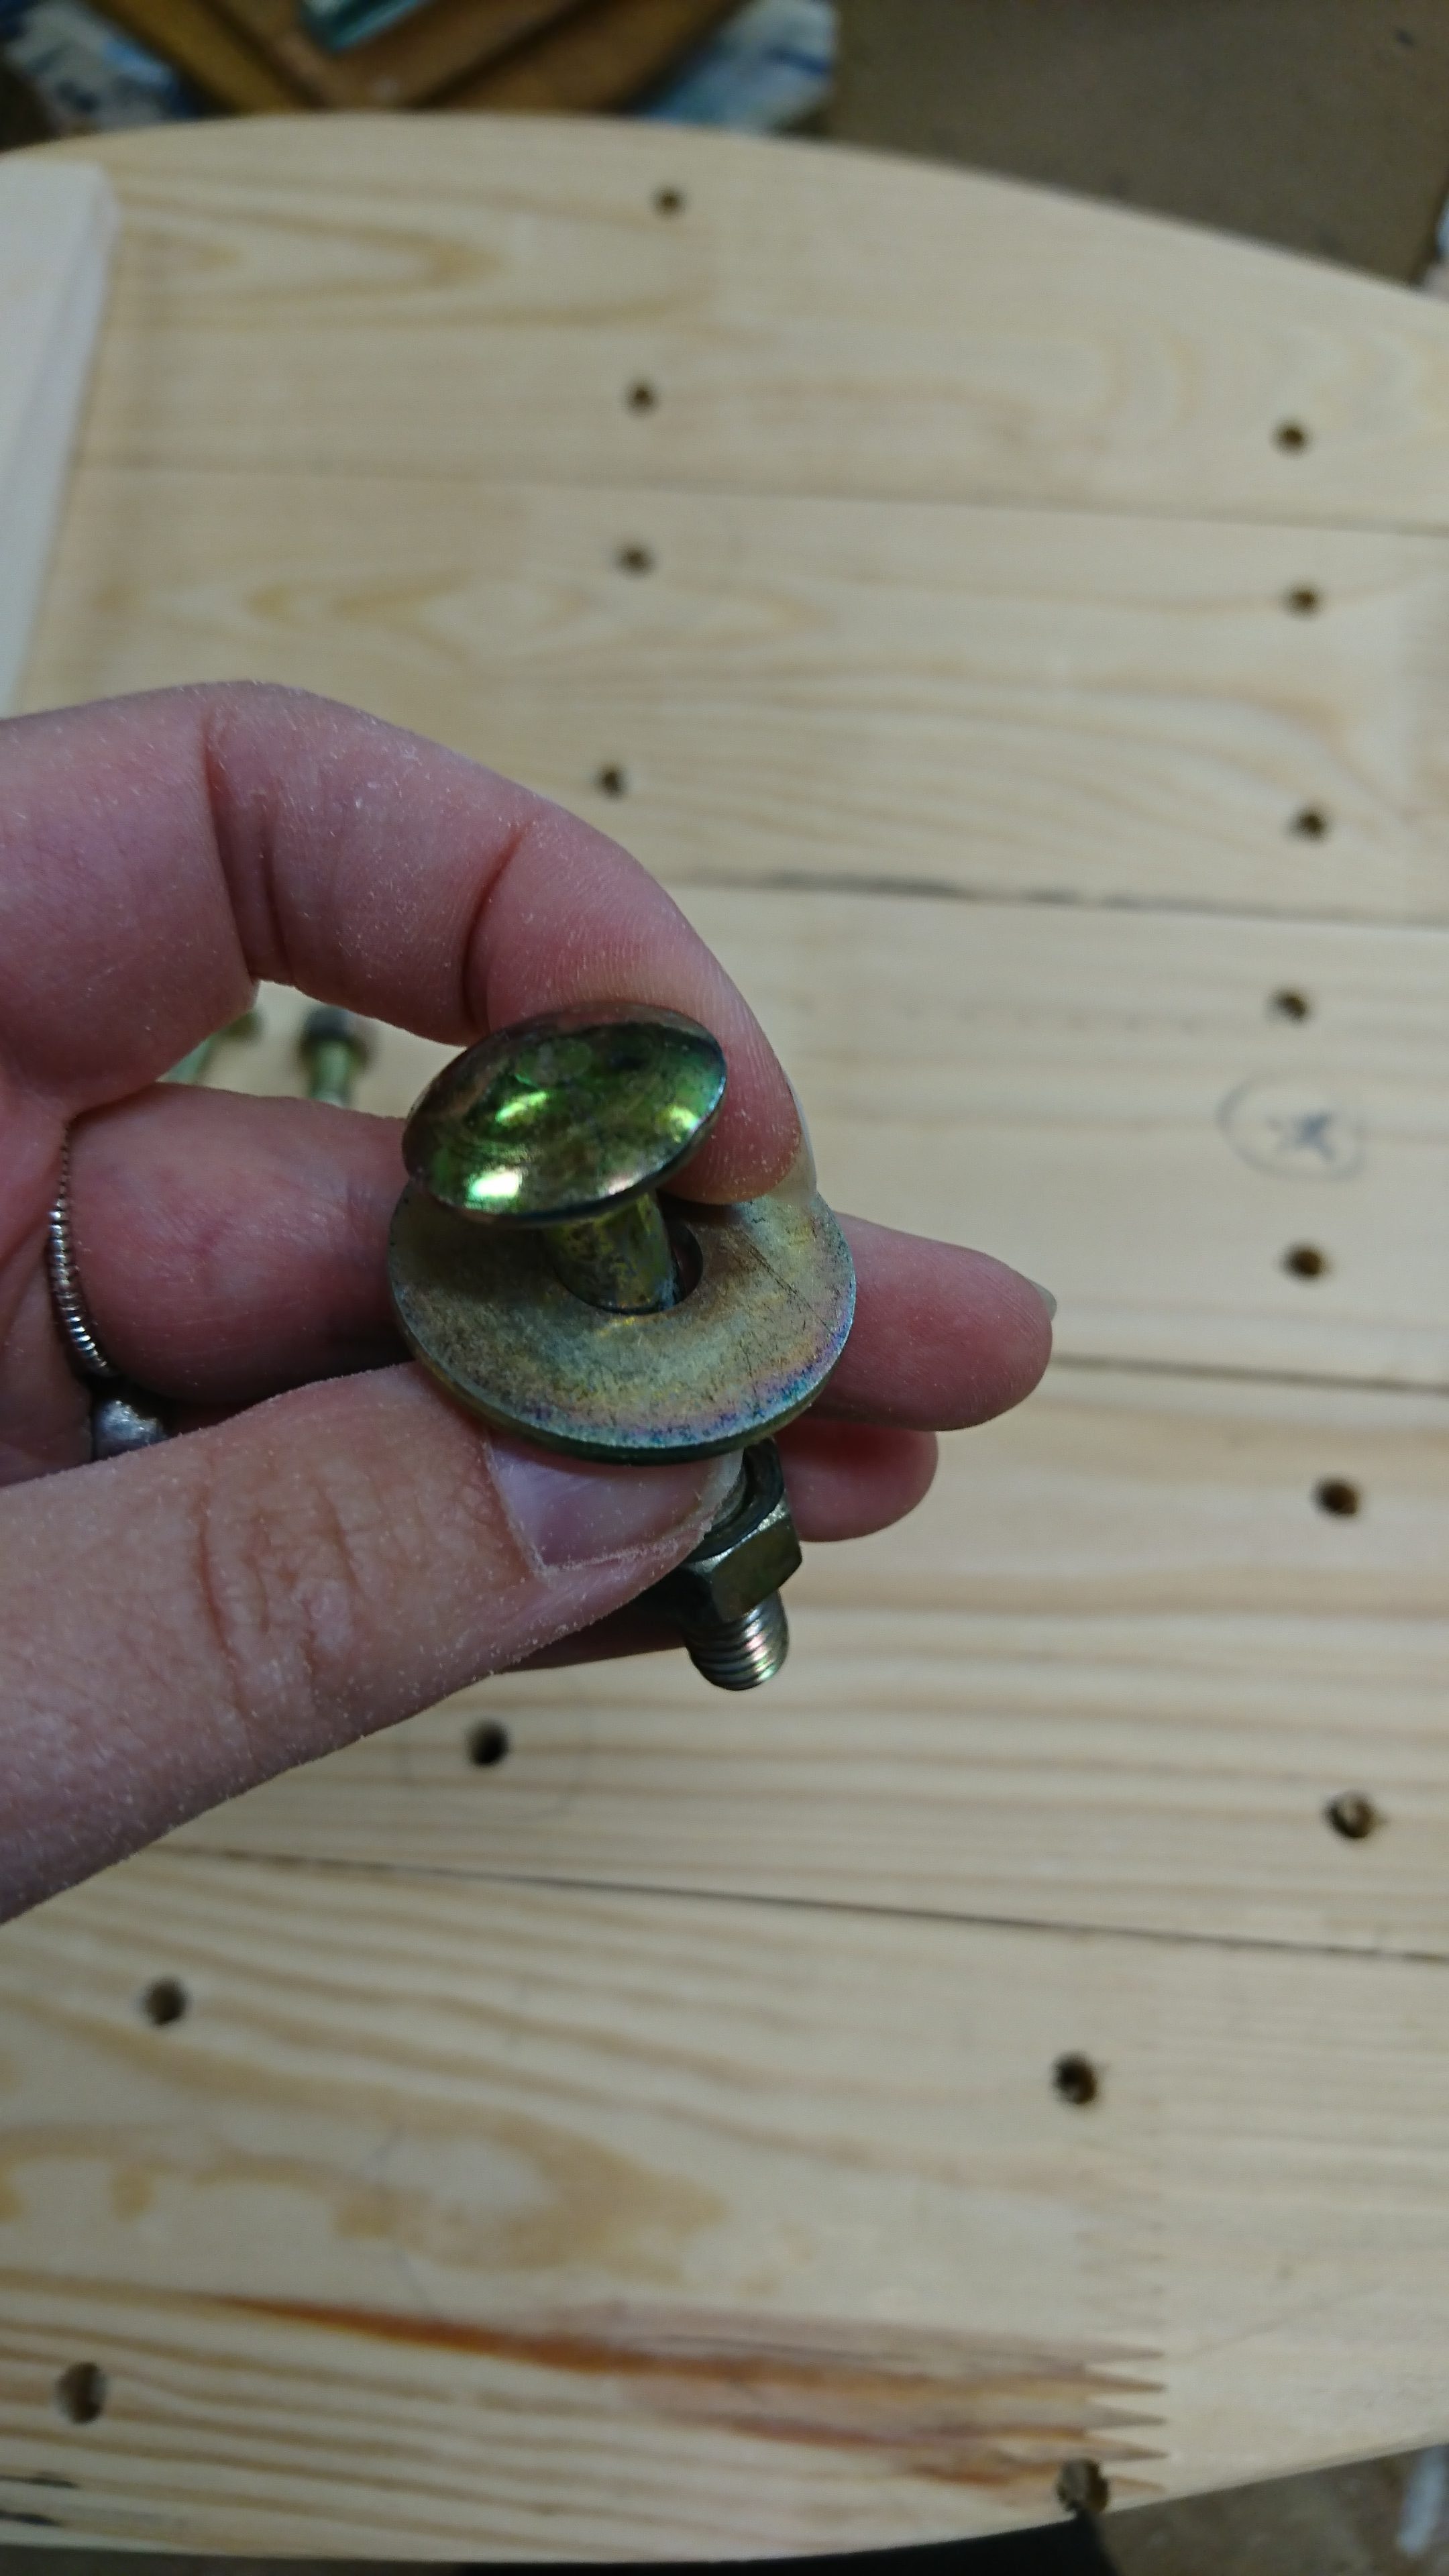
We found some carriage bolts that would do the job nicely - but found that they were a bit too long.
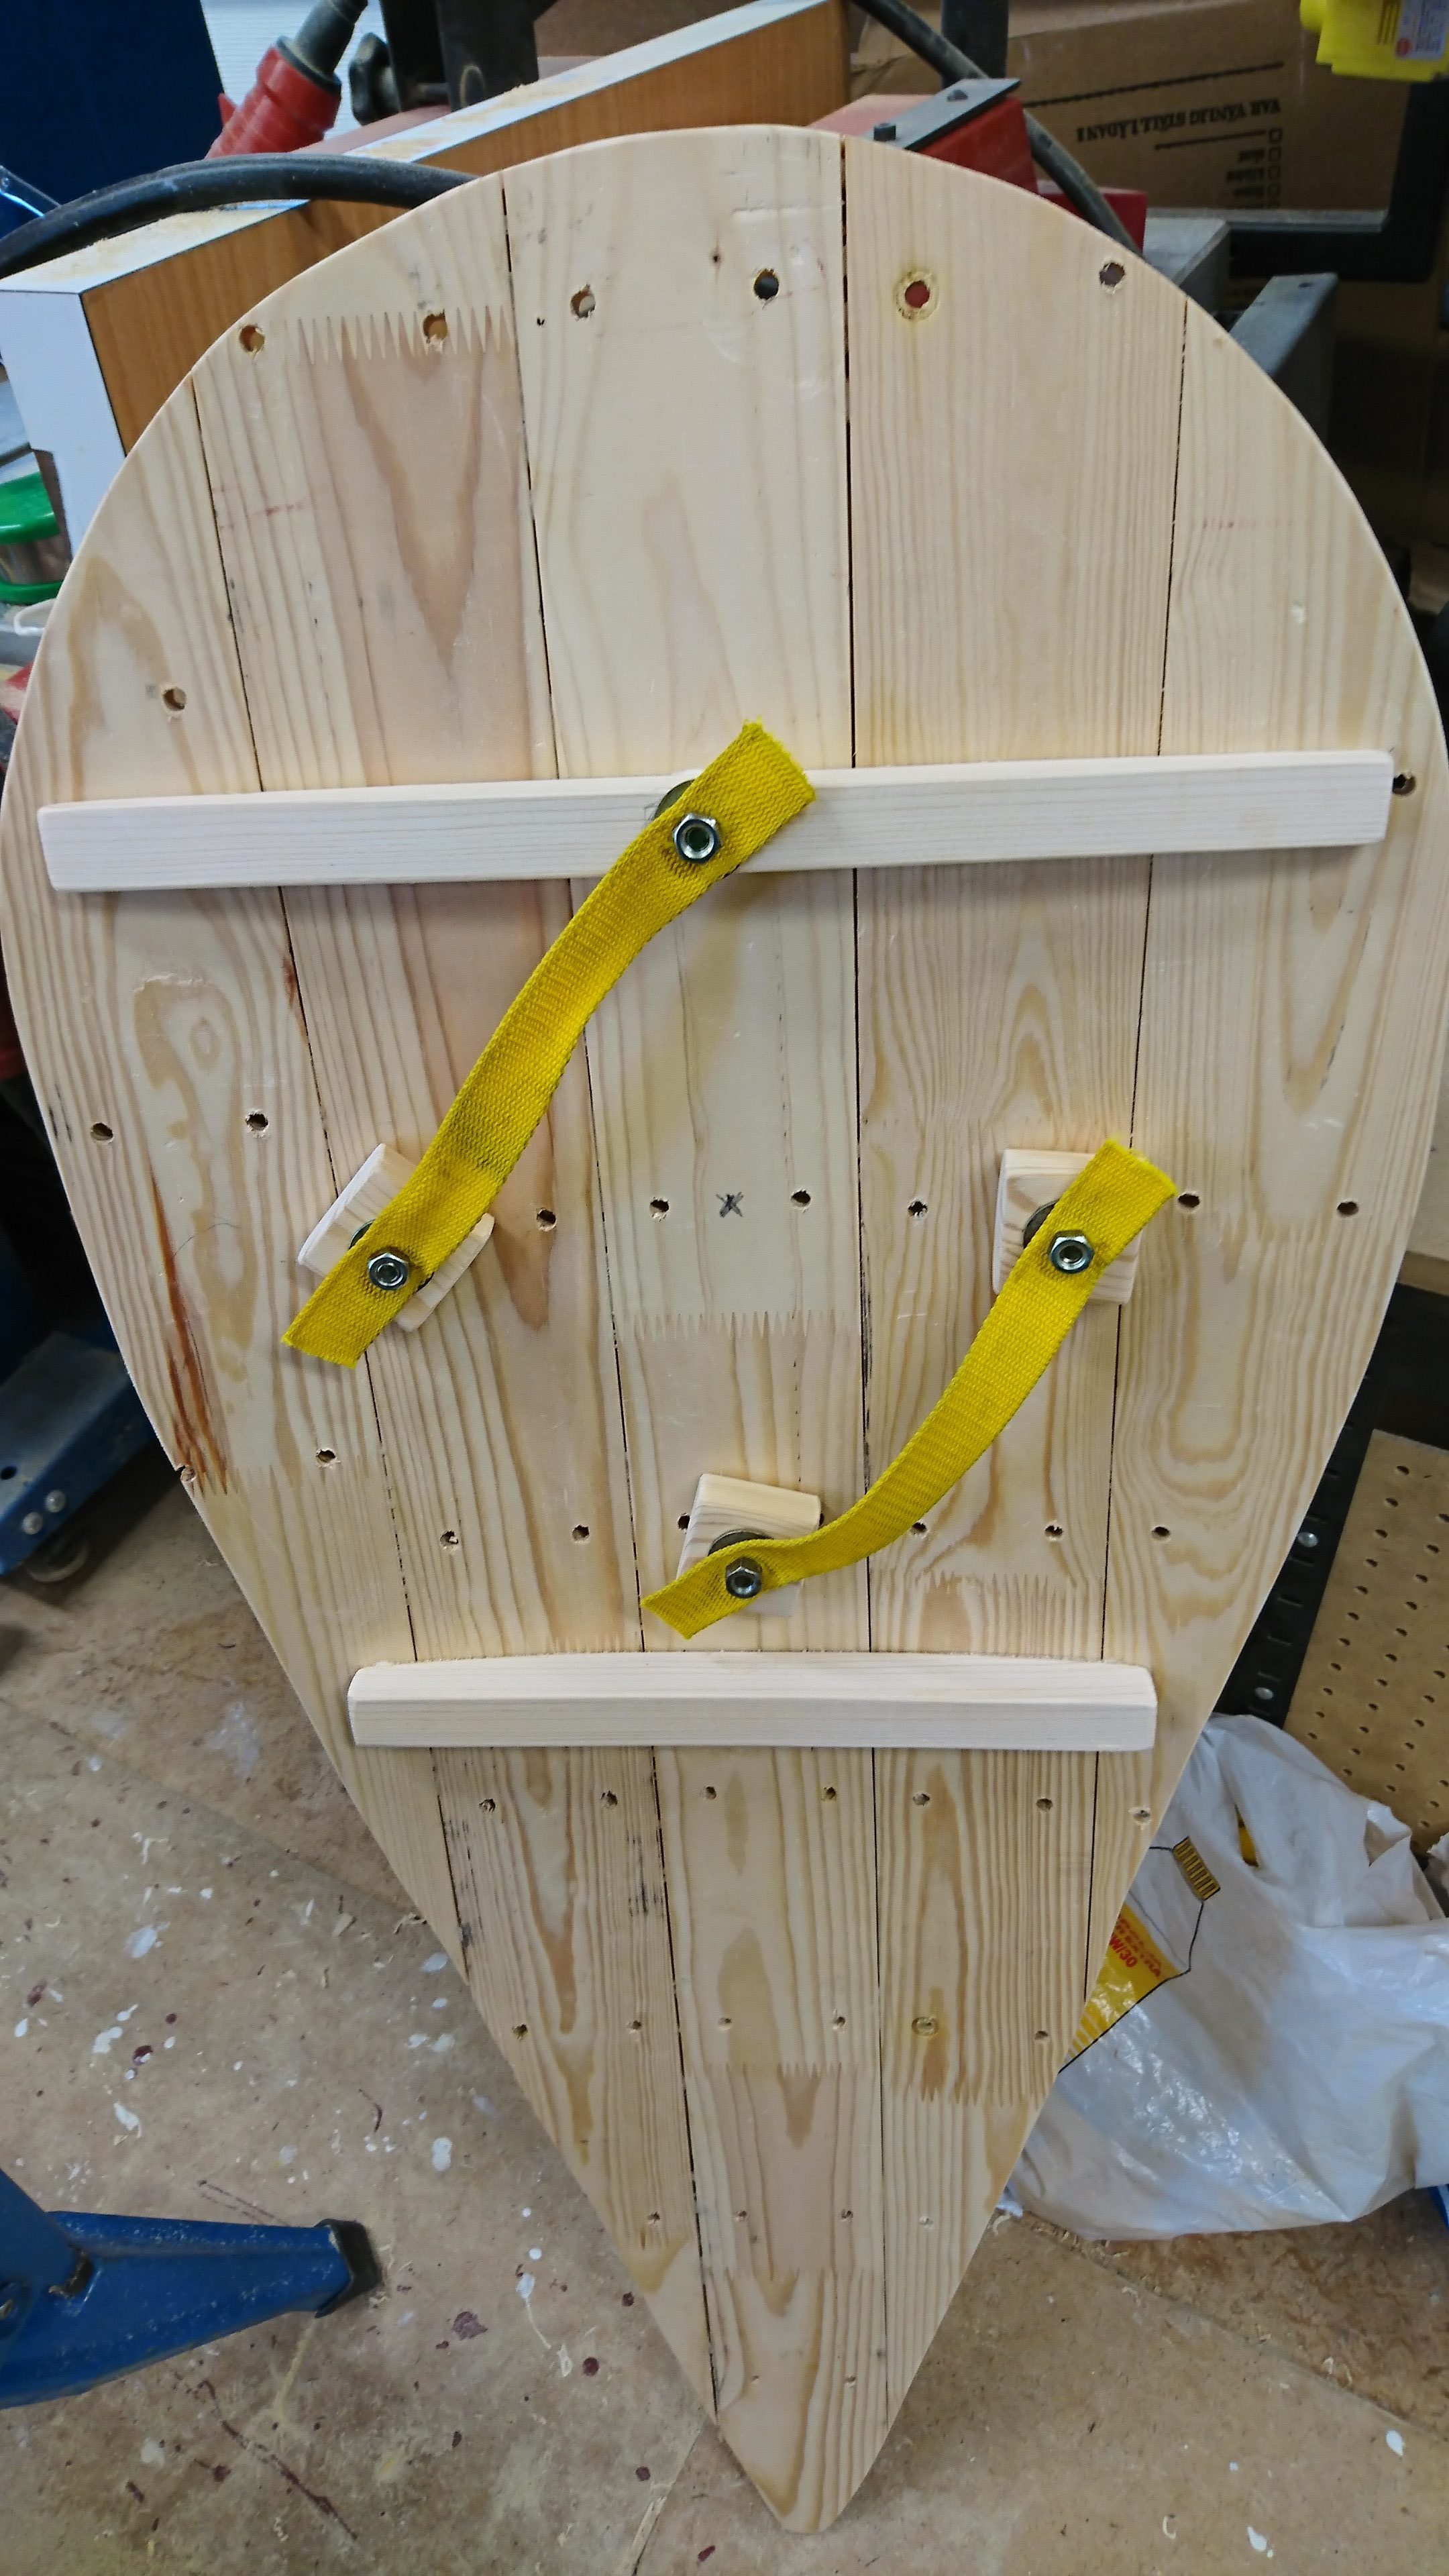
The length of the bolts meant that we had to put three small blocks of wood on the back of the shield, to accommodate this. You do need some room for your hand anyway, so it seemed reasonable. Using yellow straps we had lying around, we tried the enarmes out, and our idea proved to be a solid concept.
Also, we accidentally temporarily made the shield right-handed. That is, it's what someone holding their weapon in the left hand would expect.
Step 9: Pegs
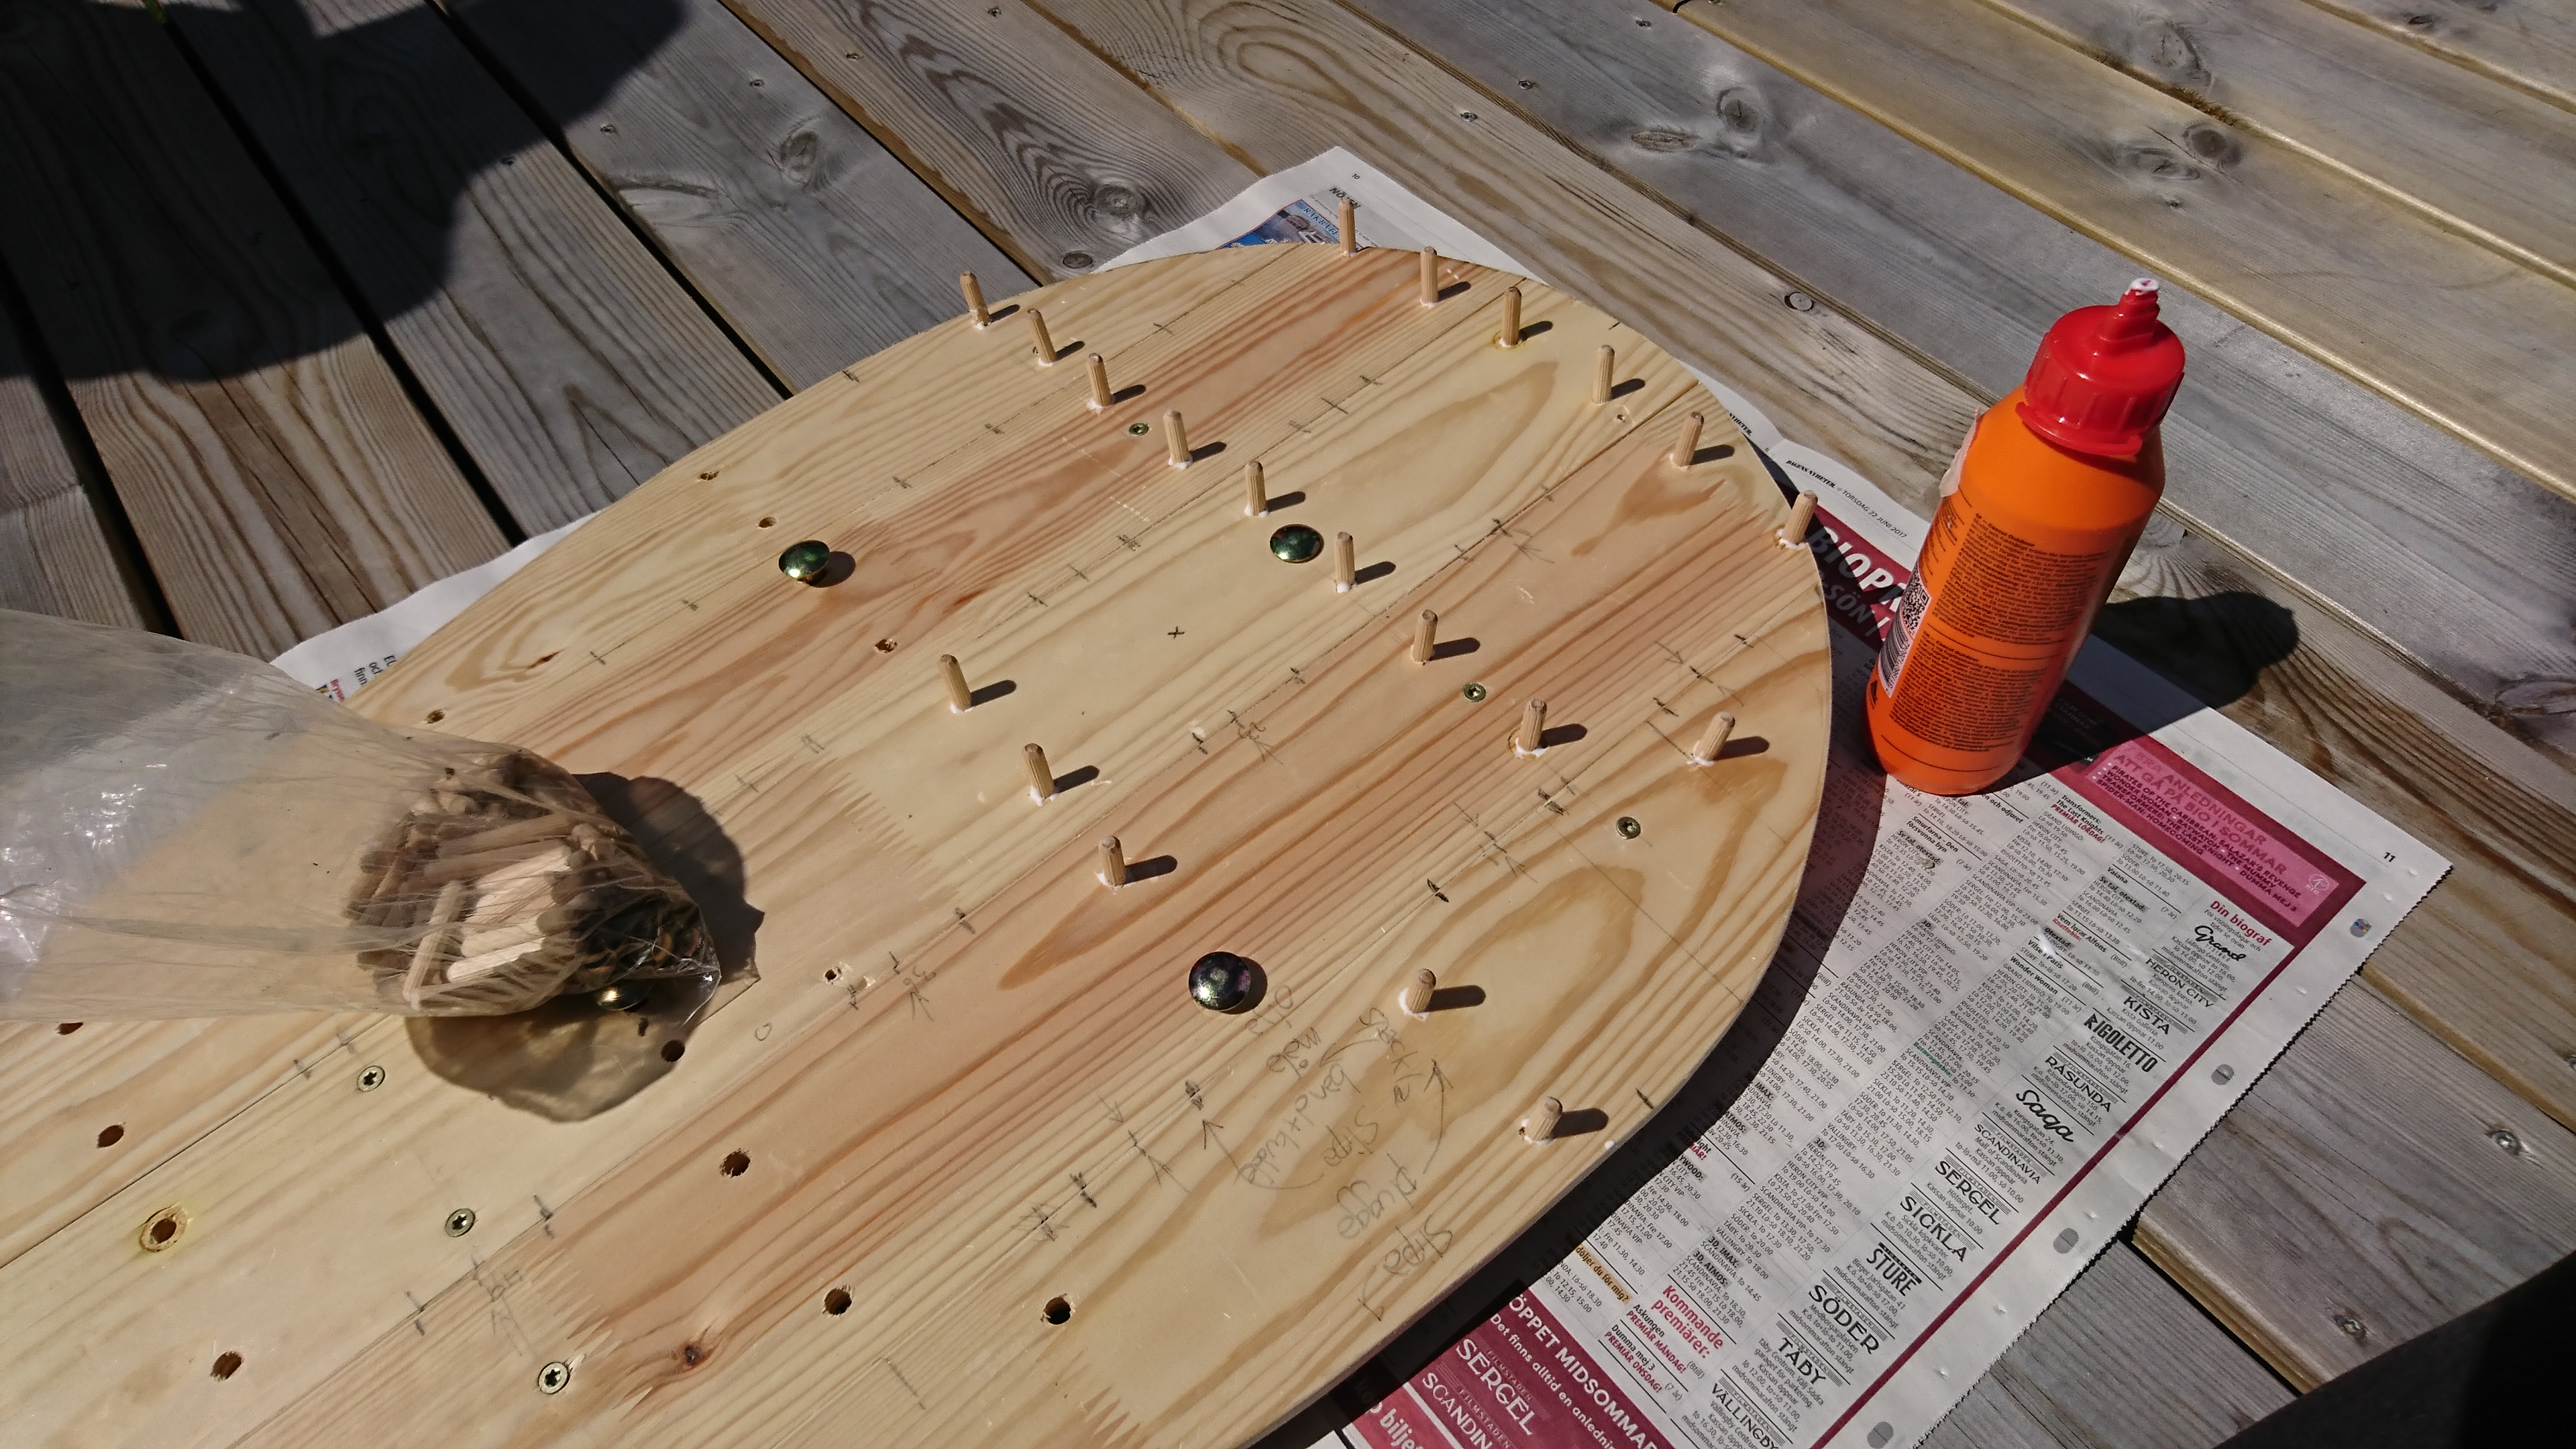
I then glued wooden pegs in all the little holes. This, of course, isn’t something most shield makers would have to worry about.
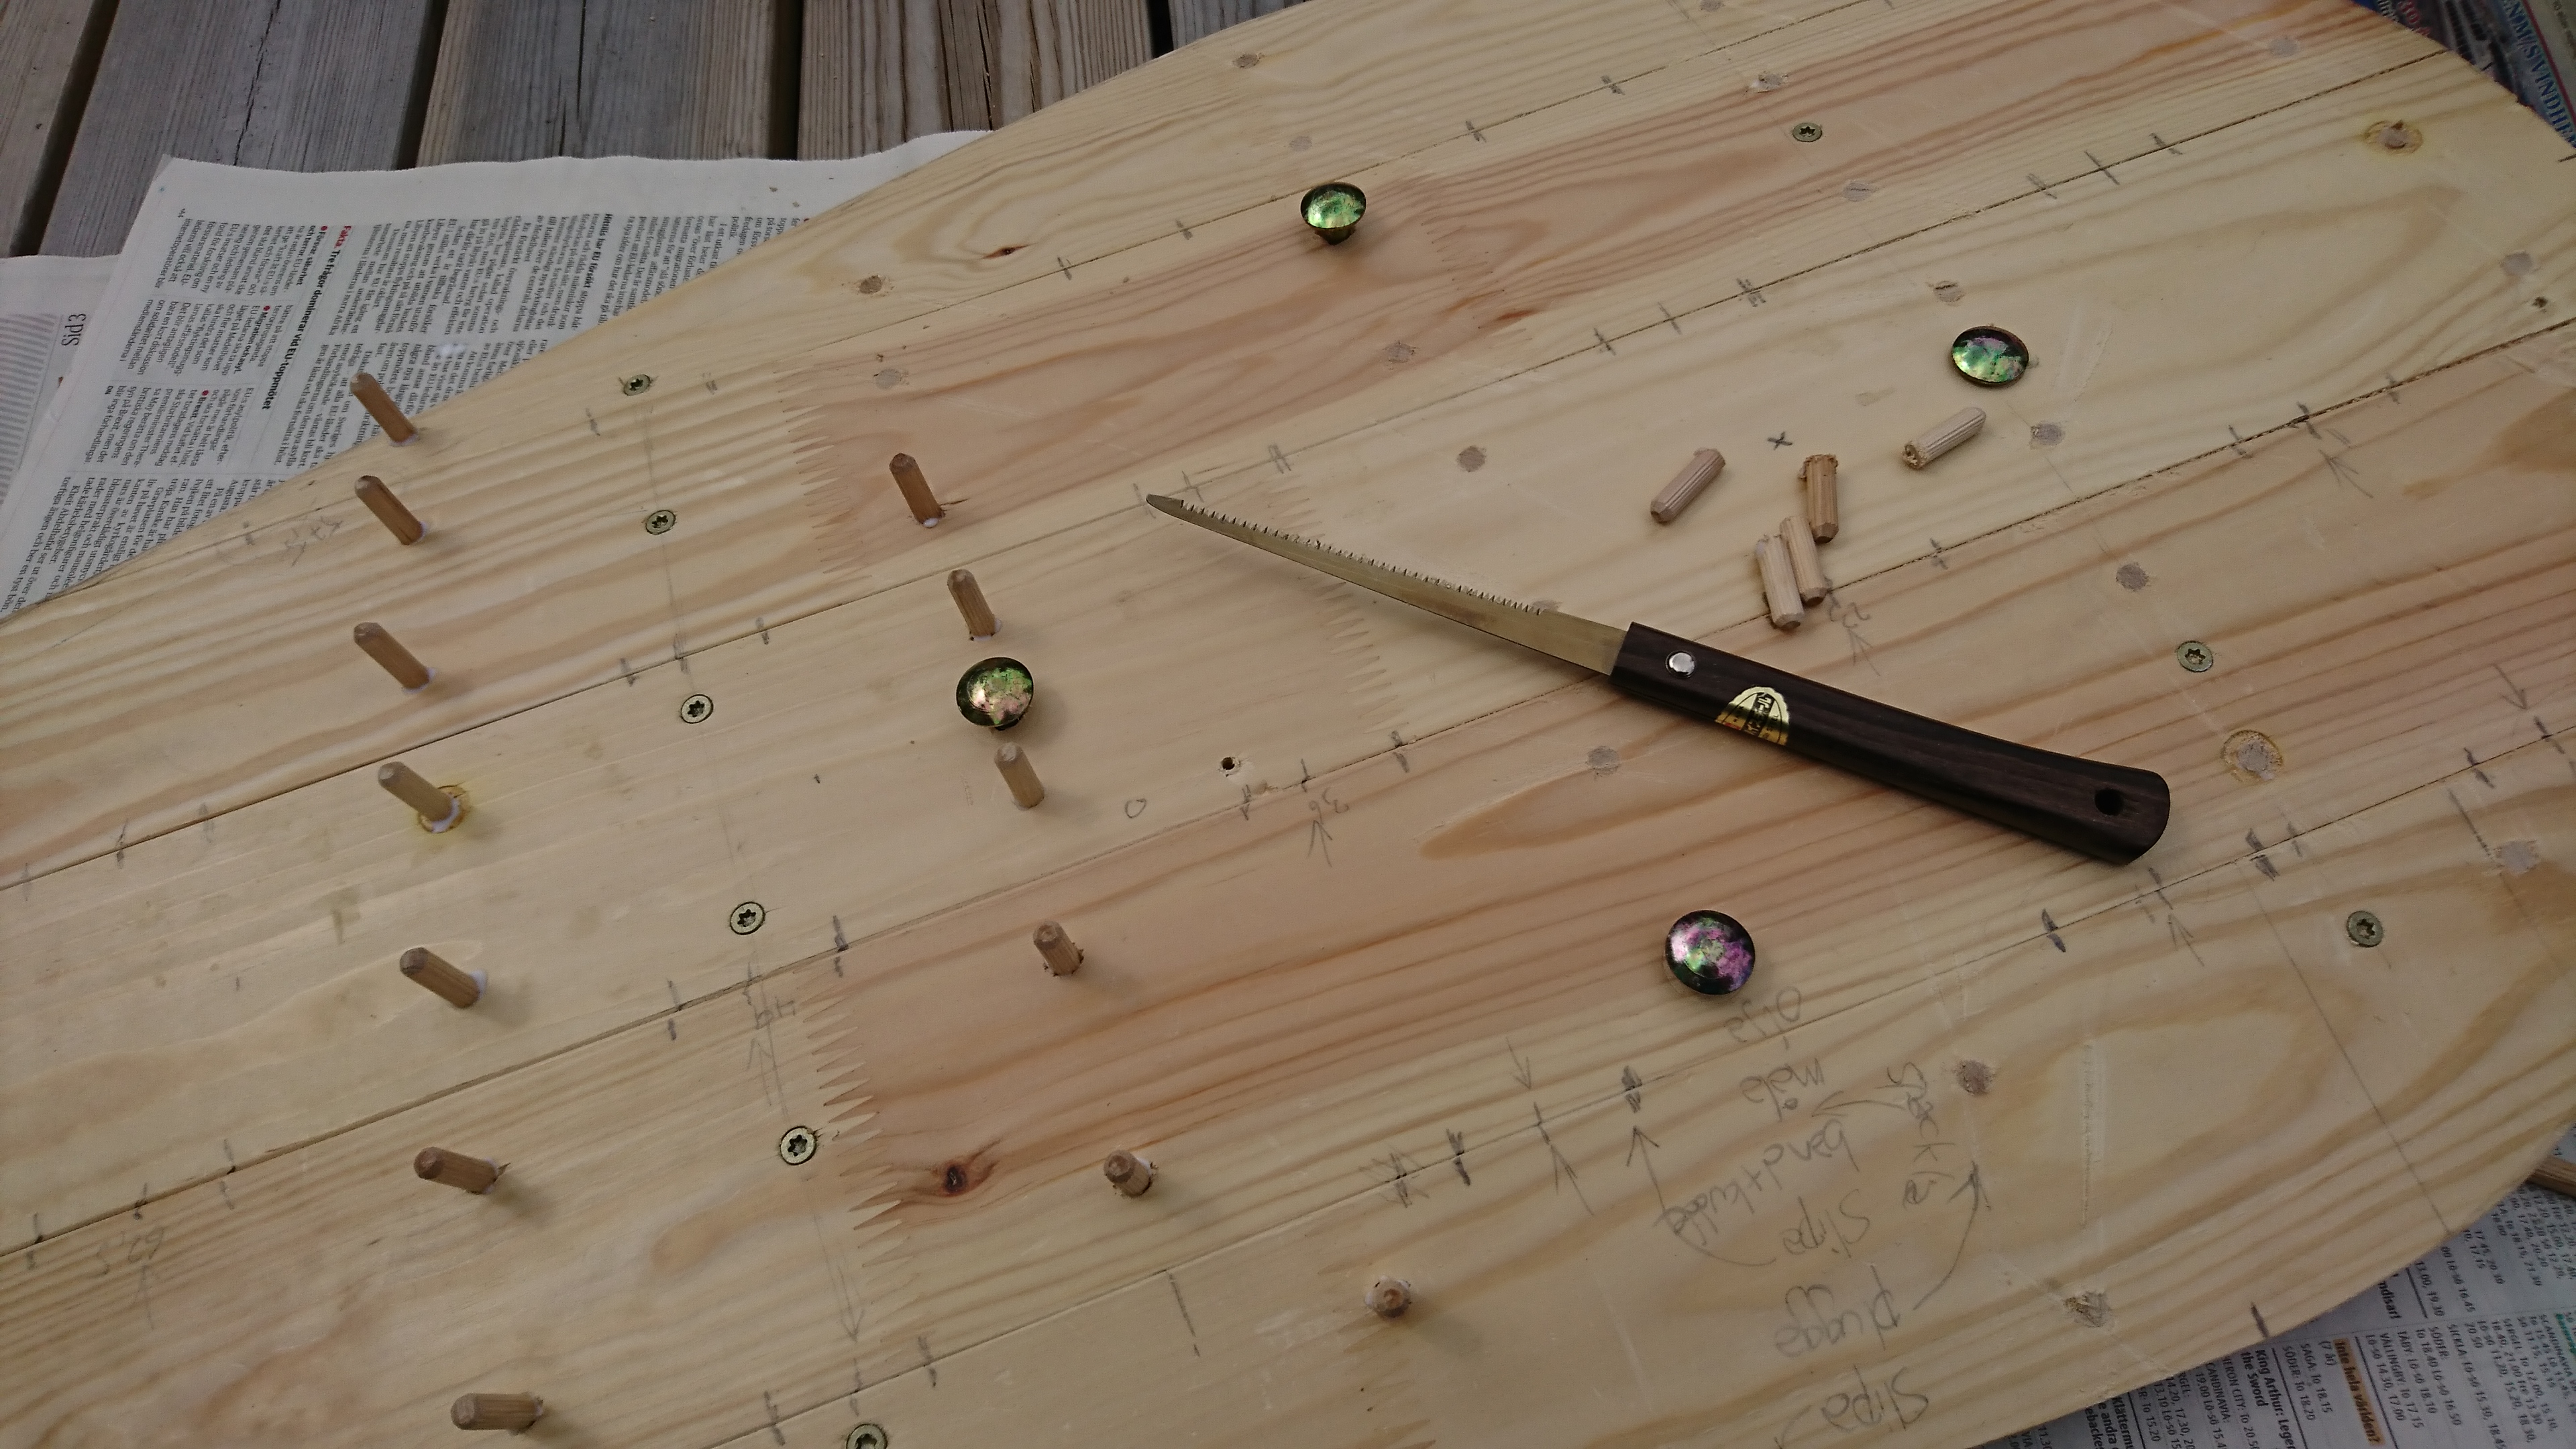
The pegs were cut off along the surface of the shield using a small saw.
Step 10: Putty and sand paper
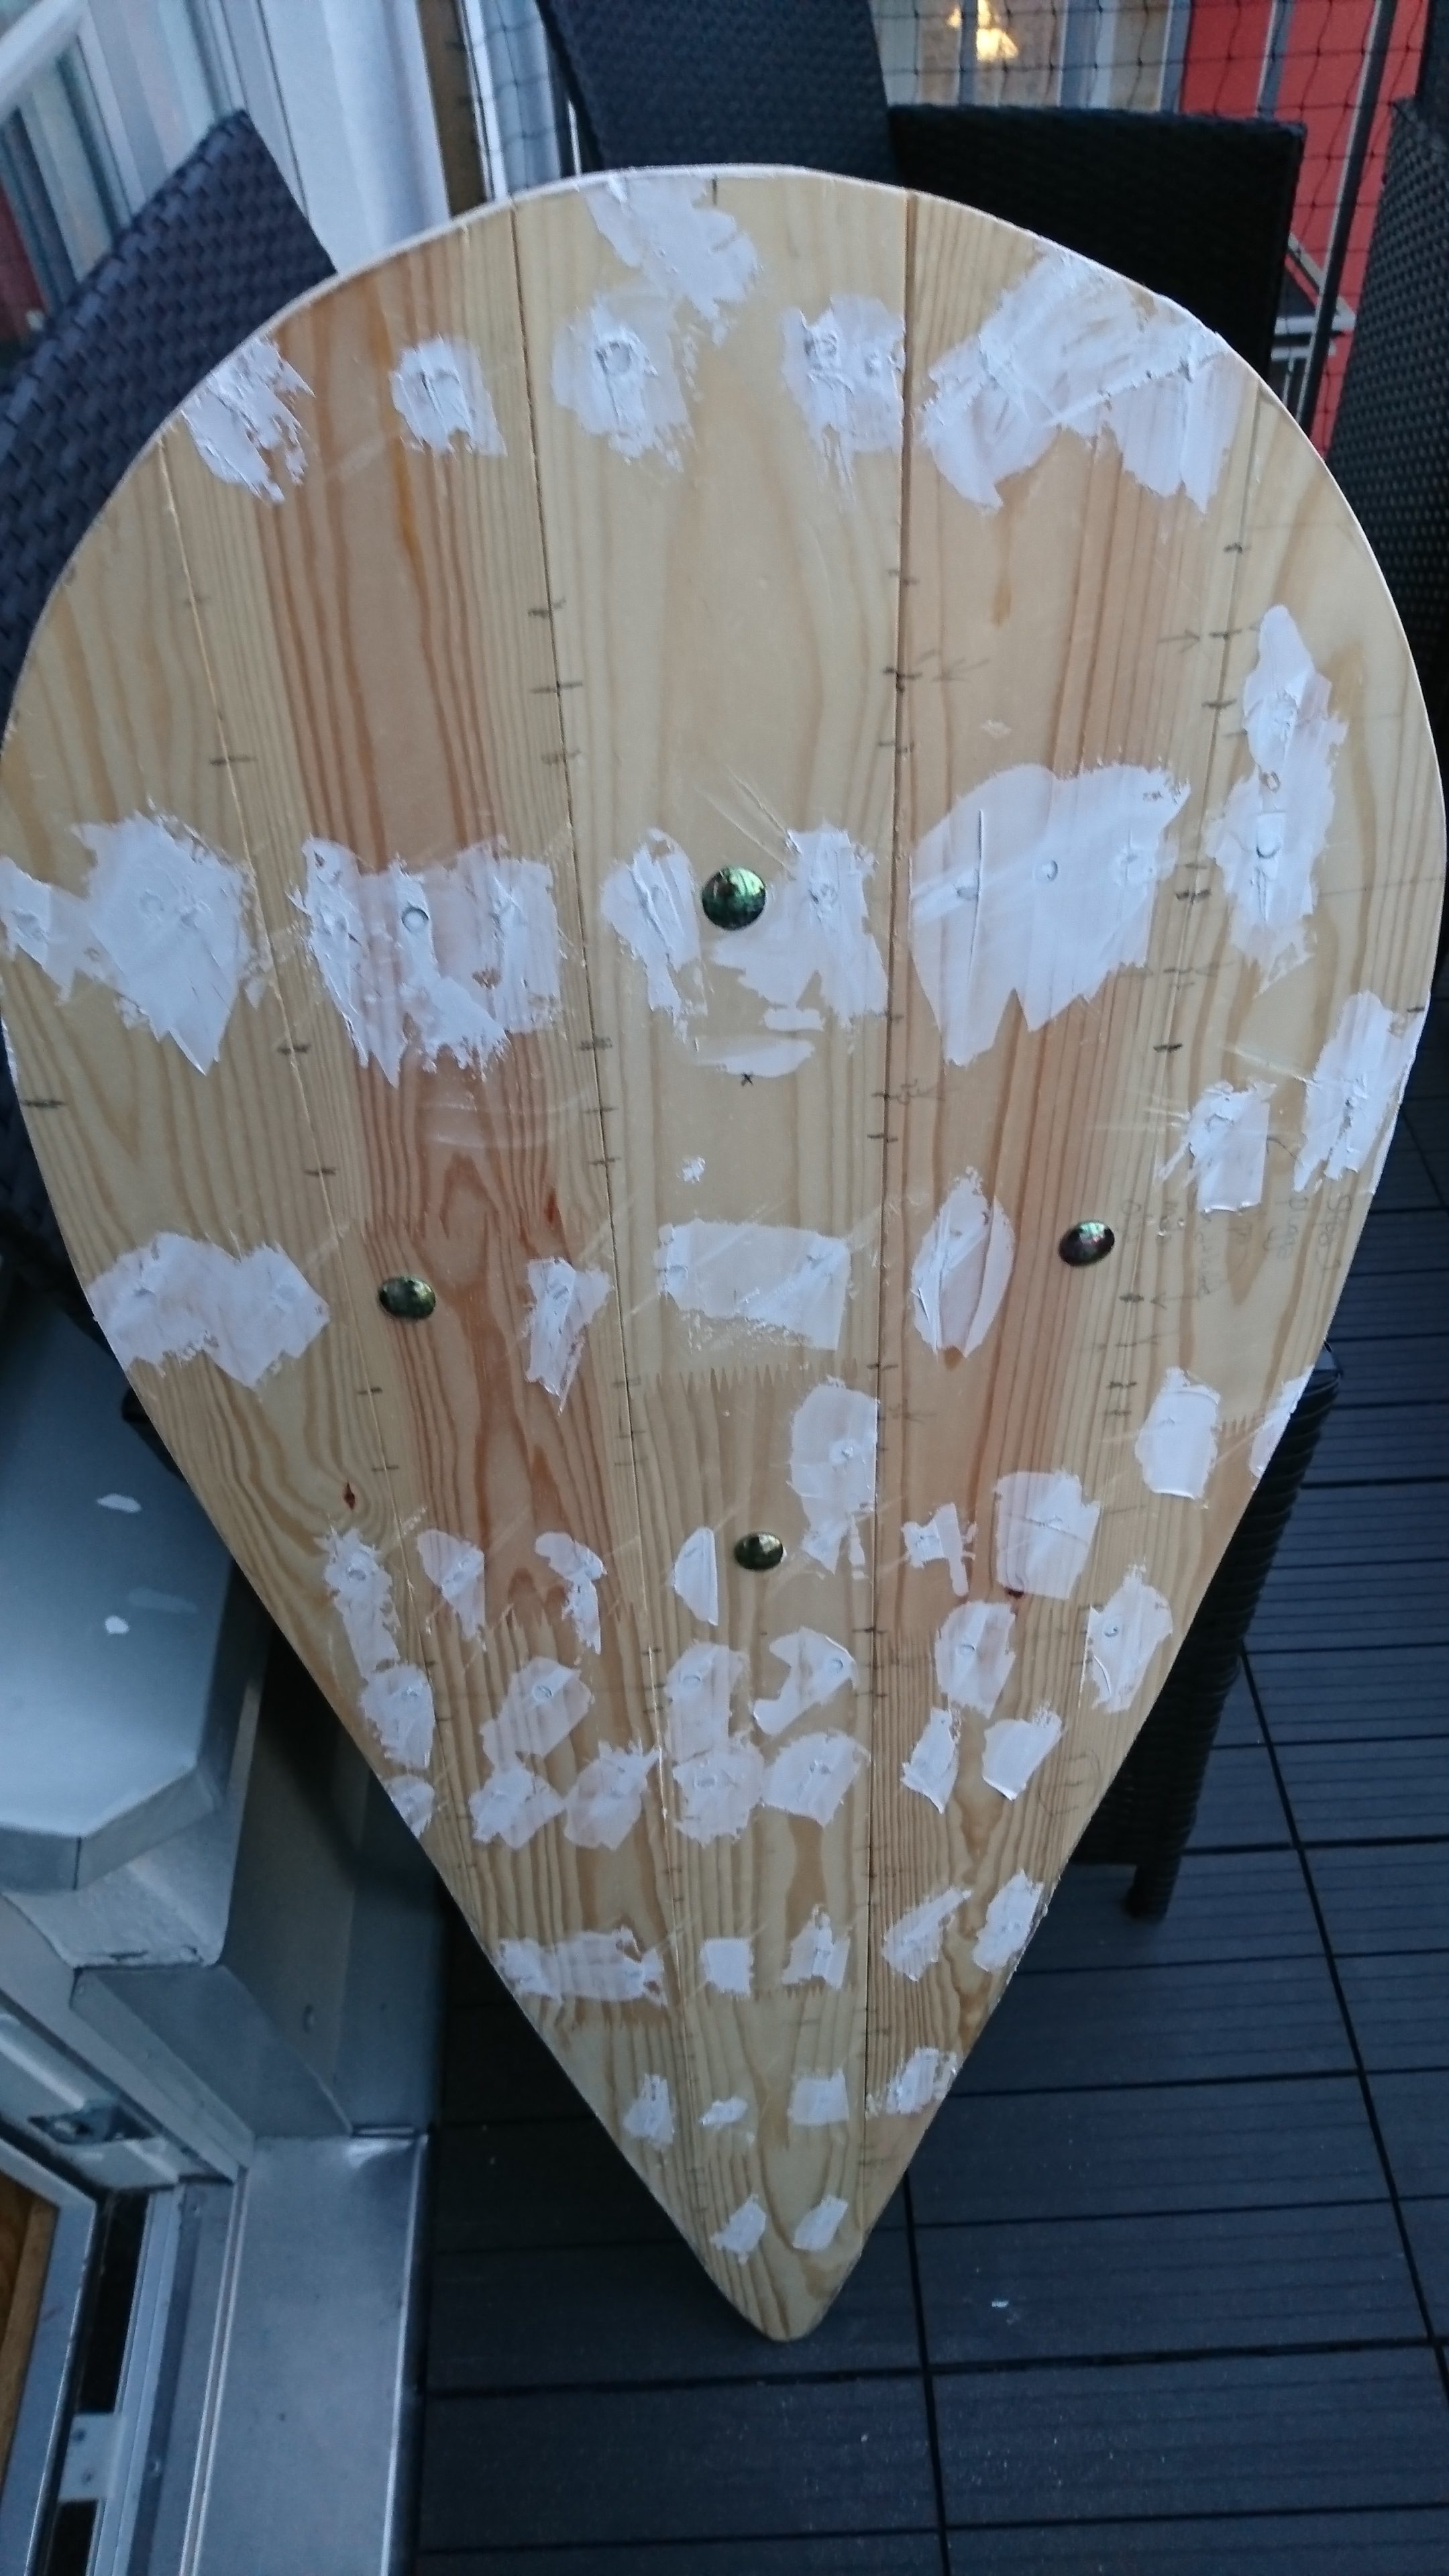
With the pegs removed, I added some wood putty to all the peg holes and other damages on the front, back and sides. When it had dried, I smoothed it all out with sand paper, as well as finalized the shape of the shield. Parts of the edges were a bit wobbly, as mentioned before, which I tried to minimize.
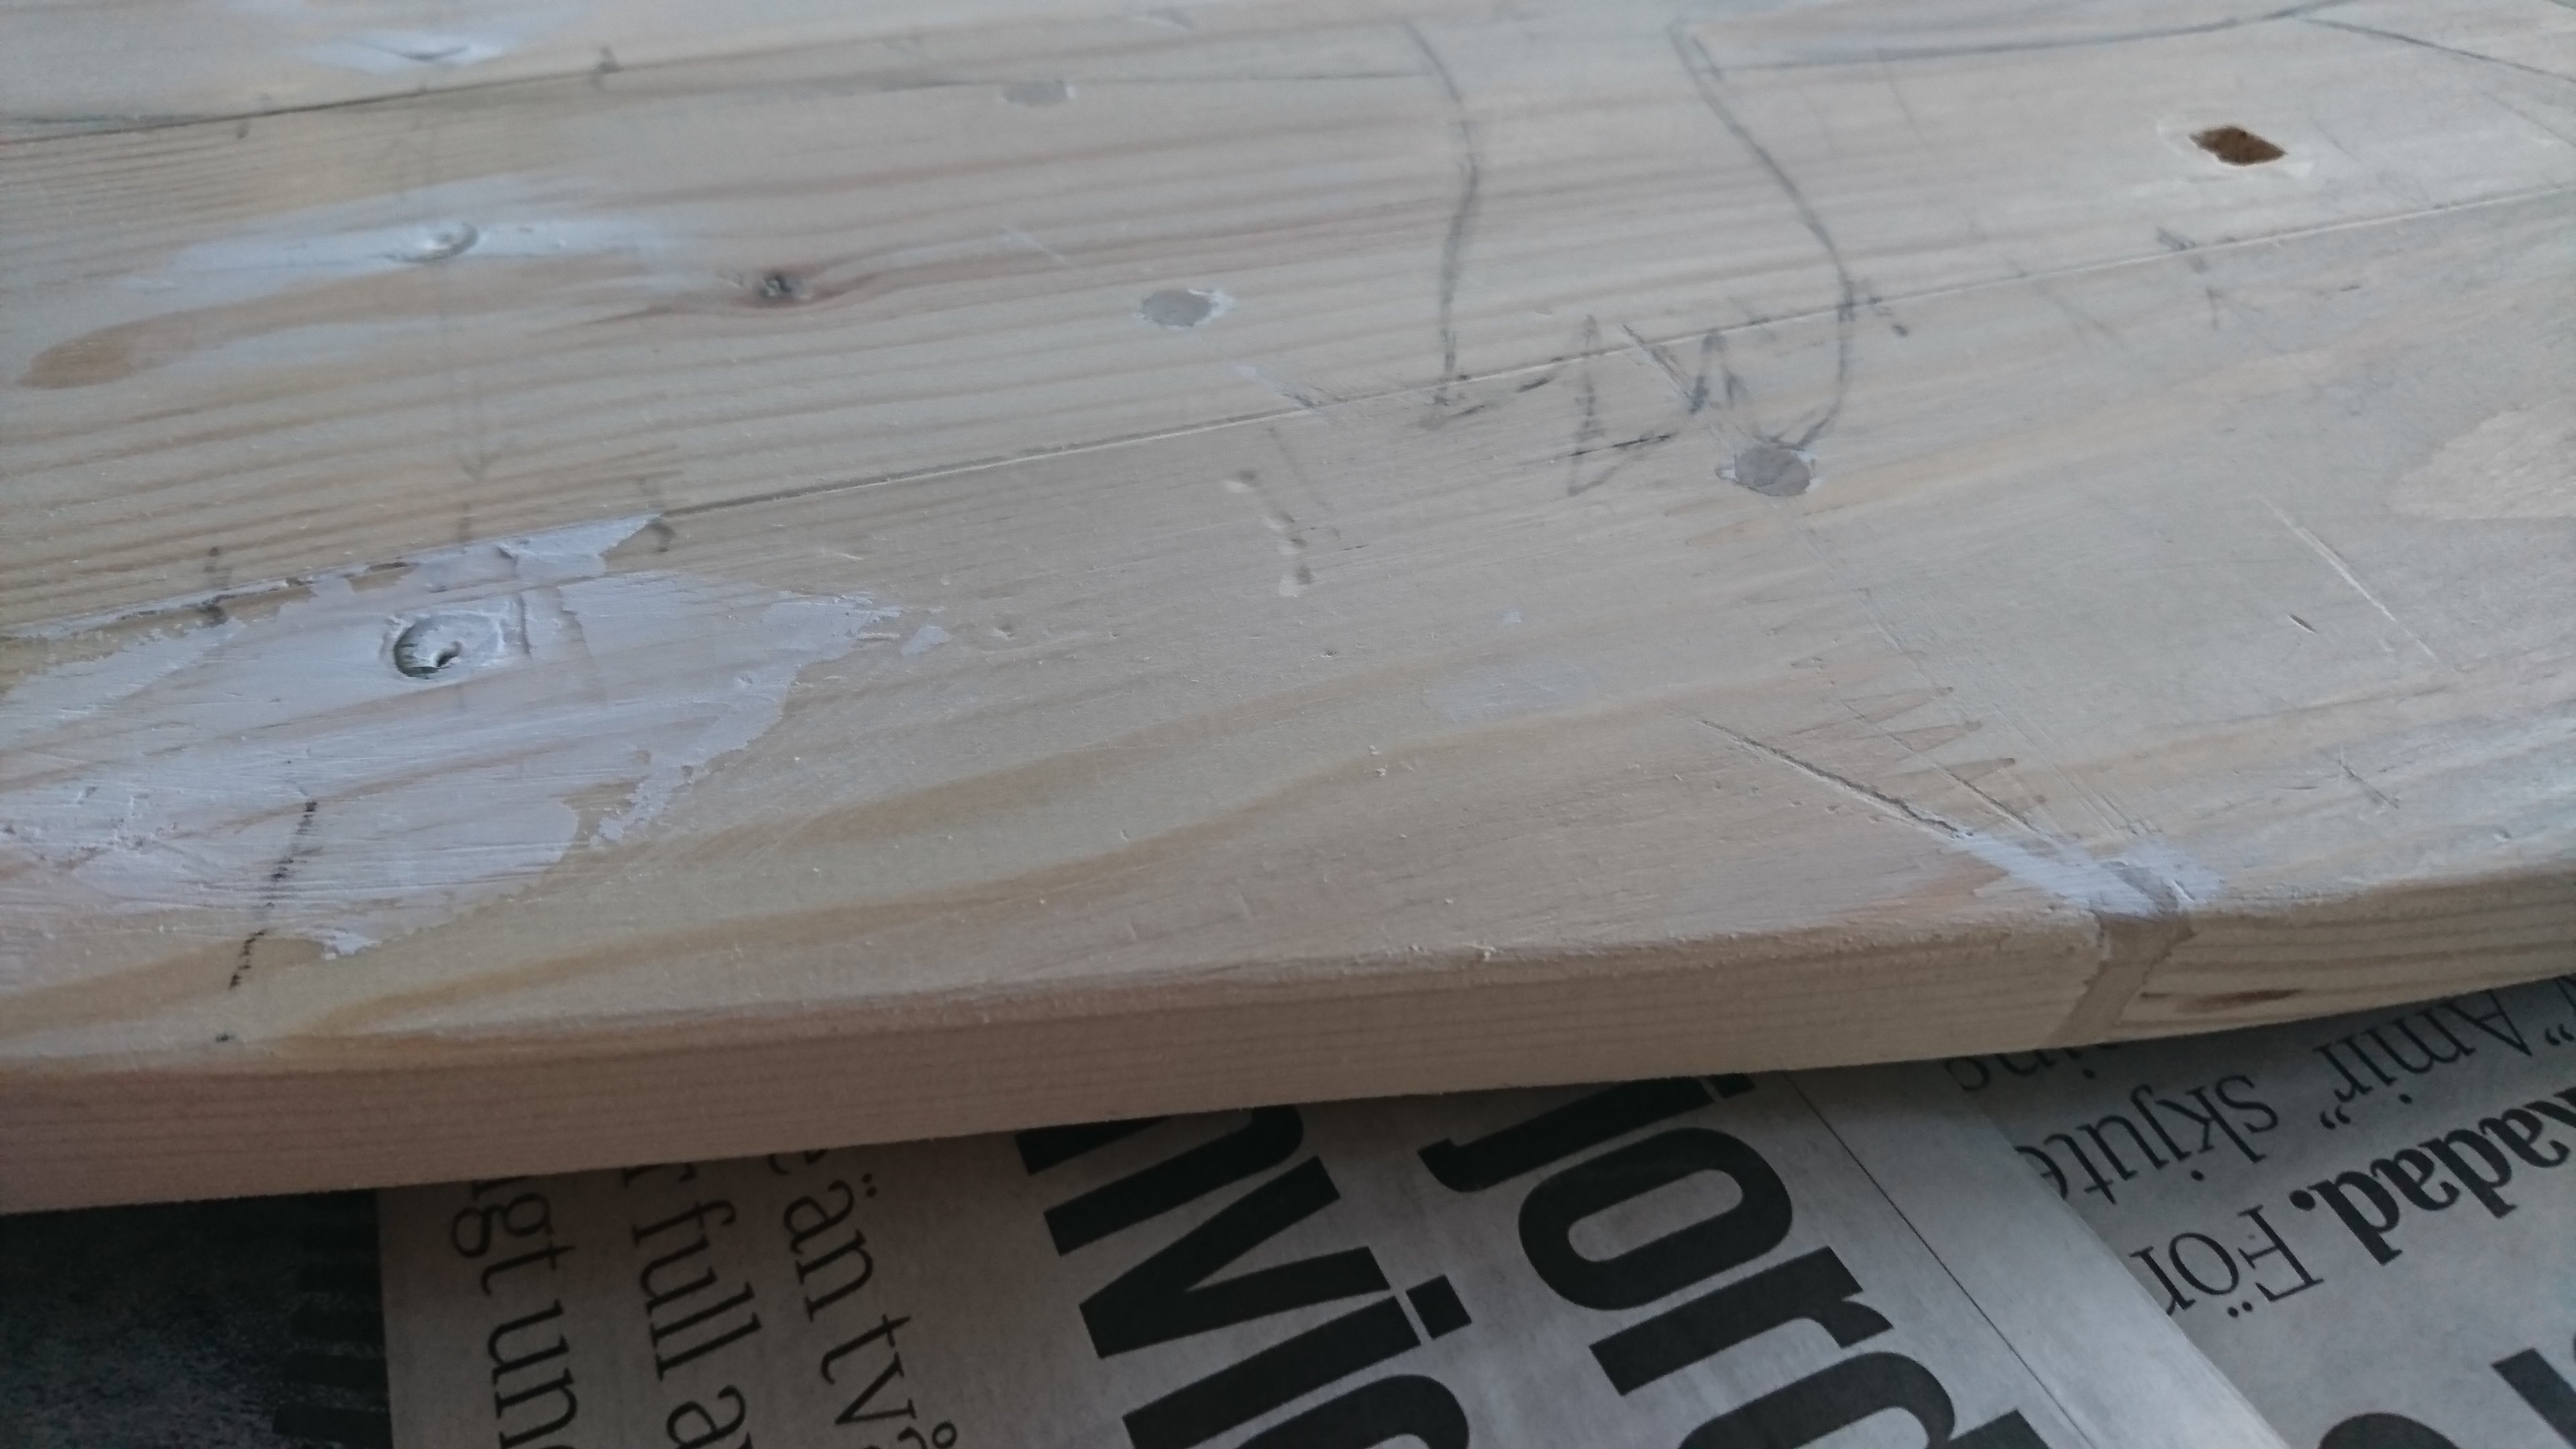
I also made sure to make the edges nice and smooth.
Step 11: Paint job
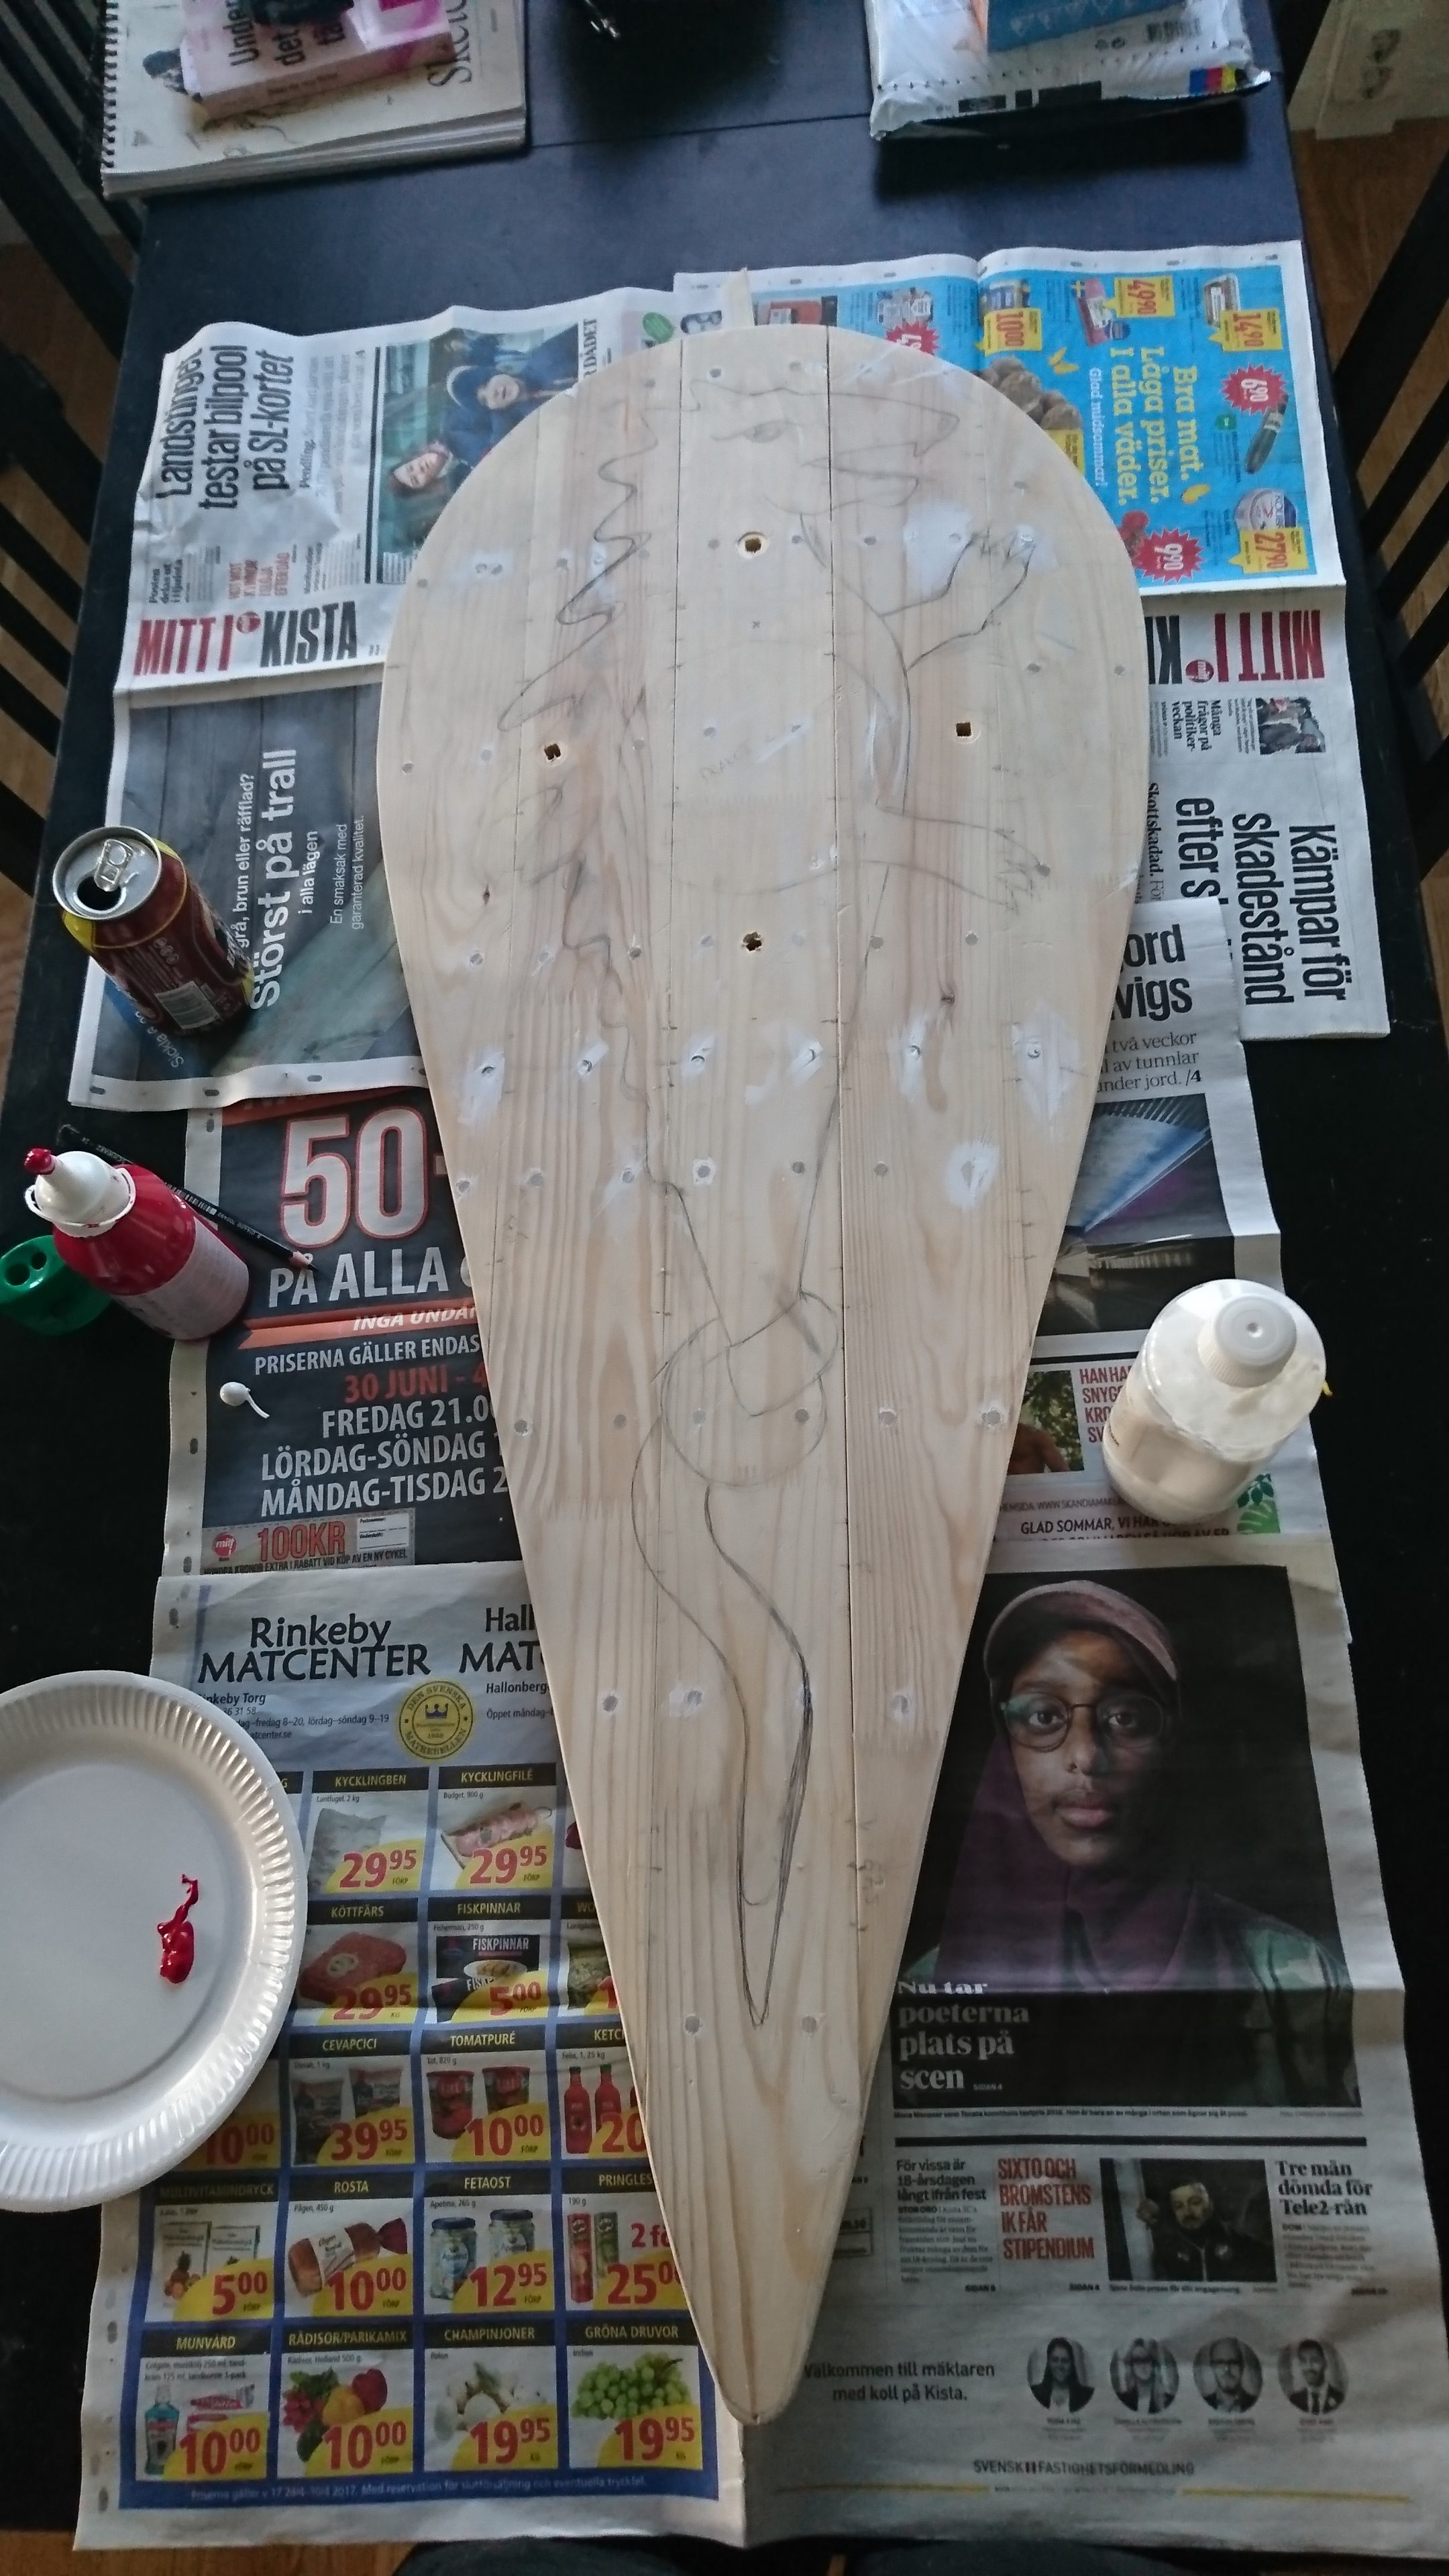
Then, it was time for the paint. First off, I researched patterns that were used on Norman shields back in the day. The ones on the Bayeux Tapestry aren’t very detailed, and I wanted something more interesting than a bent cross. I’ll admit that I don’t know the credibility of some of the patterns I found, but I decided that a dragon-like beast would be the way to go. I also happen to like hedgehogs, so I gave it a row of spikes down the spine.

Using Acrylic colors, I then started painting the shield in red, white and black.
Worth nothing here is that historically, the shield would probably have been covered with leather first. I decided against it, however, for practical reasons as well as ethical. First off, leather can be hard to work with. Also, I try and use as little animal products as I can, and for example try to re-purposing second-hand garments when I really need the material.
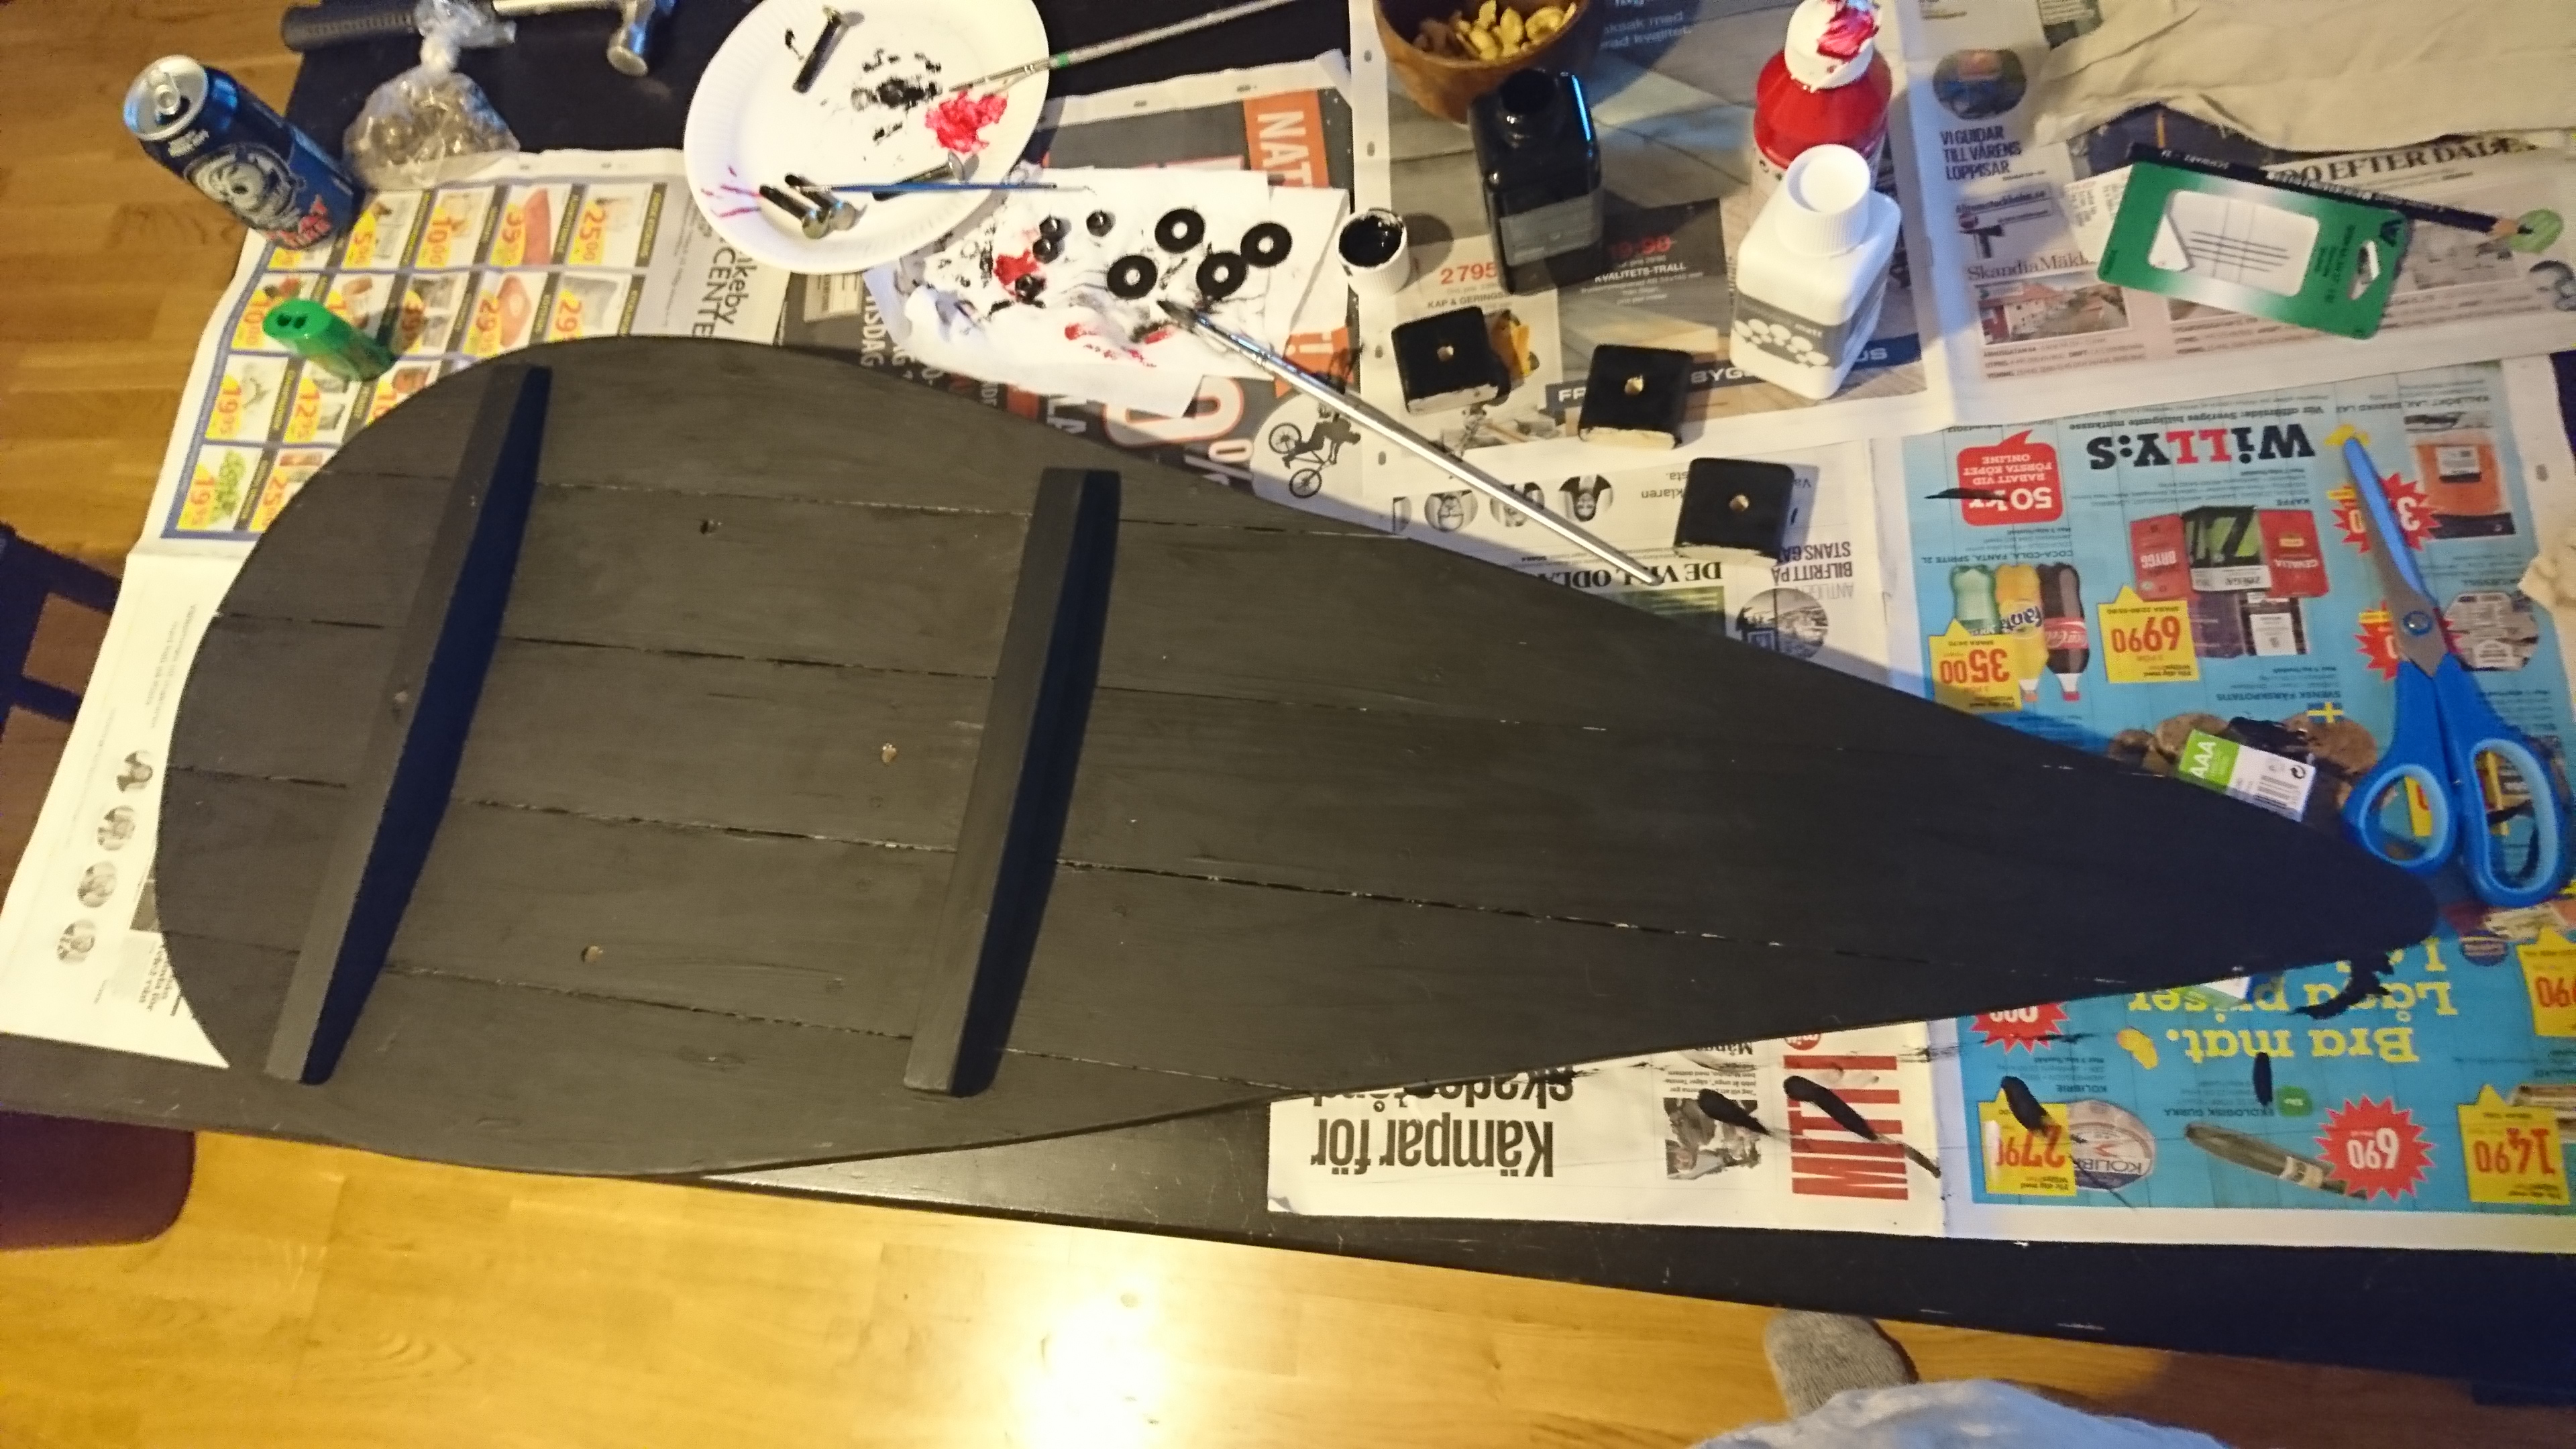
The backside, I painted all in black.
Step 12: The handles (part 2)
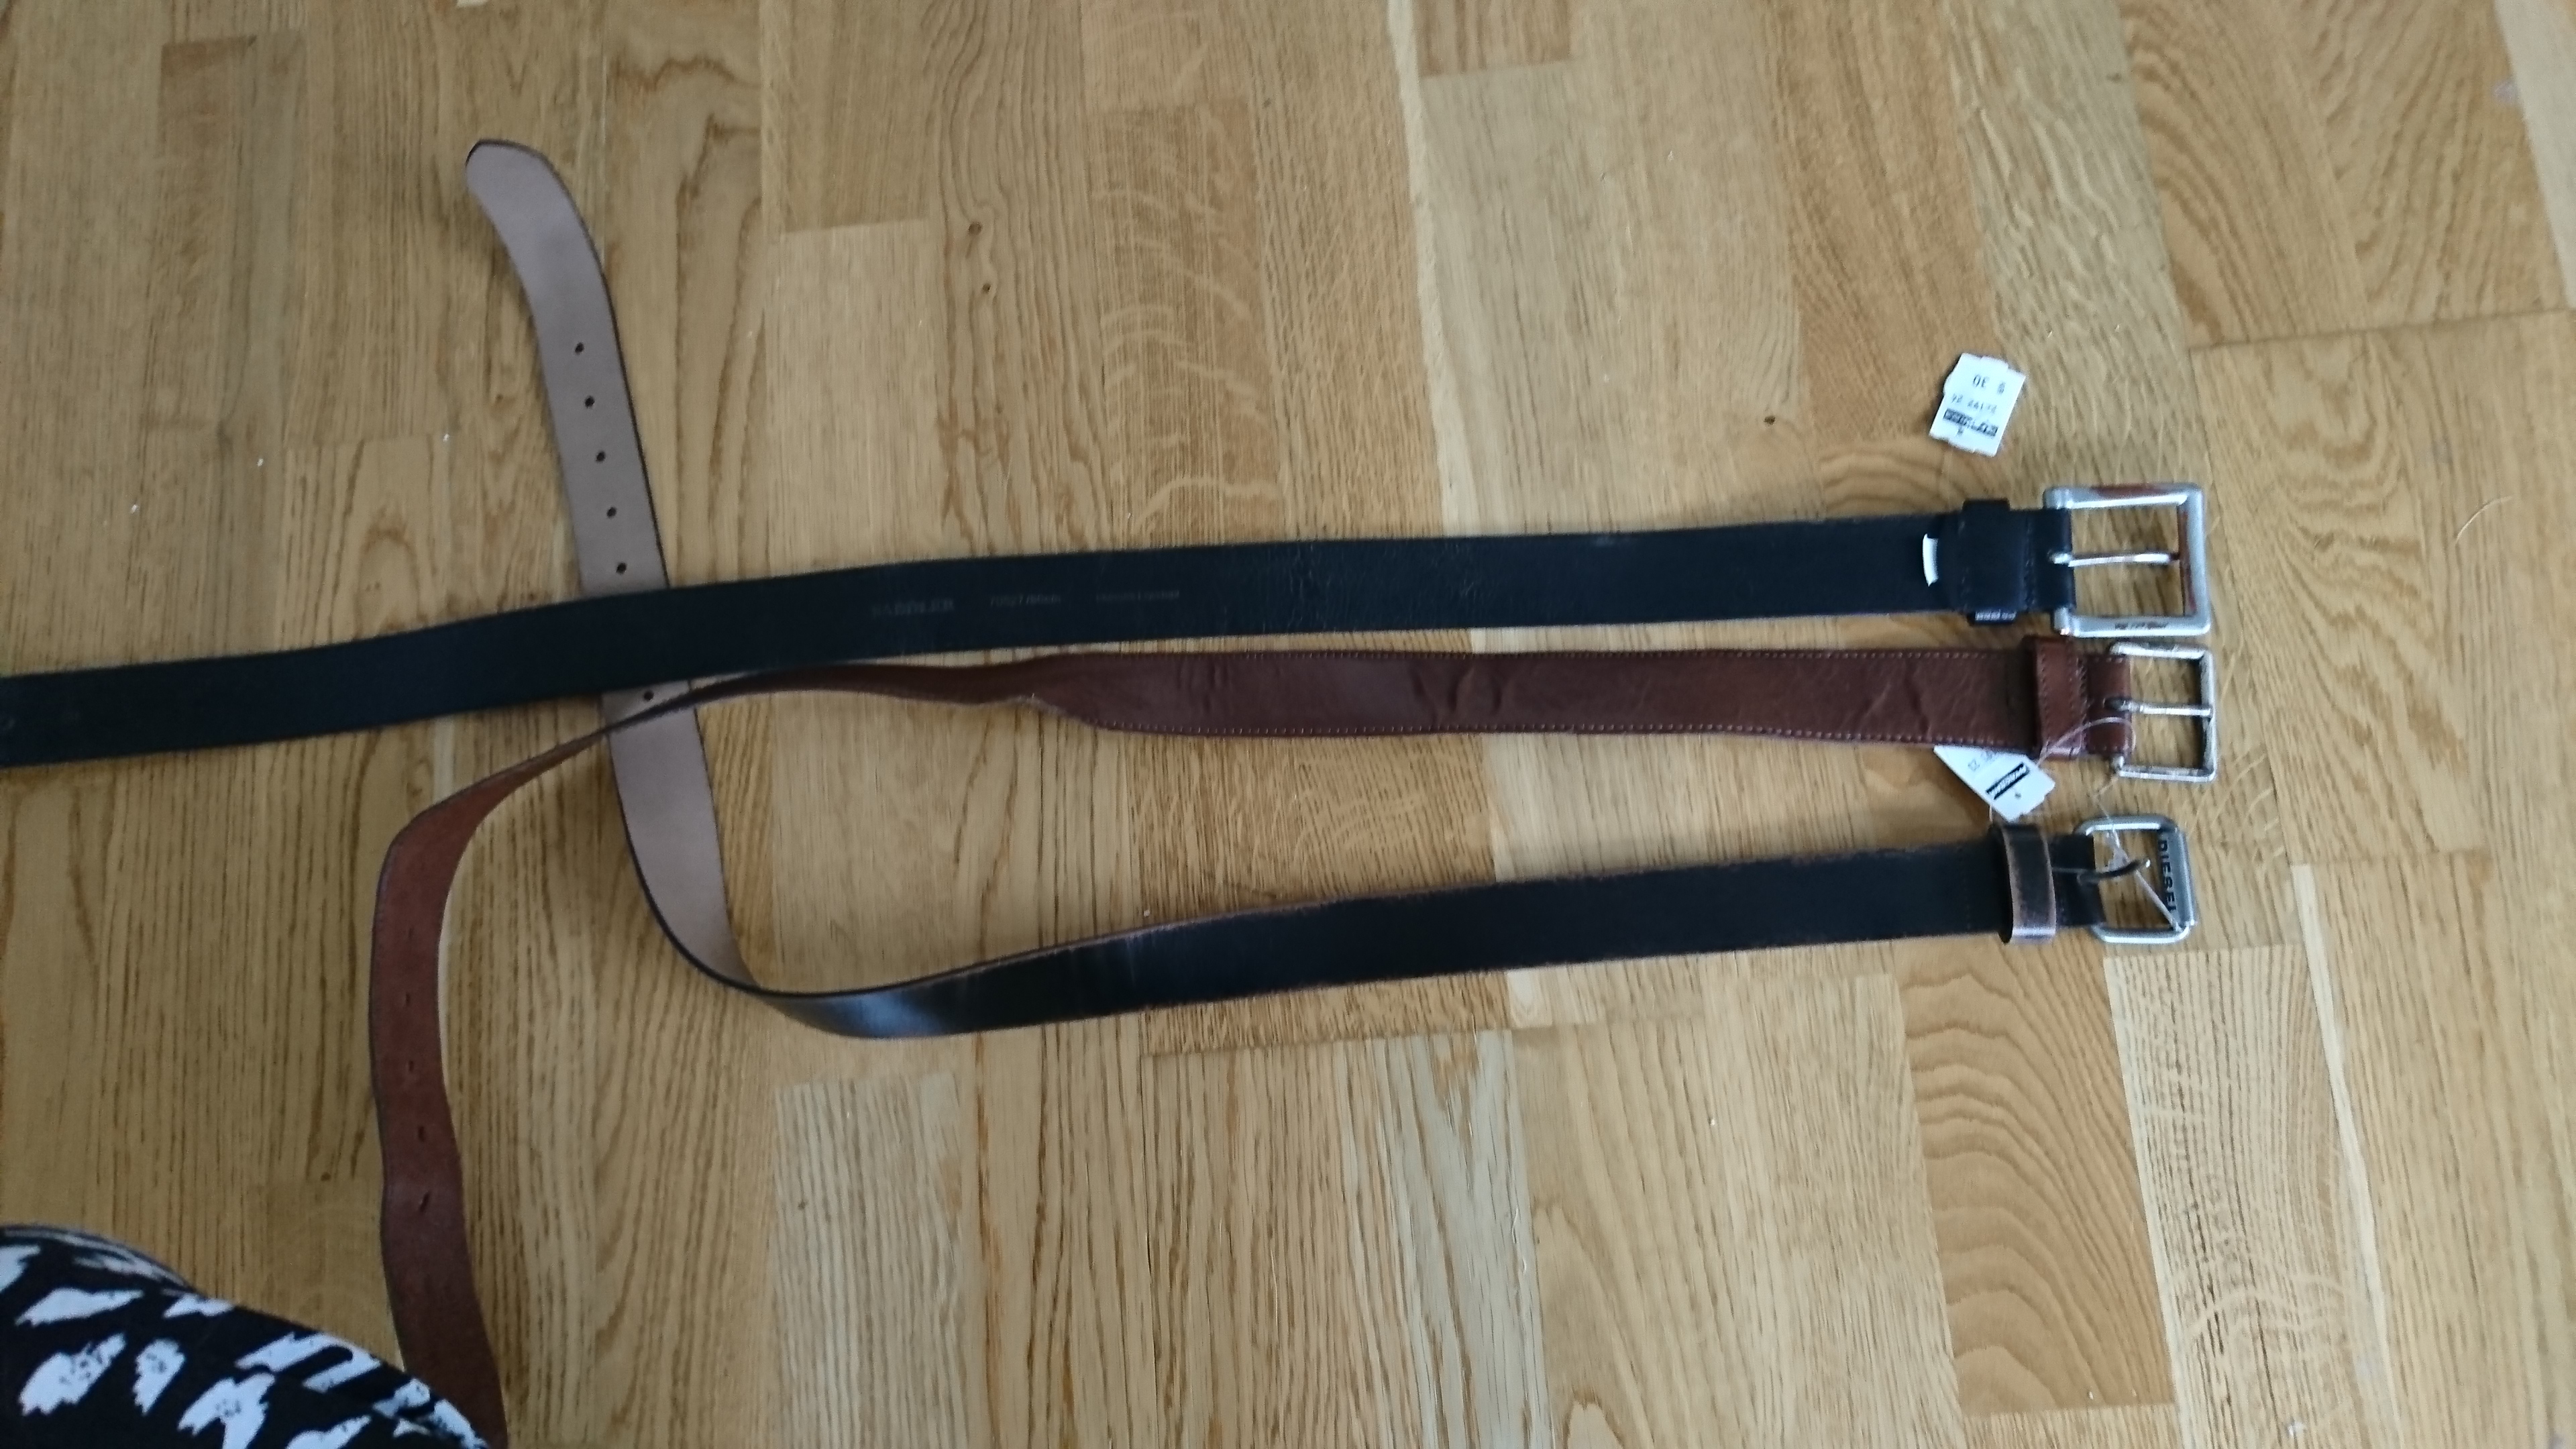
Finally, it was time for the enarmes and guige. The leather straps were crafted from three second-hand belts. Two belts would have been enough, if one of the nice ones didn’t have a logo on the buckle.
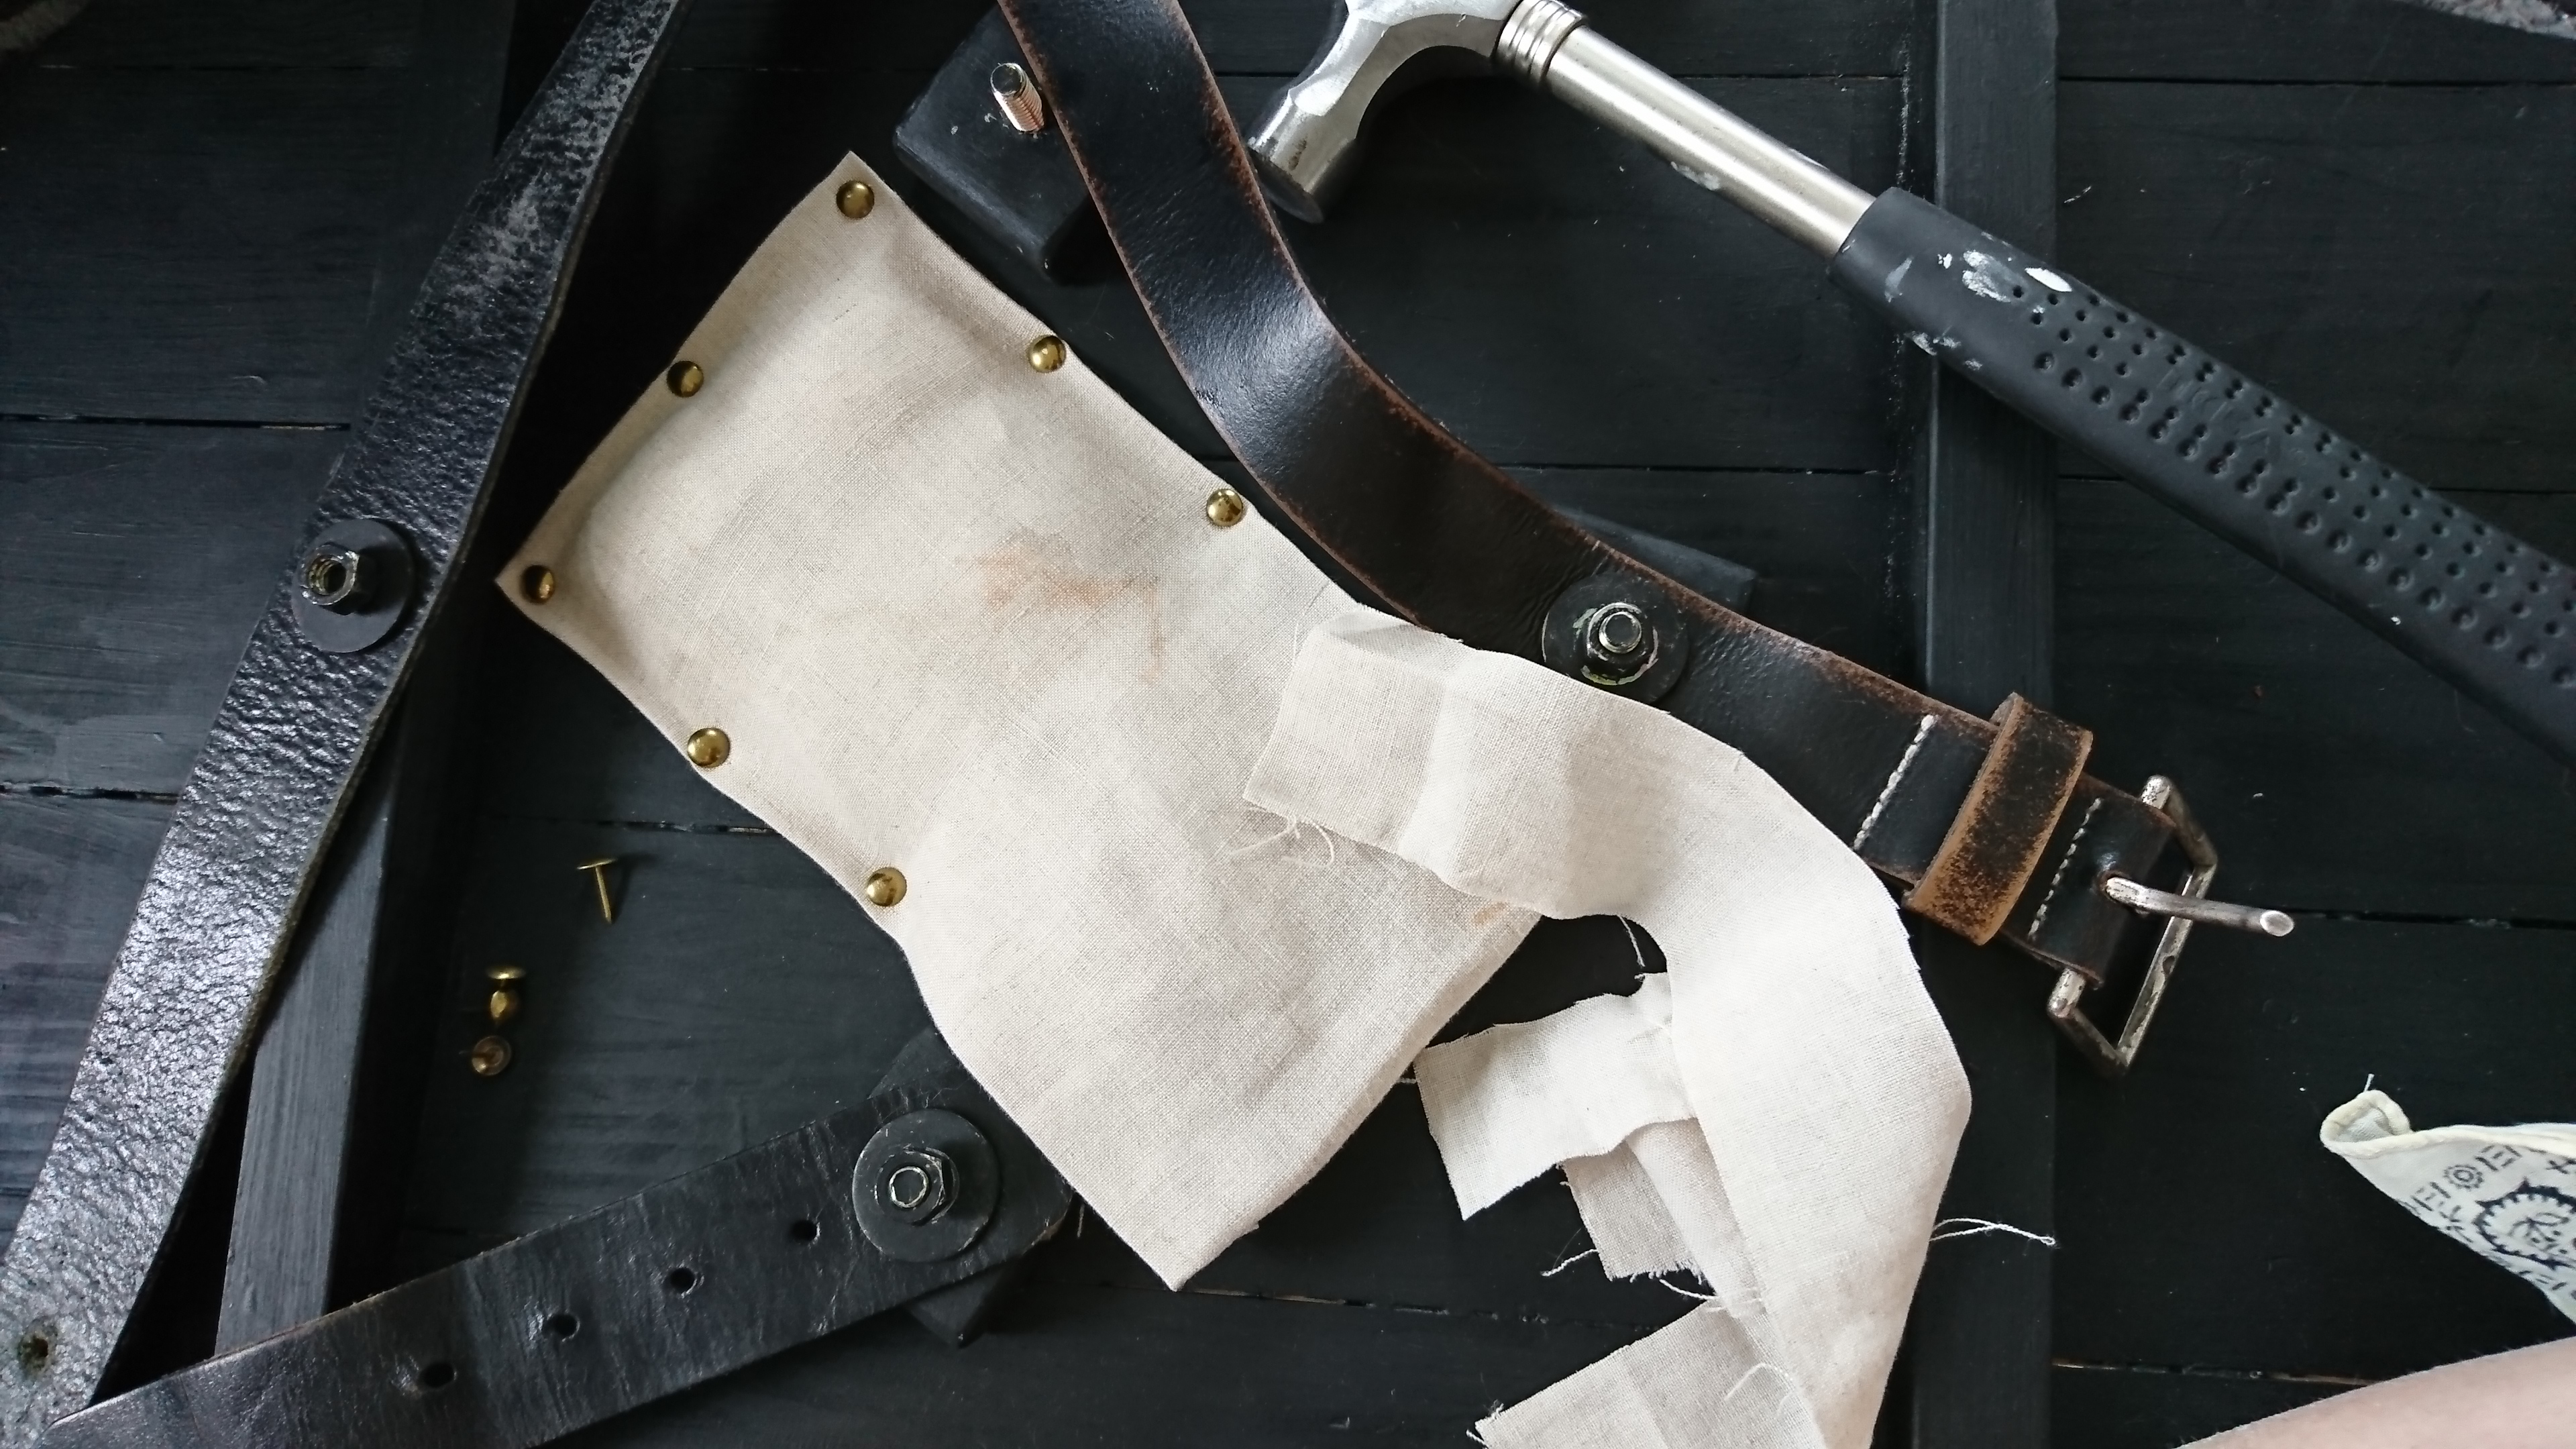
I have seen references suggesting padding between the arm and the wood of the shield, which I decided to add as well. Using tacks, I fitted a square piece of linen cloth (from a pair of old pants) between the attachments, and filled it with more linen scraps.
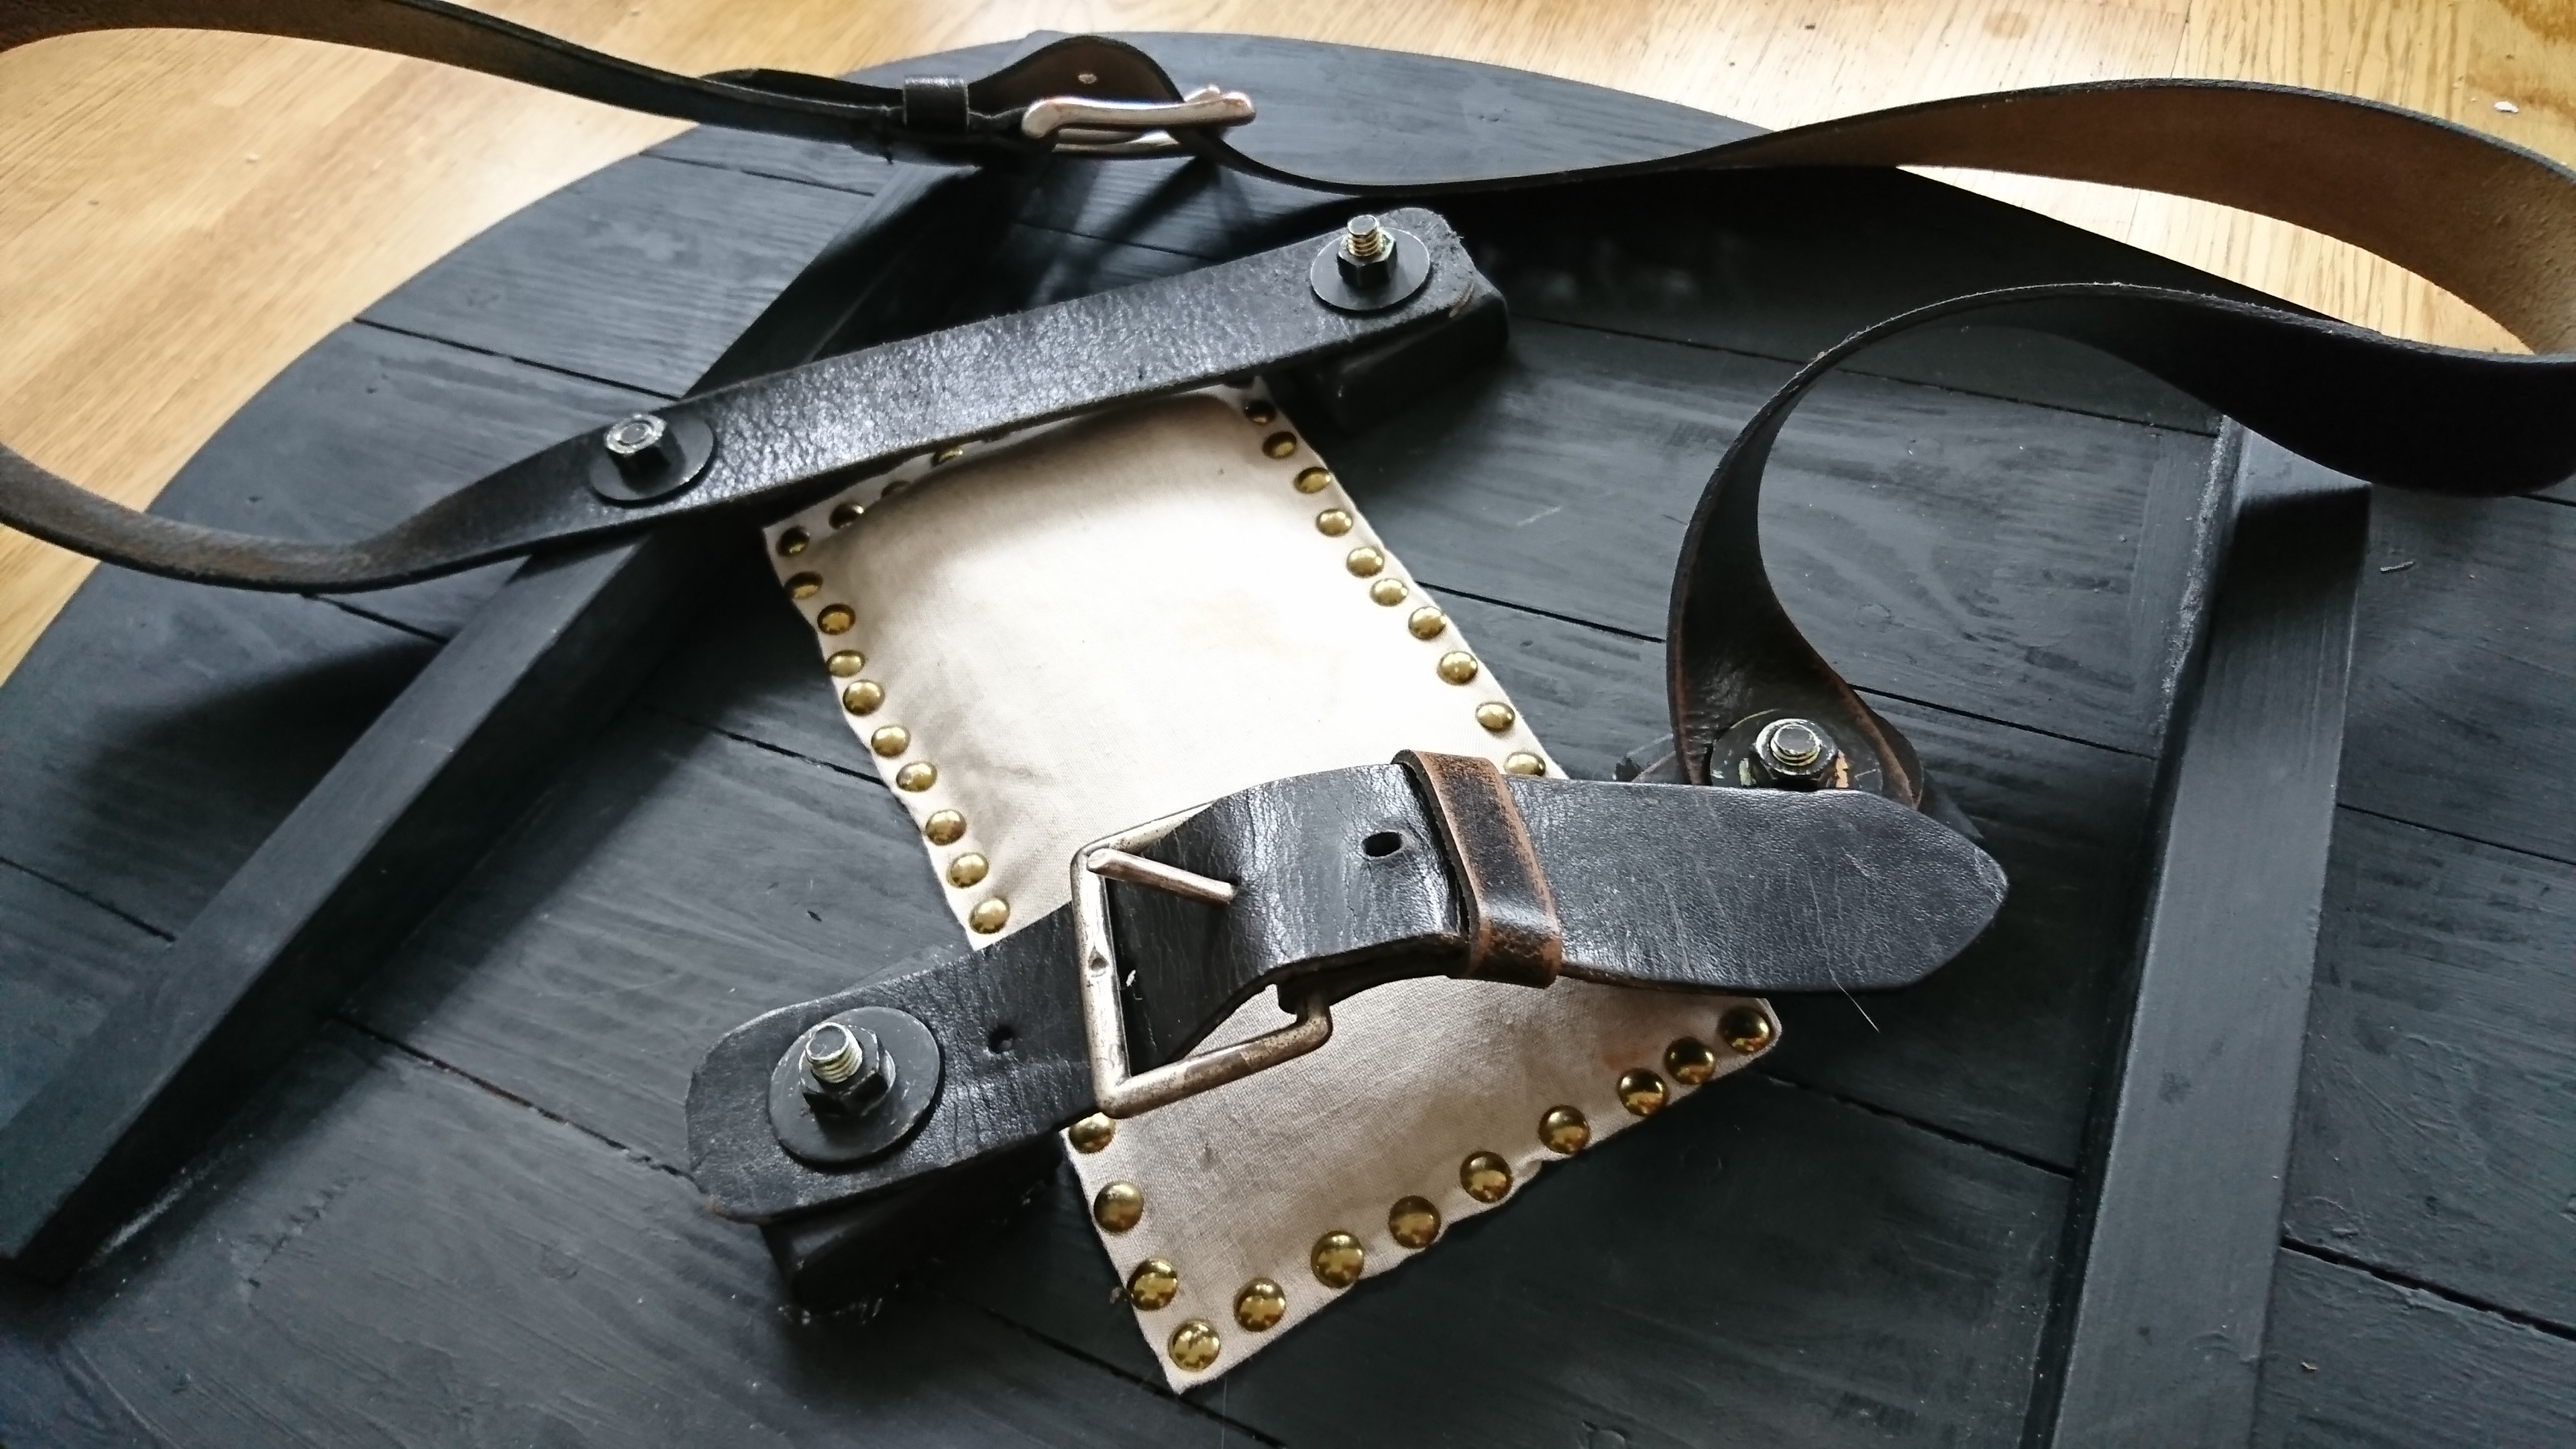
The leather straps were put into place with the carriage bolts we found earlier. The solution turned out to be sturdy and really quite comfortable! And since I am right-handed, it's now angled for use with the left arm.
Final Result
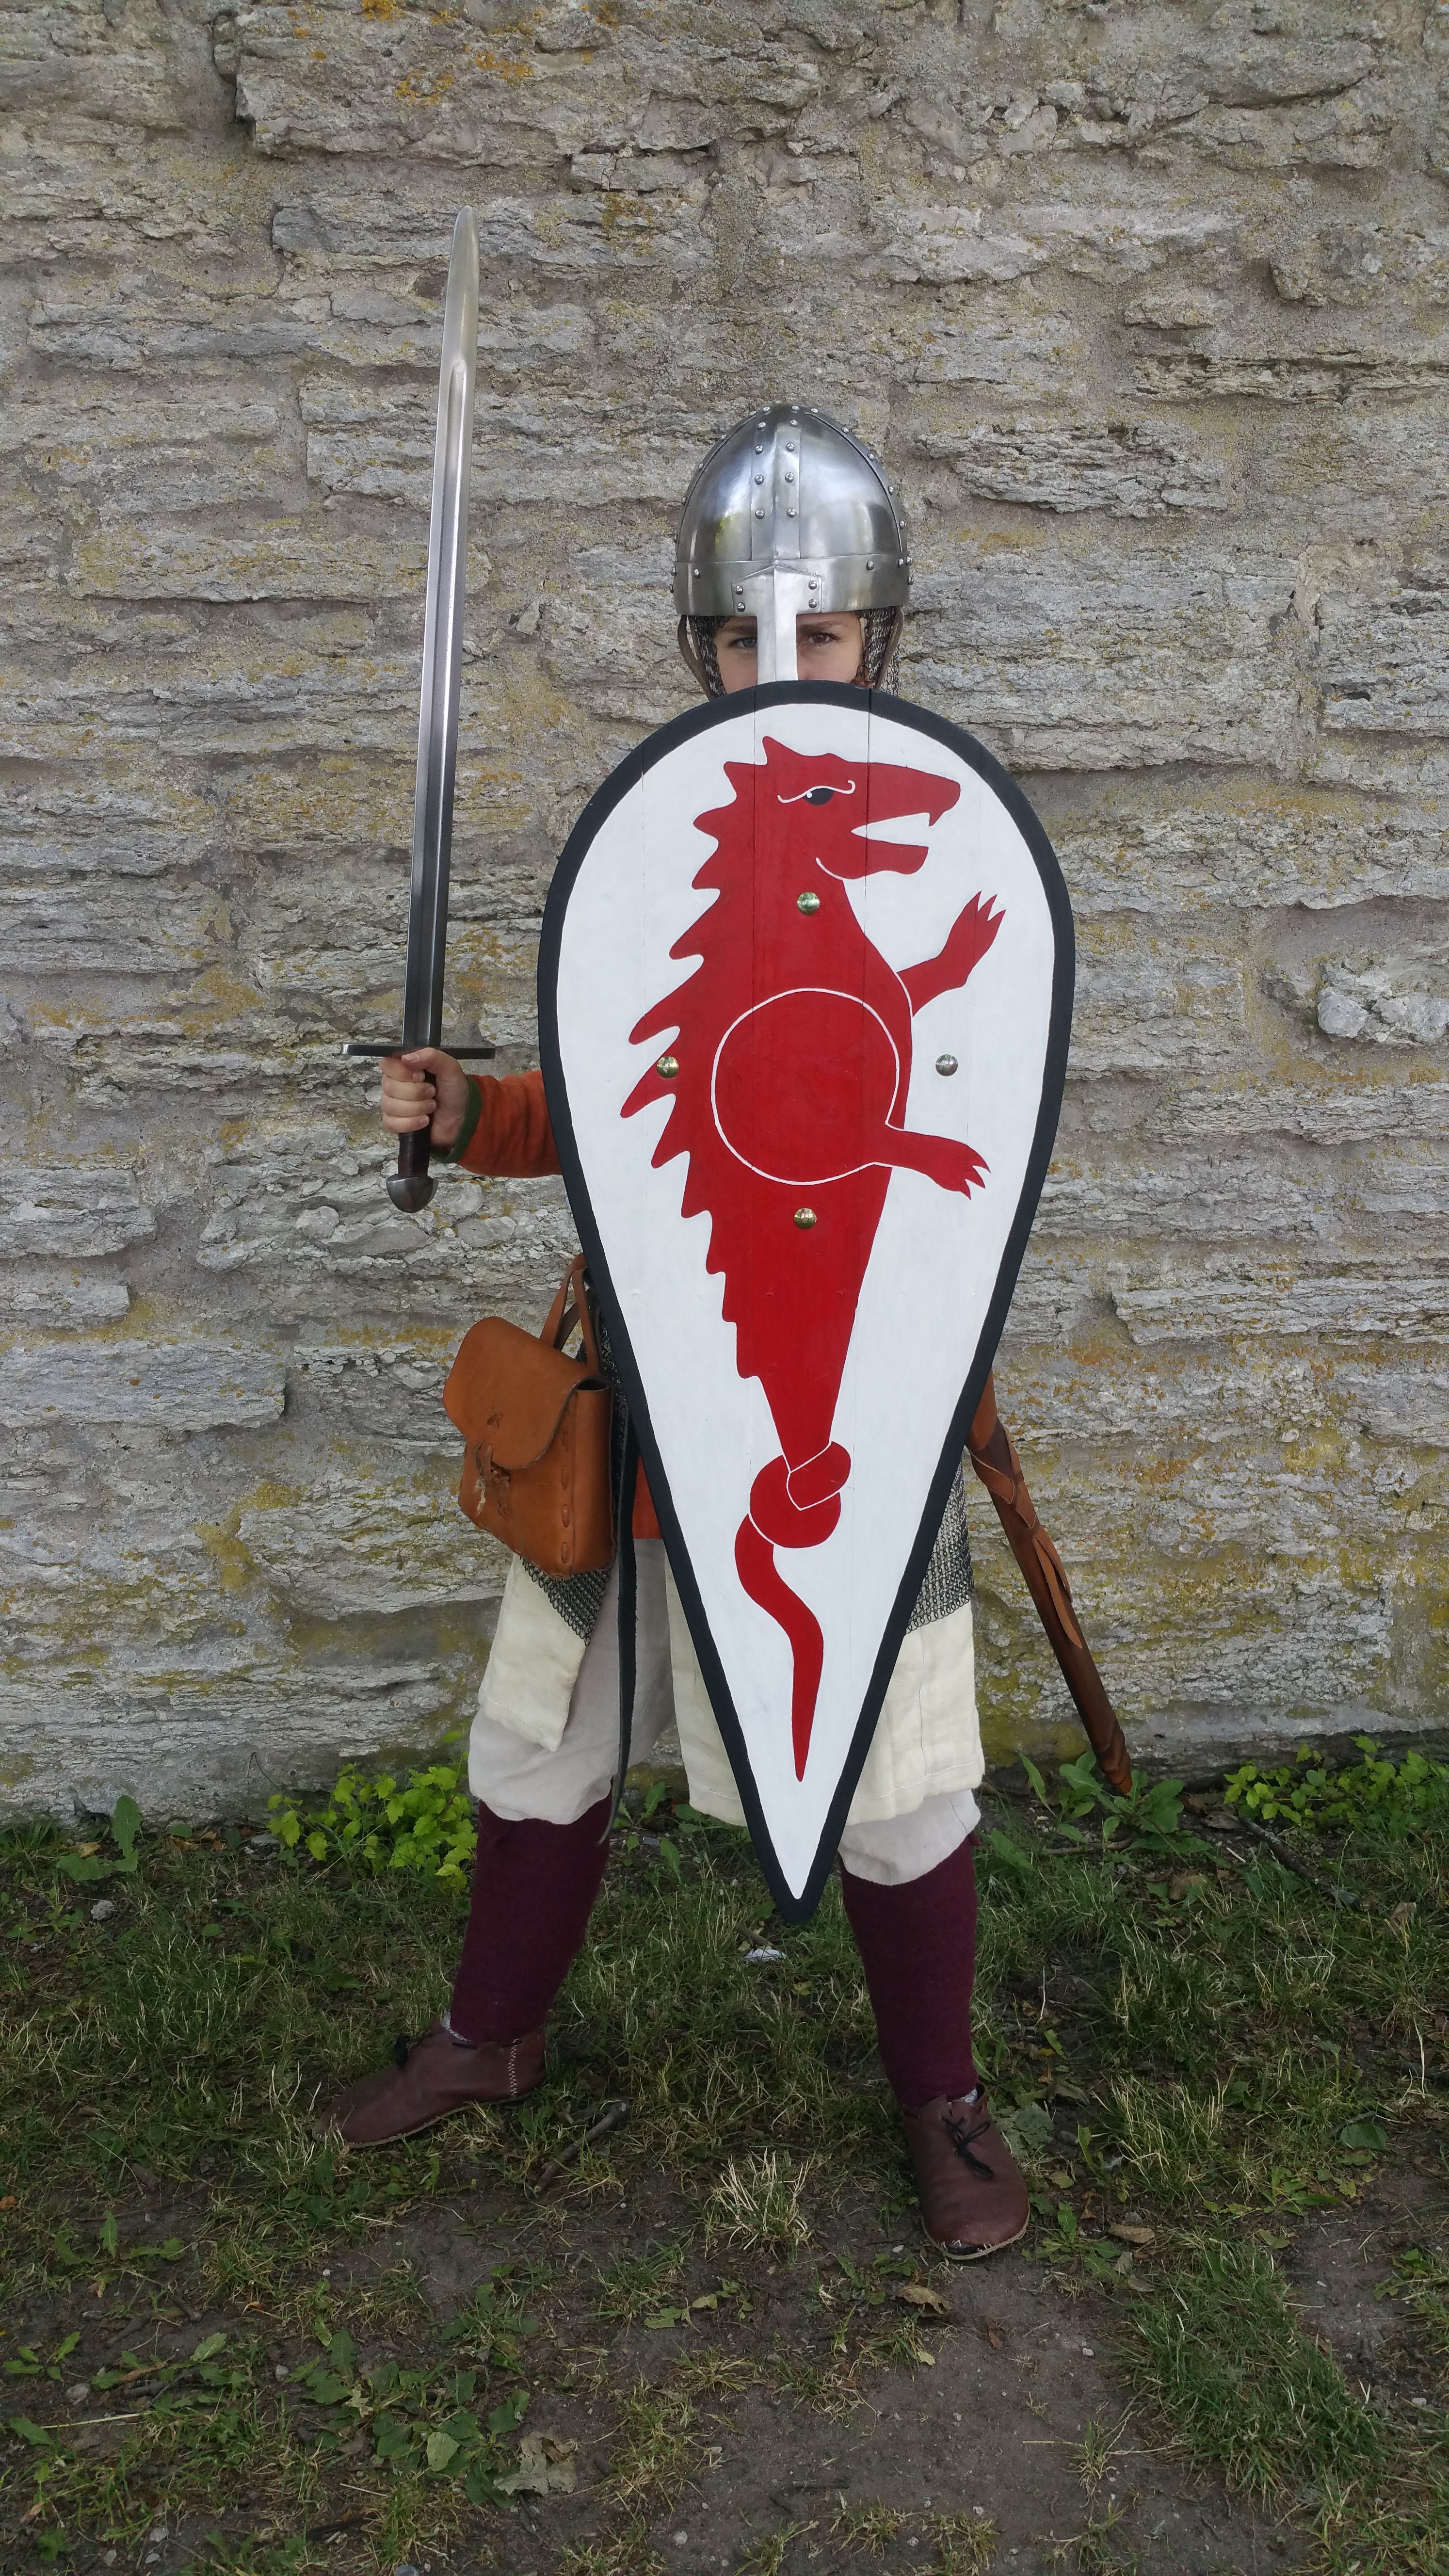
This is the shield in action! It weighs 2.9 kg.
It helped a lot to have a ridiculously well-equipped workshop to use when creating this shield. My grandfather was a bit of a horder when it came to woodwork, so we had all the tools and materials we needed - and much more - readily available. One web page I visited when researching this beforehand said that you would need "an unusual amount of clamps" when bending wood, which rapidly became a standing joke within the family. Our workshop sure has an unusual amount of clamps.
Skipped step: Buckler
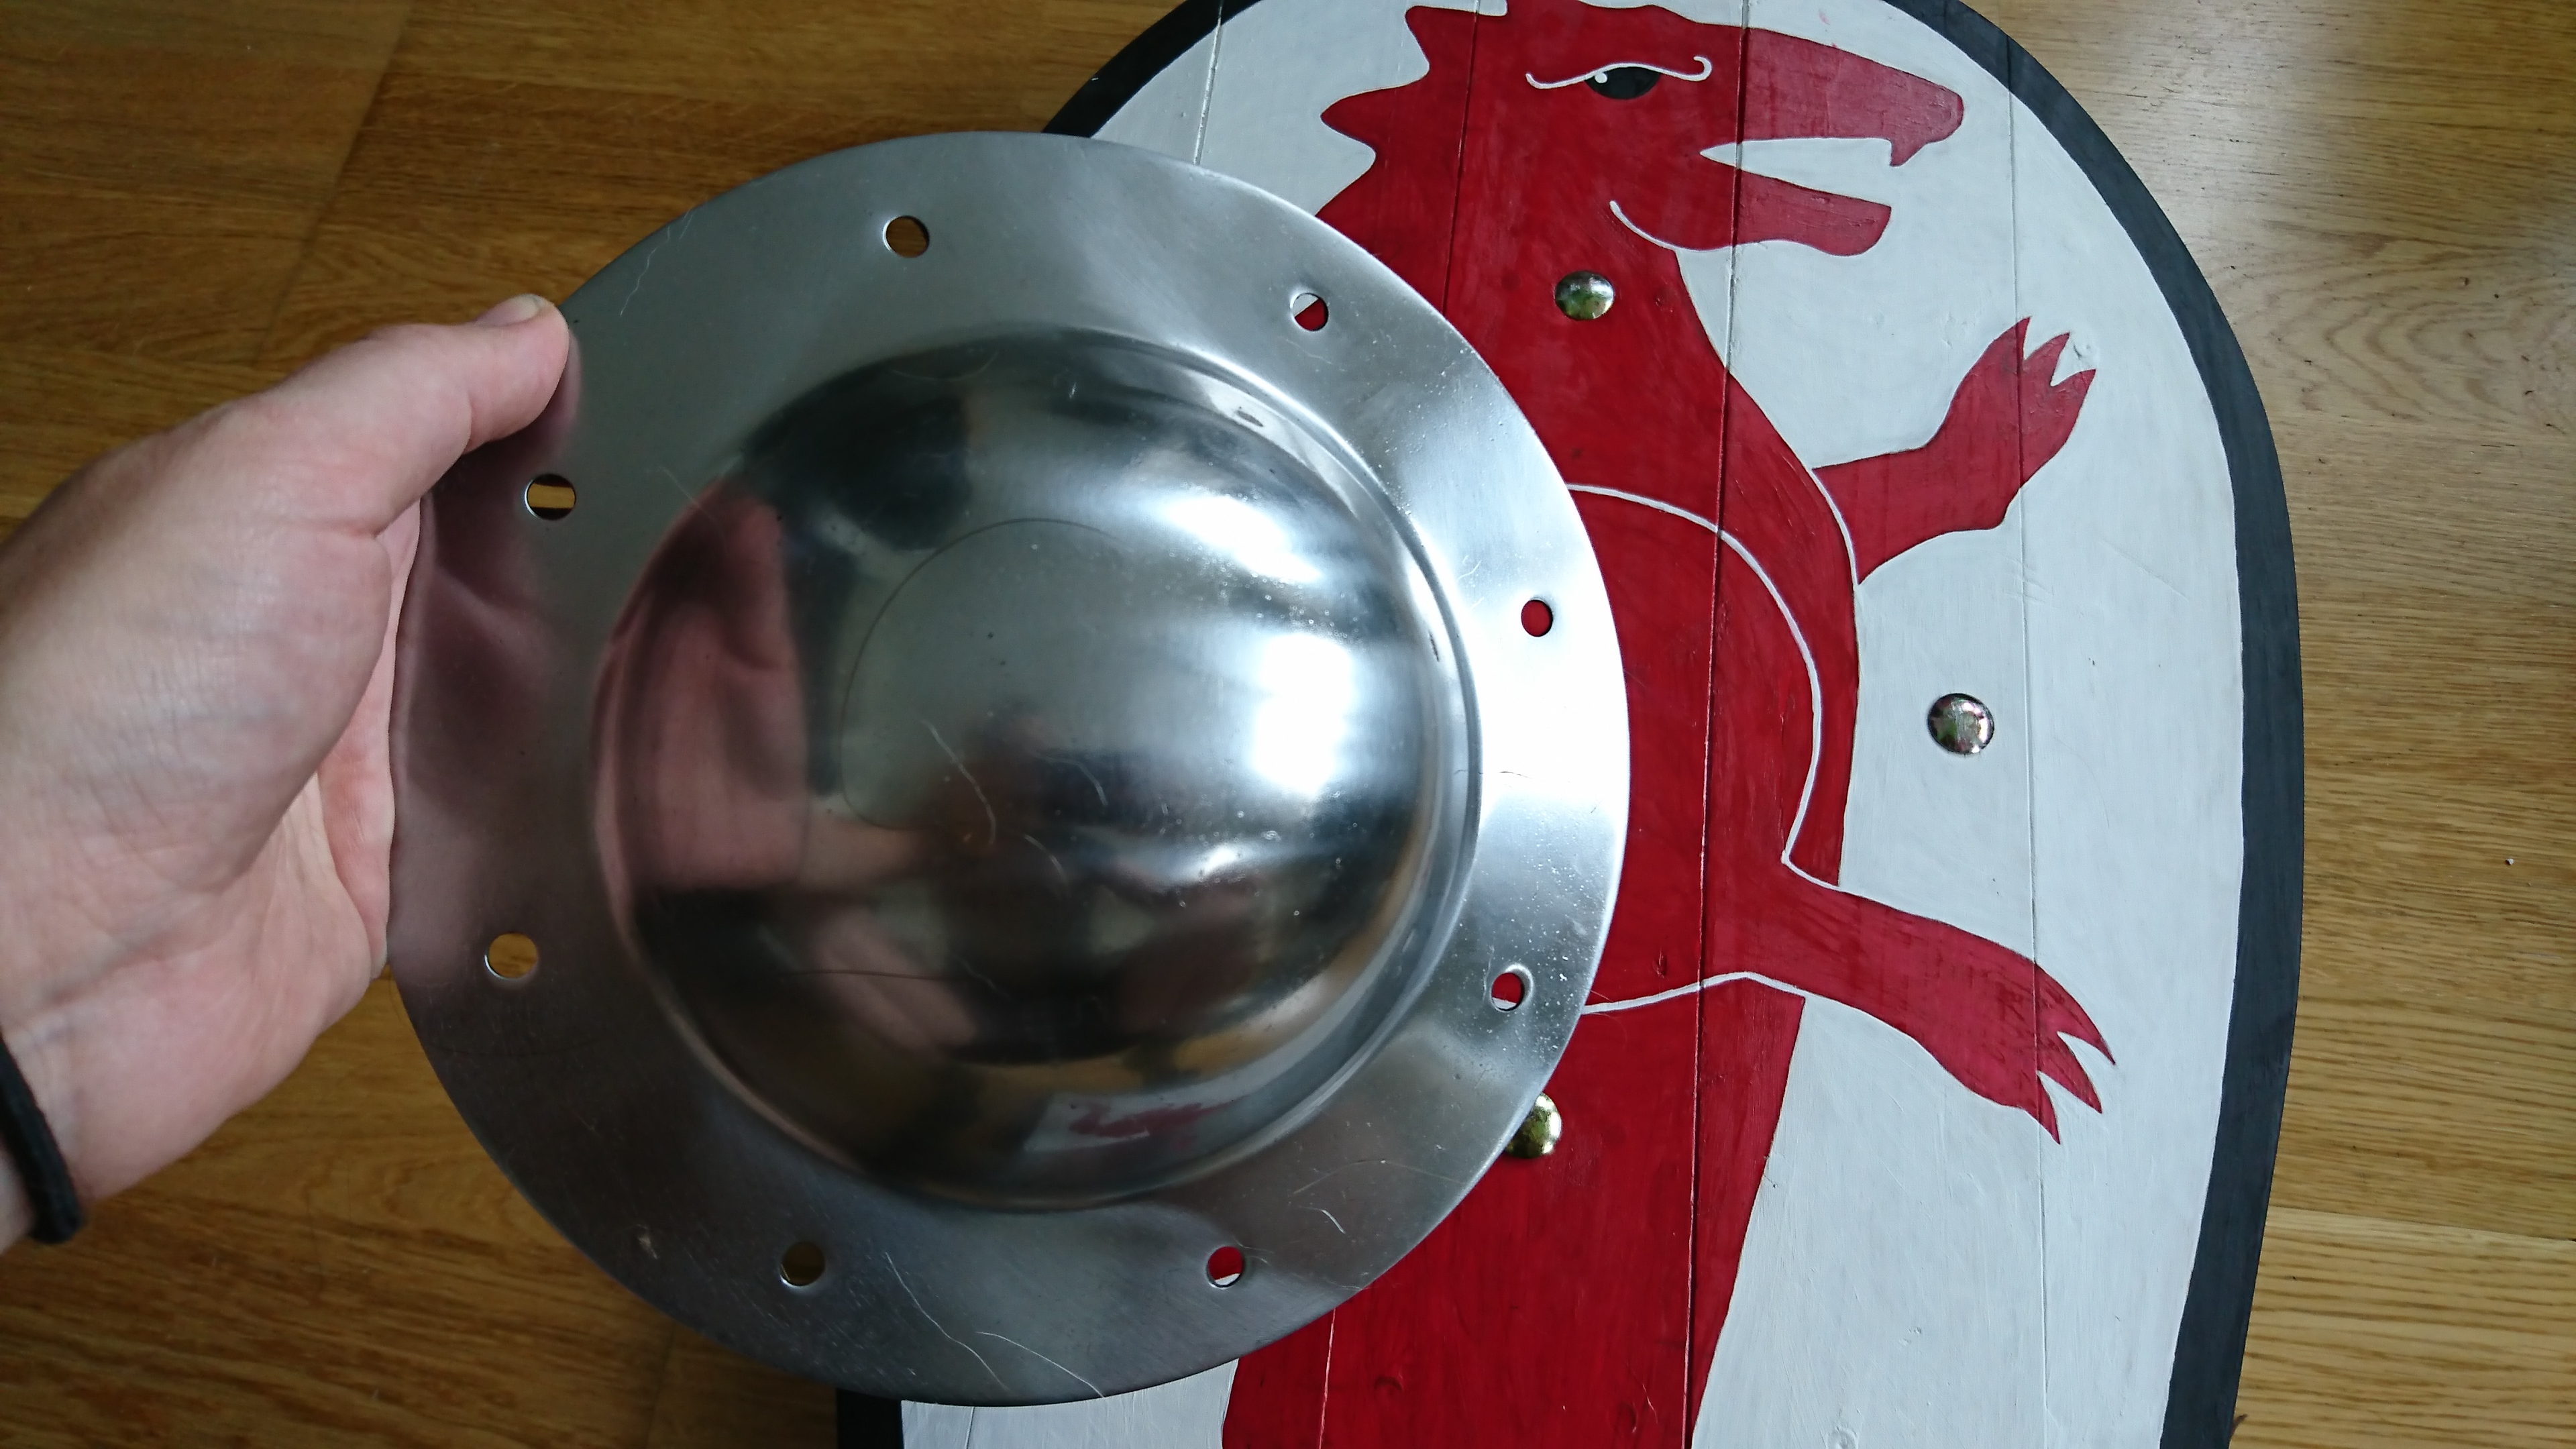
I actually ordered an iron buckler to mount on the front of the shield, but it turned out to be larger than I had anticipated.
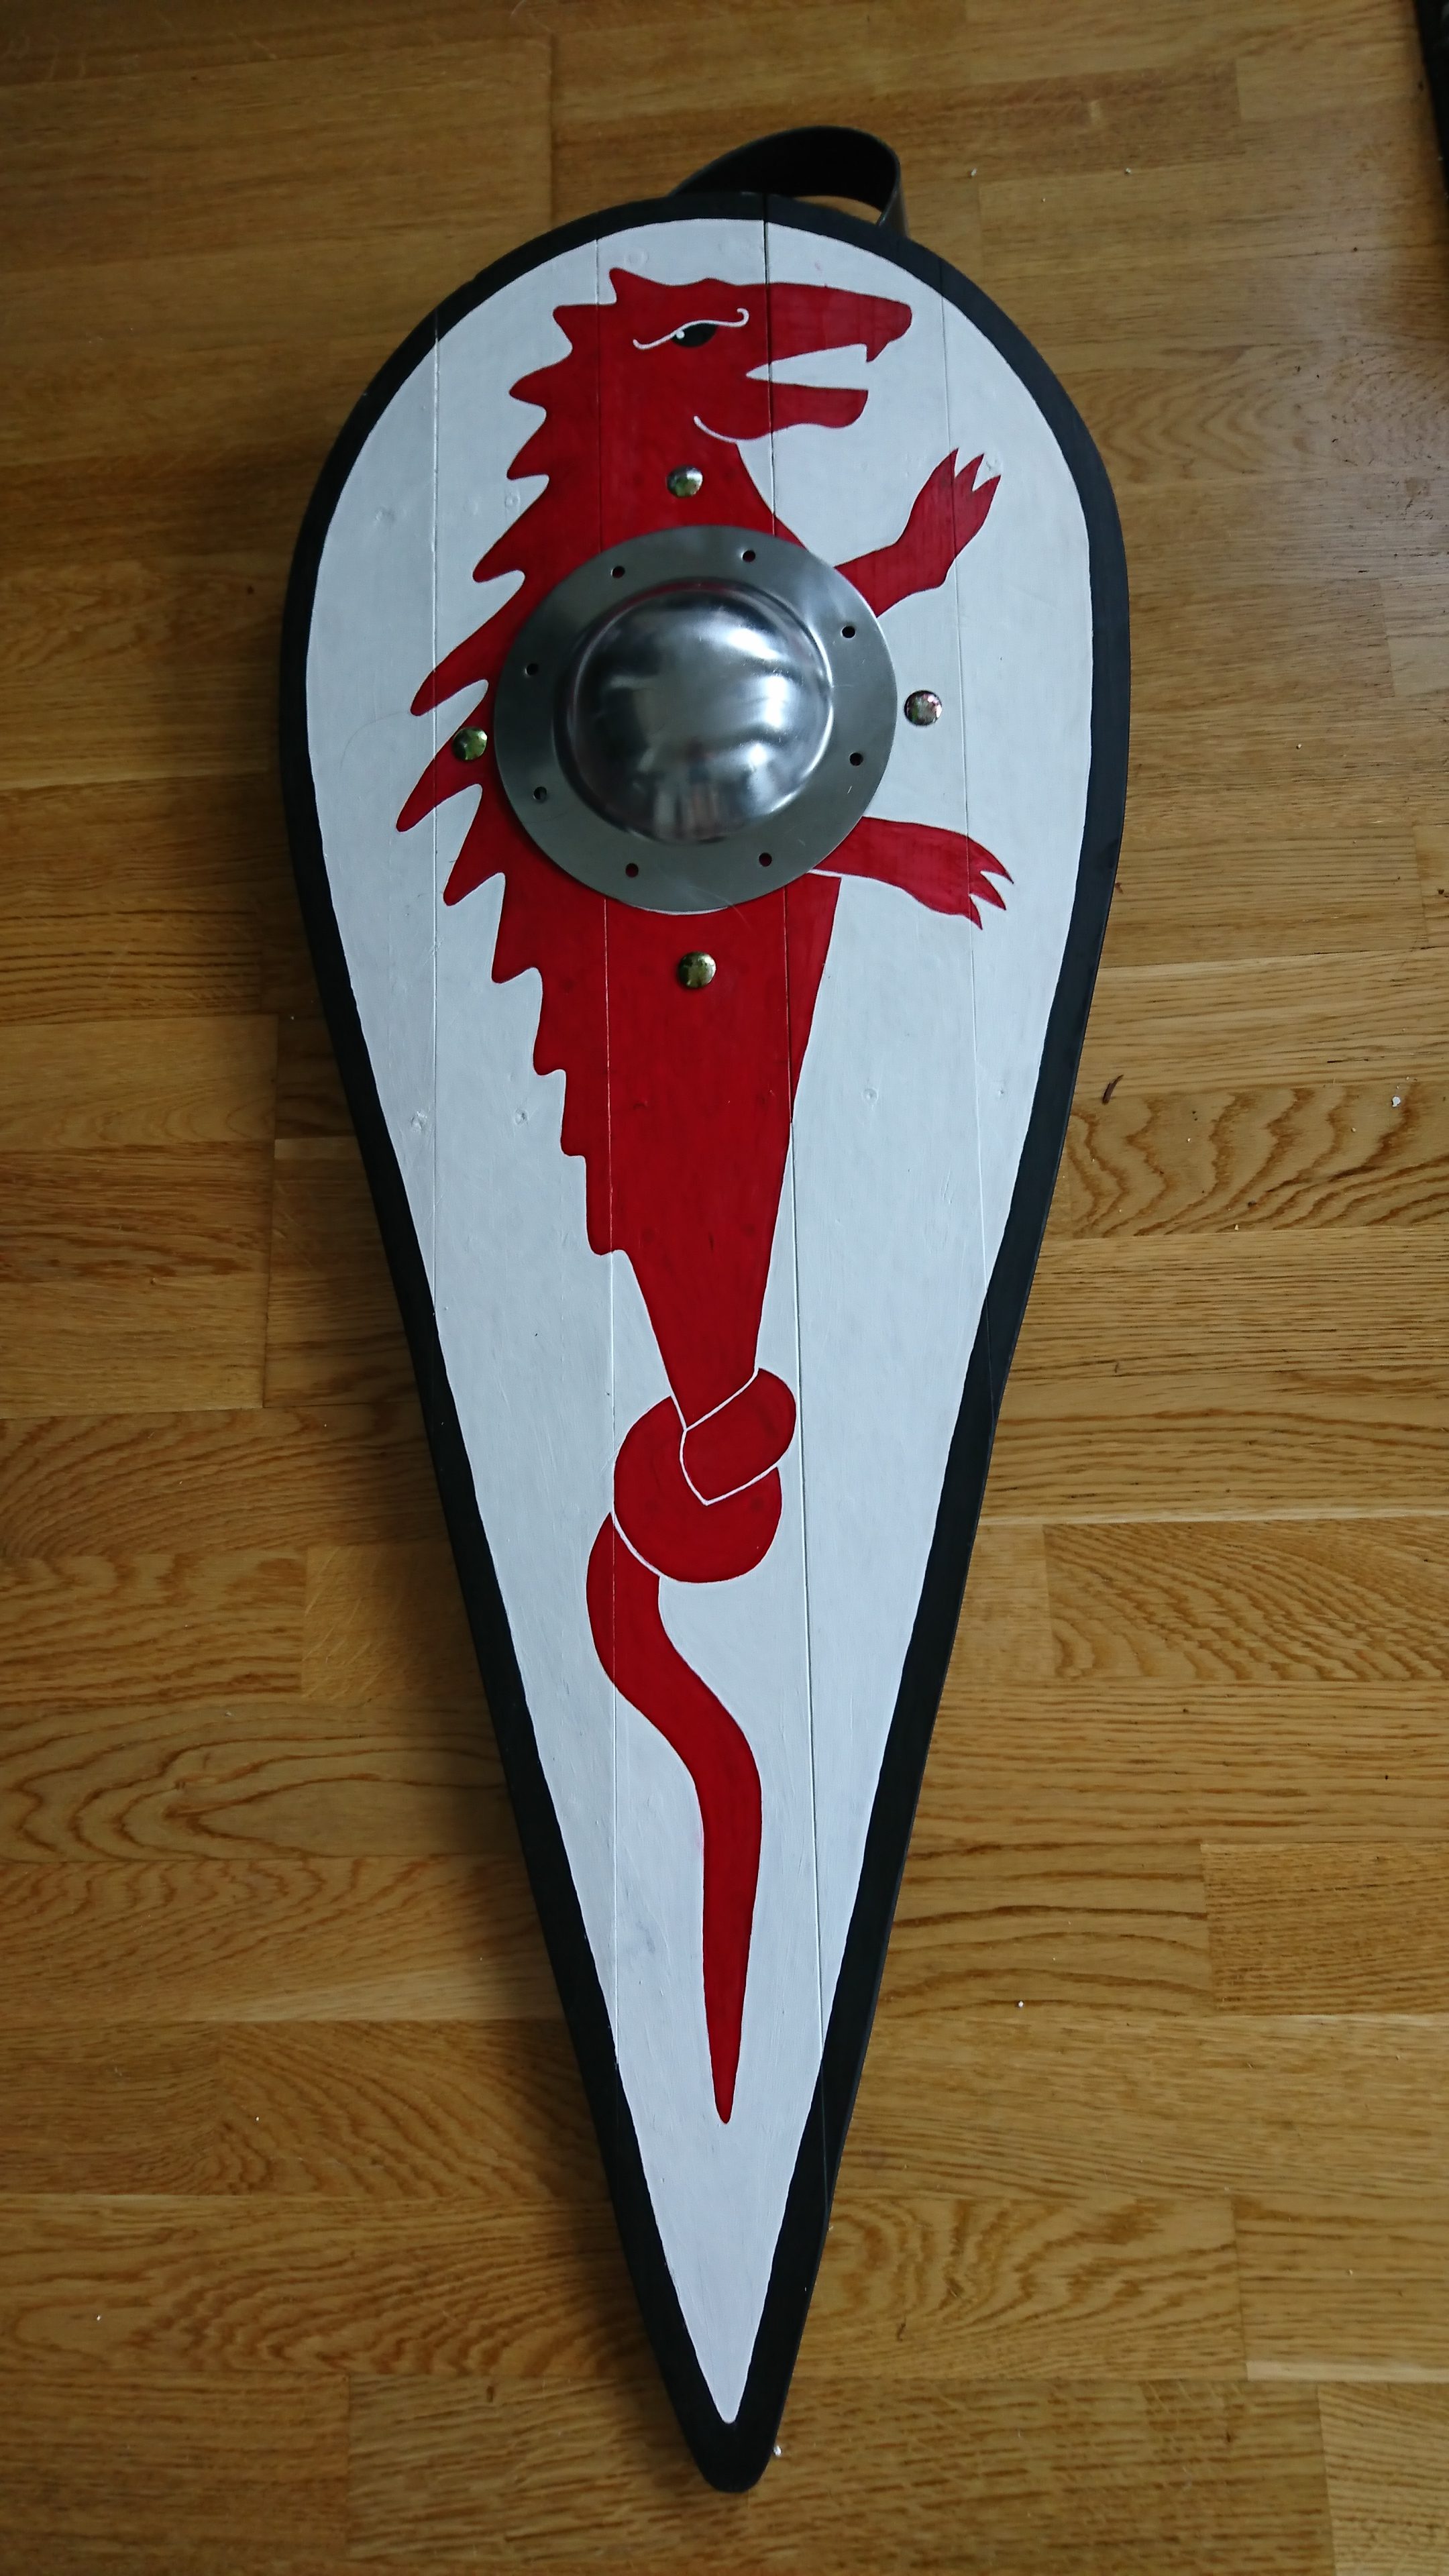
It'll have to wait to another project.


